



Freezer Meals Series
· Vegetable
Why peppers and onions never became a viral candle is beyond us. We can’t think of a dish that makes us salivate more than the smell of peppers and onions, and it’s a powerhouse that goes with literally anything, making it a side we’ve cooked on repeat hundreds of times. And guess what, it stands up to freezer meal prep like a champion too.
We tested this specifically for the GC Freezer Meal System, where vegetables, proteins, and starches are portioned separately and mixed together for quick dinners later. The main tip, whether freezing or just using as a side dish for dinner tonight, is to cook the vegetables in two batches rather than in one crowded pan. A packed skillet traps steam and softens the peppers before they ever reach the freezer. Cooking in batches keeps their structure intact so they reheat with better texture instead of becoming soft and watery.
🔪 Ingredients for Sautéed Peppers and Onions
6
Portions
4 hrs
Freeze Time
3 min
Reheat Time
3 mo
Freezer Life
- Bell peppers, mixed colors: Use whatever mix you like. Slicing them slightly thicker than usual helps them hold up through freezing and reheating.
- Sweet onion and red onion: Sweet onion gives a more mild flavor; red onion adds color and a sharper bite. Using both builds more depth than either alone.
- Apple cider vinegar
- Black pepper and crushed red pepper flakes
- Salt: Added after reheating, not before freezing. Salting early pulls out moisture you don’t want in the freezer.
Equipment
- 1-cup silicone molds
- Freezer-safe bags or containers
- Permanent marker or freezer labels
- Vacuum sealer, optional
Full picks and links for every mold, sealer, and bag in this system: Freezer Meal Prep Equipment Guide.
📝 How to Make Sautéed Peppers and Onions
- Slice the bell peppers and onions about ½ to ¾ inch wide, slightly thicker than you’d normally cut them.
- Heat a large skillet over medium-high heat. Add half the olive oil and let it heat for about 30 seconds.
- Add half the peppers, half the onions, and half the salt. Cook for 3 to 4 minutes, stirring often, until the vegetables start to soften but still hold their shape. Transfer to a sheet pan.
- Repeat with the remaining oil, peppers, onions, and salt. Cook for 3 to 4 minutes.
- Return the first batch to the skillet. Add the black pepper and red pepper flakes if using. Cook for 1 to 2 minutes, tossing well, until the seasoning coats everything.
- Add the apple cider vinegar and toss for about 30 seconds. Remove from heat.
- If you’re eating tonight, stop here. Serve the peppers and onions hot, straight from the skillet. Everything from this point on is for the freezer.
- Spread the peppers and onions on a parchment-lined sheet pan in an even layer to cool. Spreading them out helps steam escape so the frozen portions don’t turn watery later.
Portioning and Meal Prep Assembly
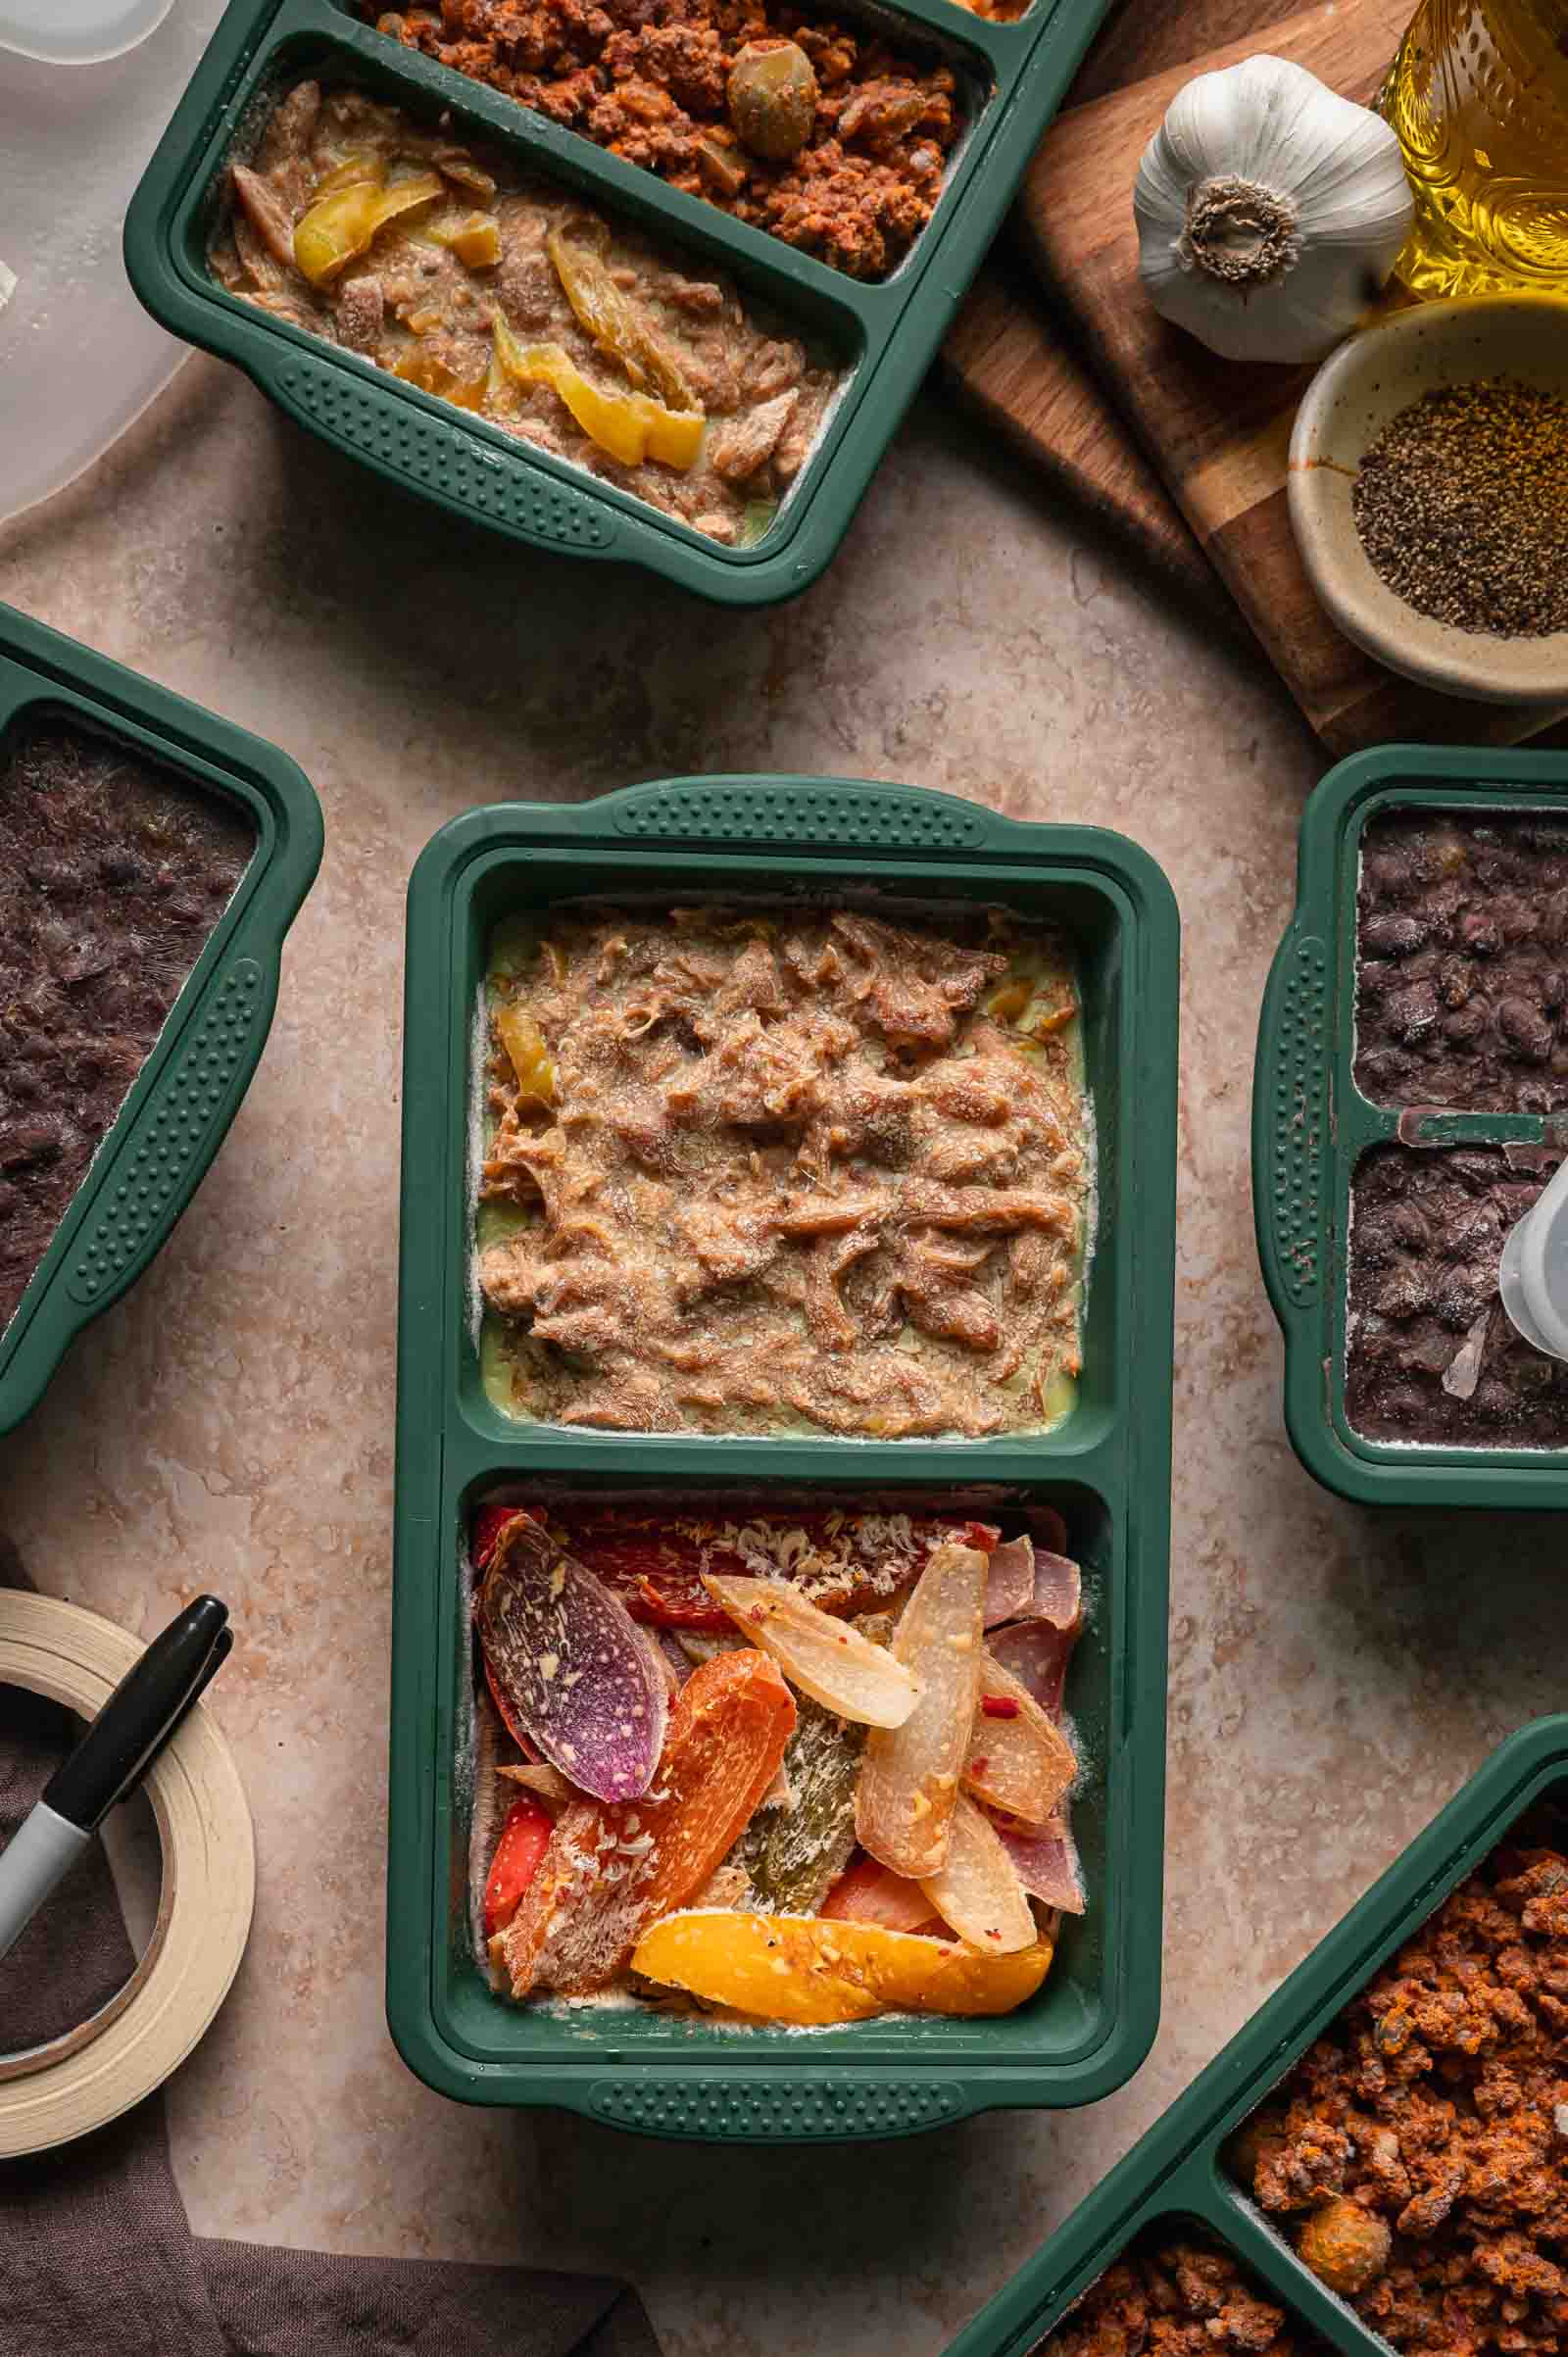
This recipe makes 6 vegetable component portions. Use 1-cup silicone molds, filling each with about 1 cup of peppers and onions. Do not overpack the molds. Leaving a little room helps the portions freeze evenly and reheat better.
| Mold Size | Portions | Fill Level | Best For |
|---|---|---|---|
| 1-cupRecommended | 6 | Lightly packed, small gap at top | Standard vegetable portion, mix-and-match with protein + starch |
Freezing Instructions
Follow this sequence exactly. The order matters for texture.
🍳
Cool
20–30 min on sheet pan
→
🟥
Fill Molds
Lightly packed
→
❄️
Freeze
About 4 hours, solid
→
🏷️
Bag & Label
Pop out, bag, press out air, then label
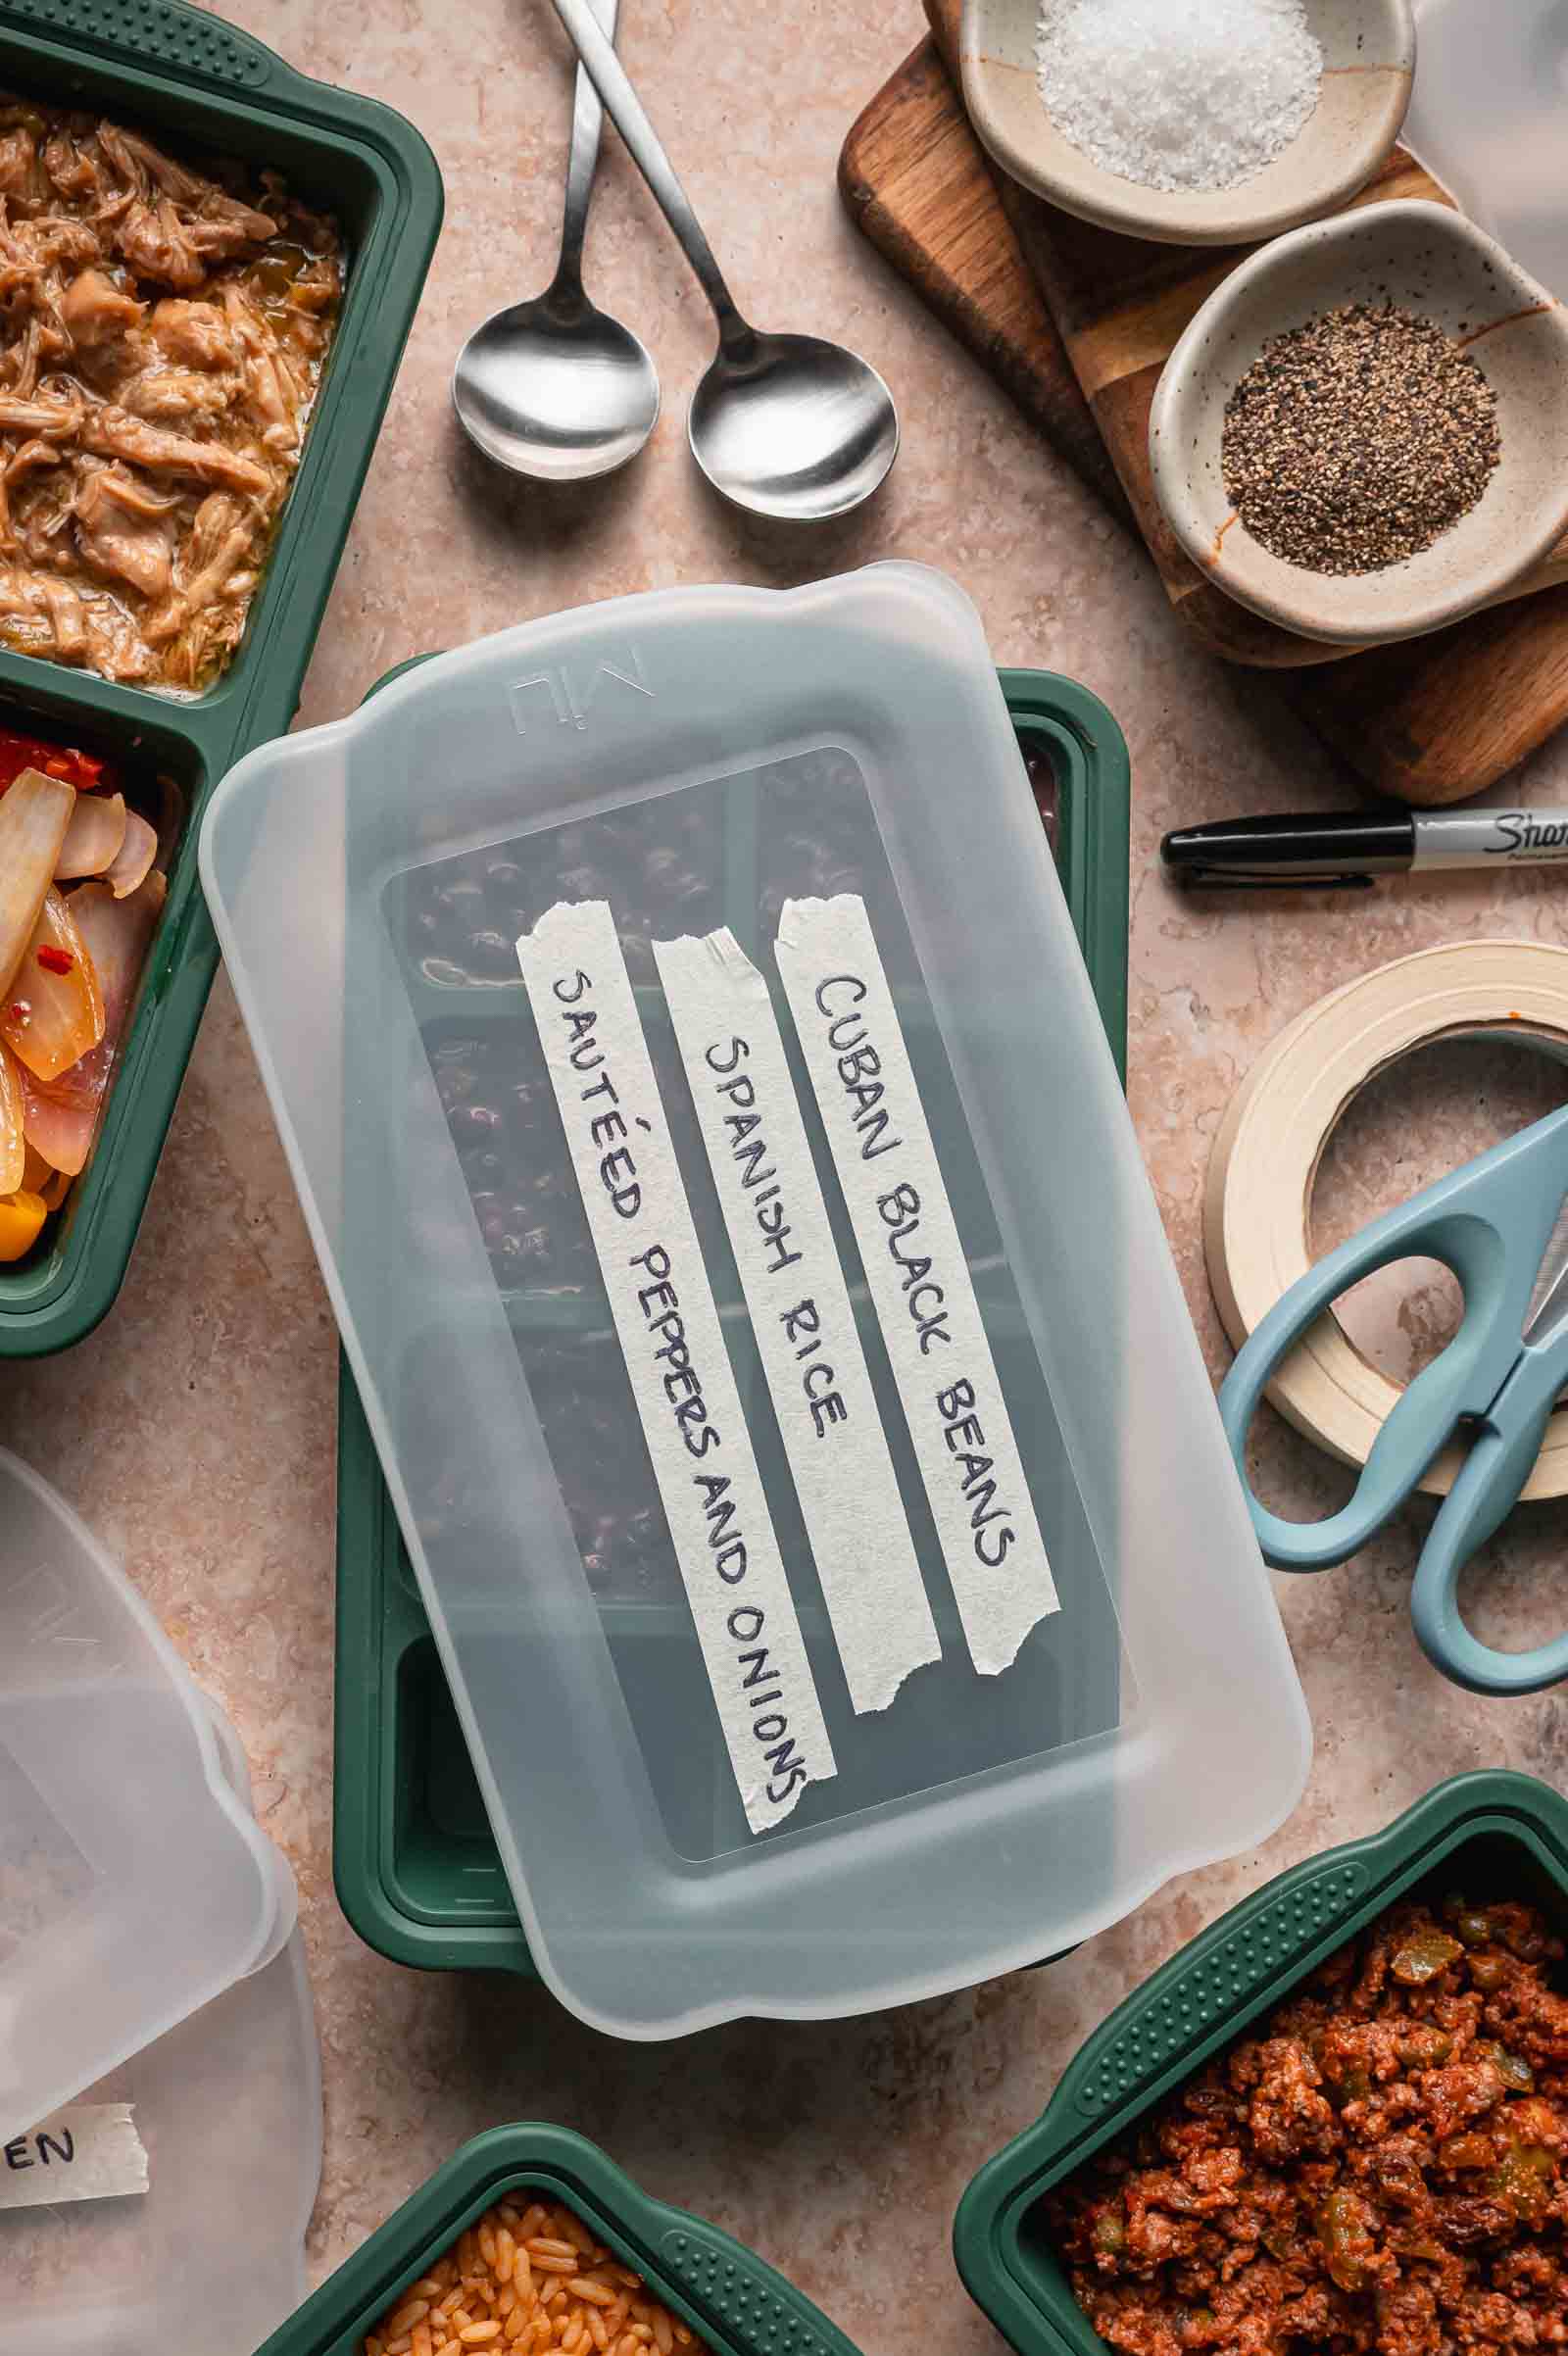
Freeze for up to 3 months for the best texture. Once solid, pop the portions out of the molds, transfer to a freezer bag or container, press out as much air as possible, and label with the date and recipe name before returning them to the freezer. The peppers and onions will be softer after freezing and reheating than they were fresh, which is normal. Cooking them just until slightly softened before freezing is what keeps that softening from turning into mush.
Reheating Instructions
🍳 Stovetop · From Frozen
3–5 min
- Add frozen portion directly to a dry skillet
- Medium-high heat, stirring frequently
- Once water evaporates, salt to taste
2–3 min
- Cover loosely, microwave, stirring halfway
- Rest 1 minute
- Salt to taste
3–5 min
- Thaw overnight in the fridge
- Medium heat, uncovered, stirring often
- Salt to taste once moisture cooks off
Troubleshooting
| Problem | Fix |
|---|---|
| Watery after reheating | Cook uncovered in a skillet for a few minutes. Freezing breaks down vegetables slightly, so a little moisture is normal. |
| Turned mushy | They were likely cooked too long before freezing. Stop when softened but still has some bite. |
| Flavor tastes flat after reheating | Add a small splash of vinegar or lemon juice after warming. |
🔄 Substitutions
- Bell peppers: Any color combination works. Red, yellow, and orange peppers will give a sweeter result, while green peppers add a slightly more savory flavor.
- Onions: Using only sweet onion creates a milder version. Using only red onion creates a sharper flavor and deeper color. Both work well in the freezer system.
💡 Meat Nerd Tips
- Cook in two batches, always. A crowded skillet traps steam and softens the peppers before they ever reach the freezer. Two batches means real color and real bite.
- Slice everything the same thickness. Uneven pieces cook and reheat unevenly, especially from frozen.
- Salt after reheating, not before freezing. Early salt pulls out moisture that has nowhere to go but into your freezer bag.
- The stovetop-from-frozen method is the best texture here. High heat boils off the weeping moisture fast, before the vegetables have a chance to turn soggy.
The GC Freezer Meal Formula: Build Your Plate
Freezer meals don’t have to mean eating the same casserole four nights in a row.
The GC Freezer Meal System works differently. Each recipe is built as a component that freezes, reheats, and pairs well with the others.
Think of it like building a plate: Protein cube + starch cube + vegetable cube = dinner
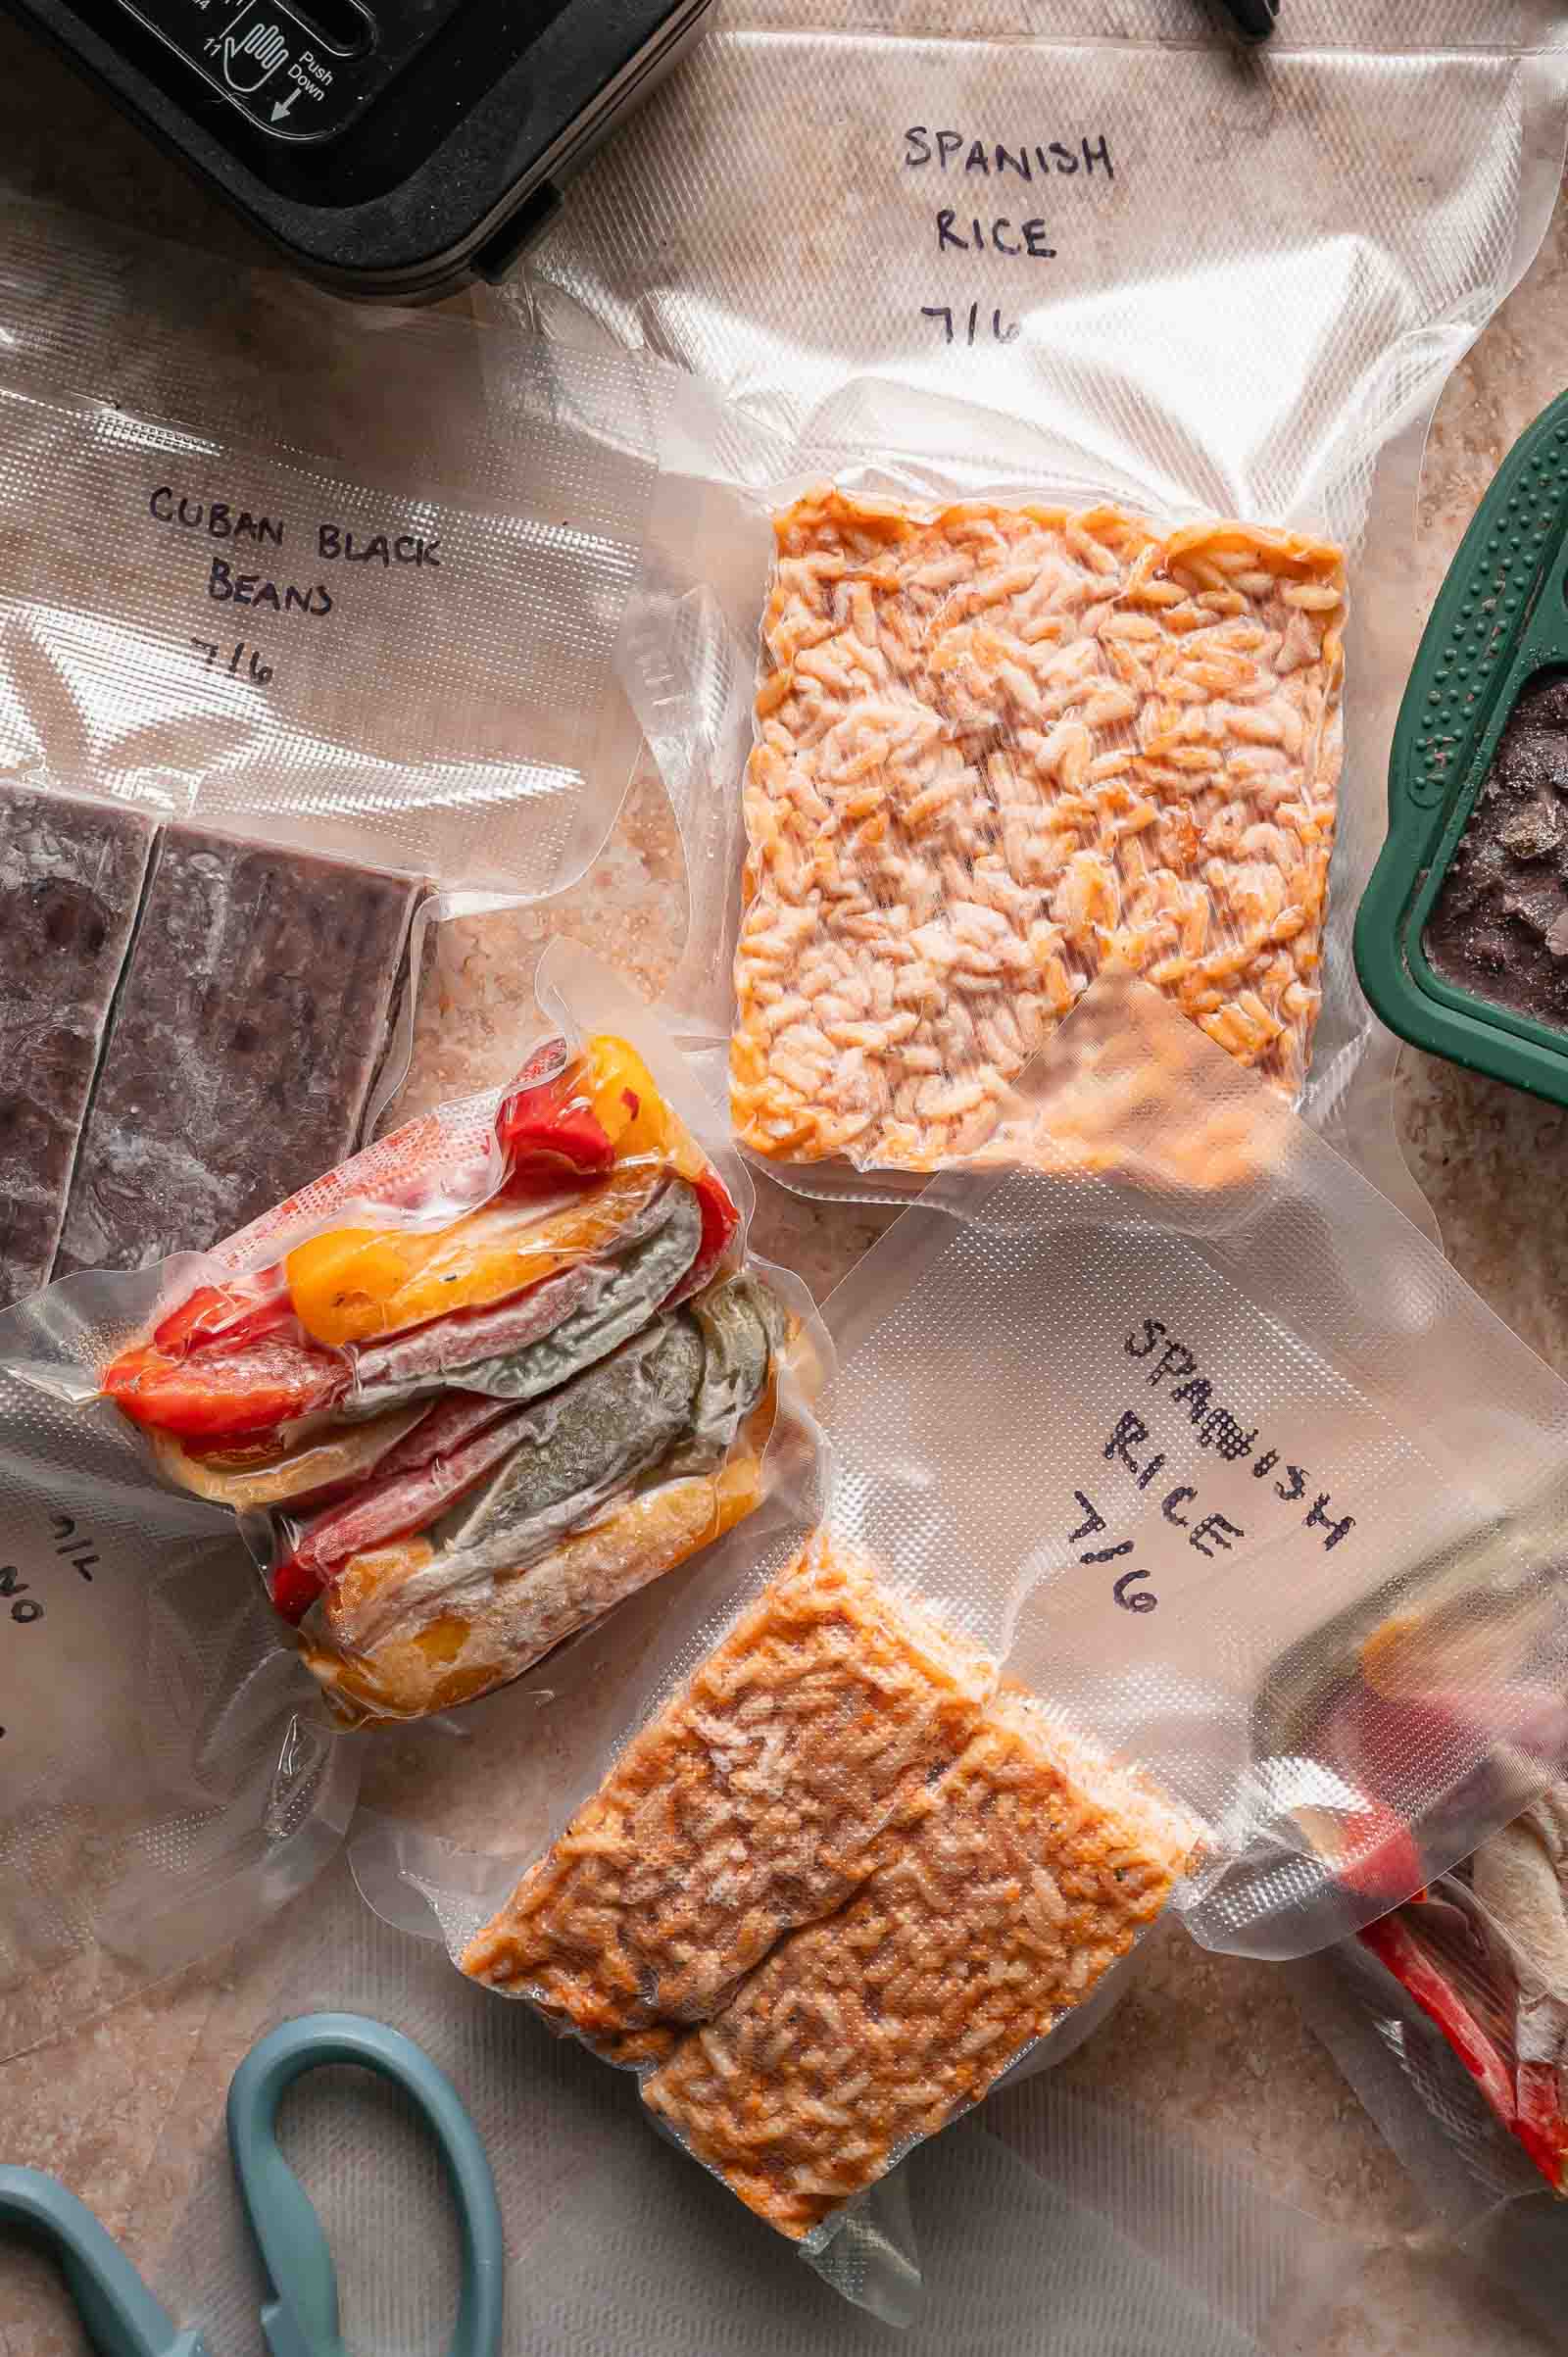
Each build is designed around matching portions and mold sizes, so you can mix and match straight from the freezer. Make a few components on prep day, then build different dinners throughout the week without starting from scratch every night.
This build combines 5 freezer components designed to work together. Make the full build during one prep session, or choose only the pieces that fit your freezer.
Protein
Mississippi Chicken / Cuban Picadillo
Starch
Spanish Rice / Cuban Black Beans
Vegetable
Sautéed Peppers and Onions
Peppers and onions cube + any protein cube + any starch cube = dinner from frozen in under 5 minutes. Each recipe is designed to mix and match across the system.
🍽️ What to Serve with Sautéed Peppers and Onions
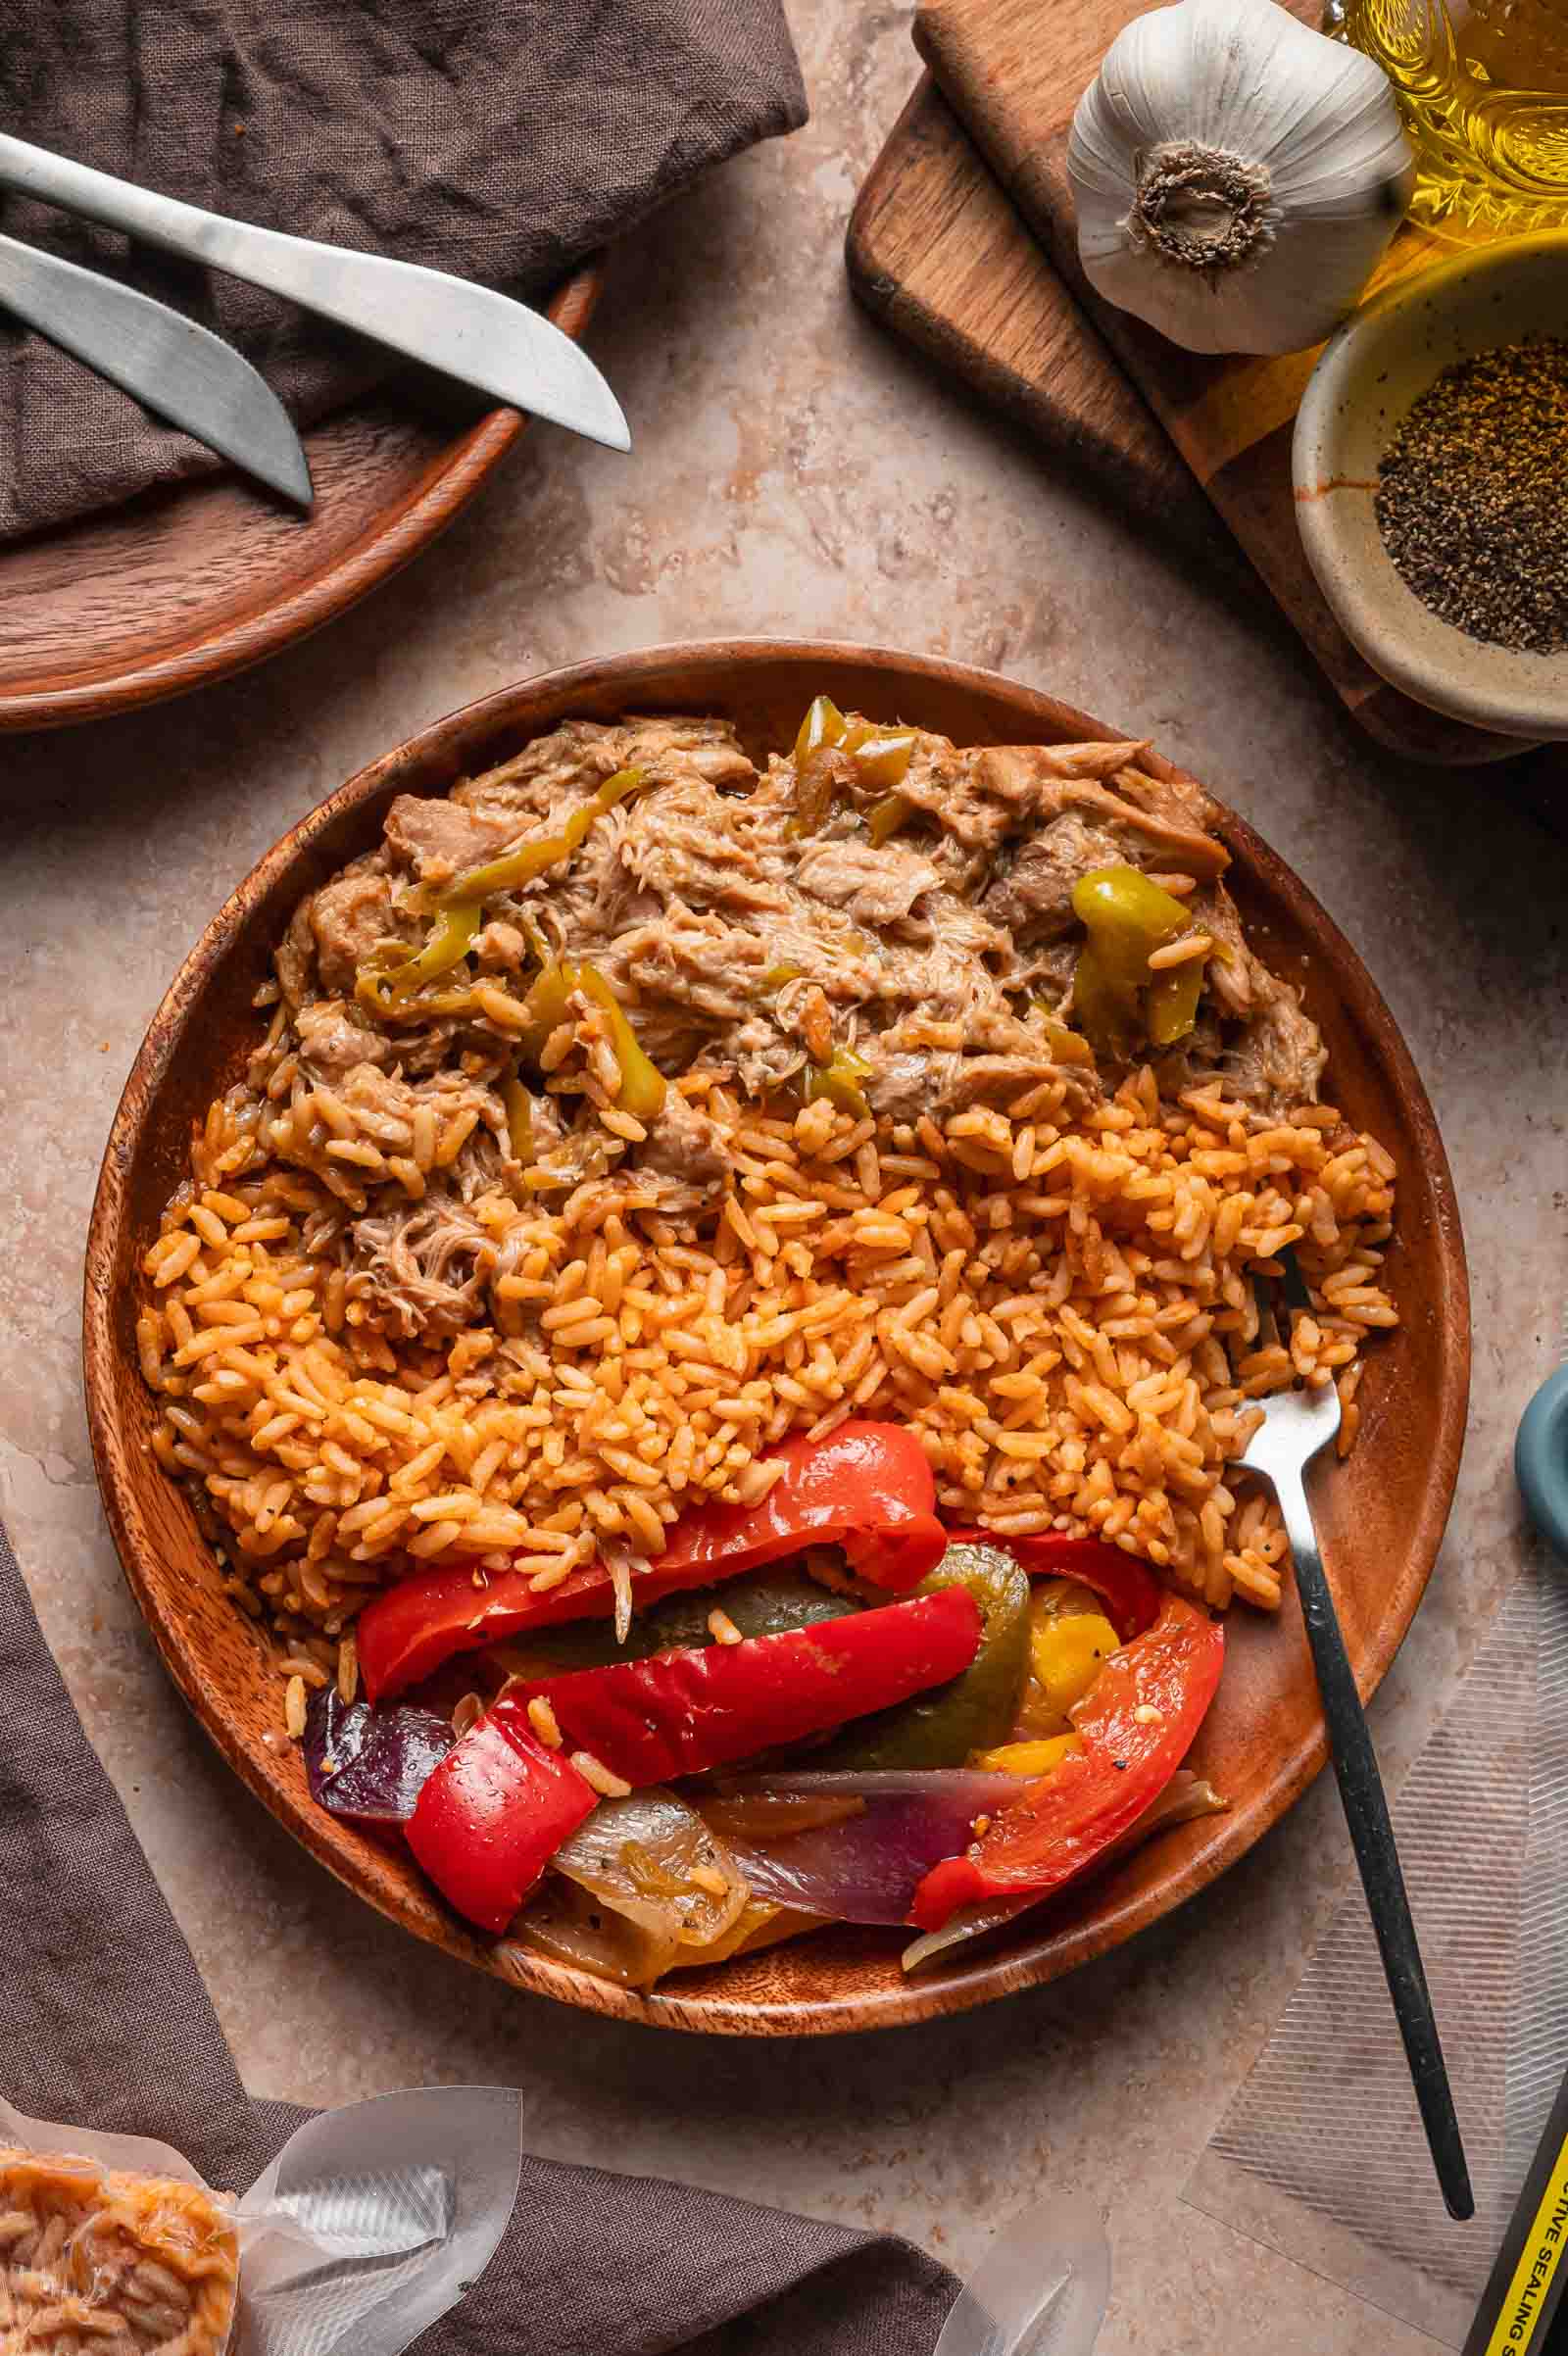
- Mississippi Chicken: Sweet, tangy peppers cut through the rich, buttery sauce.
- Cuban Picadillo: A fresh, crisp contrast to the briny, savory beef.
- Spanish Rice or Cuban Black Beans: Round out a full plate from the freezer with any starch in this batch.
- Fajitas or sandwiches: Use as a filling with tortillas or a hoagie roll and melted cheese.
- Eggs: Fold into a quick scramble or omelet for a fast breakfast.
🧊 Leftovers and Storage
4 days
Refrigerator
Airtight container. Reheat before eating.
3 months
Freezer, bagged
Pop from mold once solid, transfer to a freezer bag, press out air, then label with date and recipe name.
3 months
Vacuum sealed
Pop cubes from mold once solid, then seal. Best for long-term storage.
- Reheating from frozen works well, but the skillet method gives the best result since it cooks off extra moisture.
- Add salt after reheating, never before freezing.
Have you tried this recipe? Do us a favor and rate the recipe card with the ⭐ ⭐ ⭐ ⭐ ⭐ and drop a comment to help out the next reader.
Quick Summary
Sautéed Peppers and Onions freeze into six ready-to-go vegetable portions. Cook in two batches so the skillet never gets crowded, cool spread out to let steam escape, and reheat straight from frozen in a hot skillet for the best texture. The universal side that completes any plate in this batch.
The universal side dish: sauteed peppers and onions built to mix and match with anything else in the freezer. This makes six portions for meal prep with Souper Cubes and ready to mix-and-match with whatever dinner you’ve got planned.
Prevent your screen from going to sleep
First Batch
-
Heat a large skillet over medium-high heat. Add half the olive oil and let it heat about 30 seconds. Add half the peppers, half the onions, and half the salt. Cook 3 to 4 minutes, stirring often, until the vegetables start to soften but still hold their shape. Transfer to a sheet pan.
Second Batch
-
Repeat with the remaining oil, peppers, onions, and salt. Cook 3 to 4 minutes, stirring often, until the second batch is slightly softened.
Combine and Season
-
Return the first batch to the skillet. Add the black pepper and red pepper flakes if using. Cook 1 to 2 minutes, tossing well, until the seasoning coats everything.
Serve Fresh or Freeze
-
If you’re eating tonight, stop here. Serve the peppers and onions warm, straight from the skillet. Everything from this point on is for the freezer.
Bag and Label
-
Once solid, pop the portions out of the molds. Transfer to freezer-safe bags or containers, press out as much air as possible, and label with the date and recipe name. Freeze for up to 3 months for best texture.
Reheat From Frozen, Stovetop (Best Texture)
-
Add the frozen portion directly to a dry skillet over medium-high heat. Cook uncovered, stirring frequently, until the weeping water boils away and the vegetables are hot, 3 to 5 minutes. Remove from heat and salt to taste.
Reheat From Frozen, Microwave
-
Place 1 frozen portion in a microwave-safe bowl, cover loosely, and microwave 2 to 3 minutes, stirring halfway through. Let rest 1 minute before serving. Salt to taste.
Reheat From Thawed
-
Thaw overnight in the refrigerator. Add to a skillet over medium heat and cook uncovered, stirring often, until hot and any extra moisture cooks off, 3 to 5 minutes. Salt to taste.
- Cook in two batches, always. A crowded skillet traps steam and softens the peppers before they reach the freezer.
- Salt goes in after reheating, not during the freezer-prep cook, to keep moisture out of the freezer bag.
- For vacuum sealing, freeze solid in the molds first, then pop out and seal on a gentle or pulse setting.
Serving: 1serving | Calories: 131kcal | Carbohydrates: 16g | Protein: 2g | Fat: 8g | Saturated Fat: 1g | Polyunsaturated Fat: 1g | Monounsaturated Fat: 5g | Sodium: 15mg | Potassium: 446mg | Fiber: 4g | Sugar: 10g | Vitamin A: 5186IU | Vitamin C: 214mg | Calcium: 28mg | Iron: 1mg
The Gear Behind our Lego Lunch Recipes
Every step above assumes you have got the right sealer and the right molds. See the exact FoodSaver sealer and Souper Cubes mold set GC runs this whole system on, plus the budget-friendly swap, in one place.
See the Full Equipment Guide →
Guides Worth Bookmarking
❓ FAQs
Sweet onion gives the mixture a softer flavor, while red onion adds color and a little sharper bite.
Salting early pulls moisture out of the vegetables before they even go in the freezer, which can make the texture worse after thawing. Salting after reheating keeps the portions in better shape.
Yes. They will be softer after freezing and reheating than they were fresh. Cooking them just until slightly softened before freezing is what keeps that from turning into mush.
The skillet method gives the best result. Adding the frozen portion directly to a hot, dry skillet lets the high heat boil off the weeping moisture quickly before the vegetables turn soggy.
Yes. Adjust the portion size based on how you build your meals, but keep portions consistent across your freezer components so they combine easily.
Add salt after reheating. A small splash of vinegar or lemon juice can also brighten the flavor after storage.