


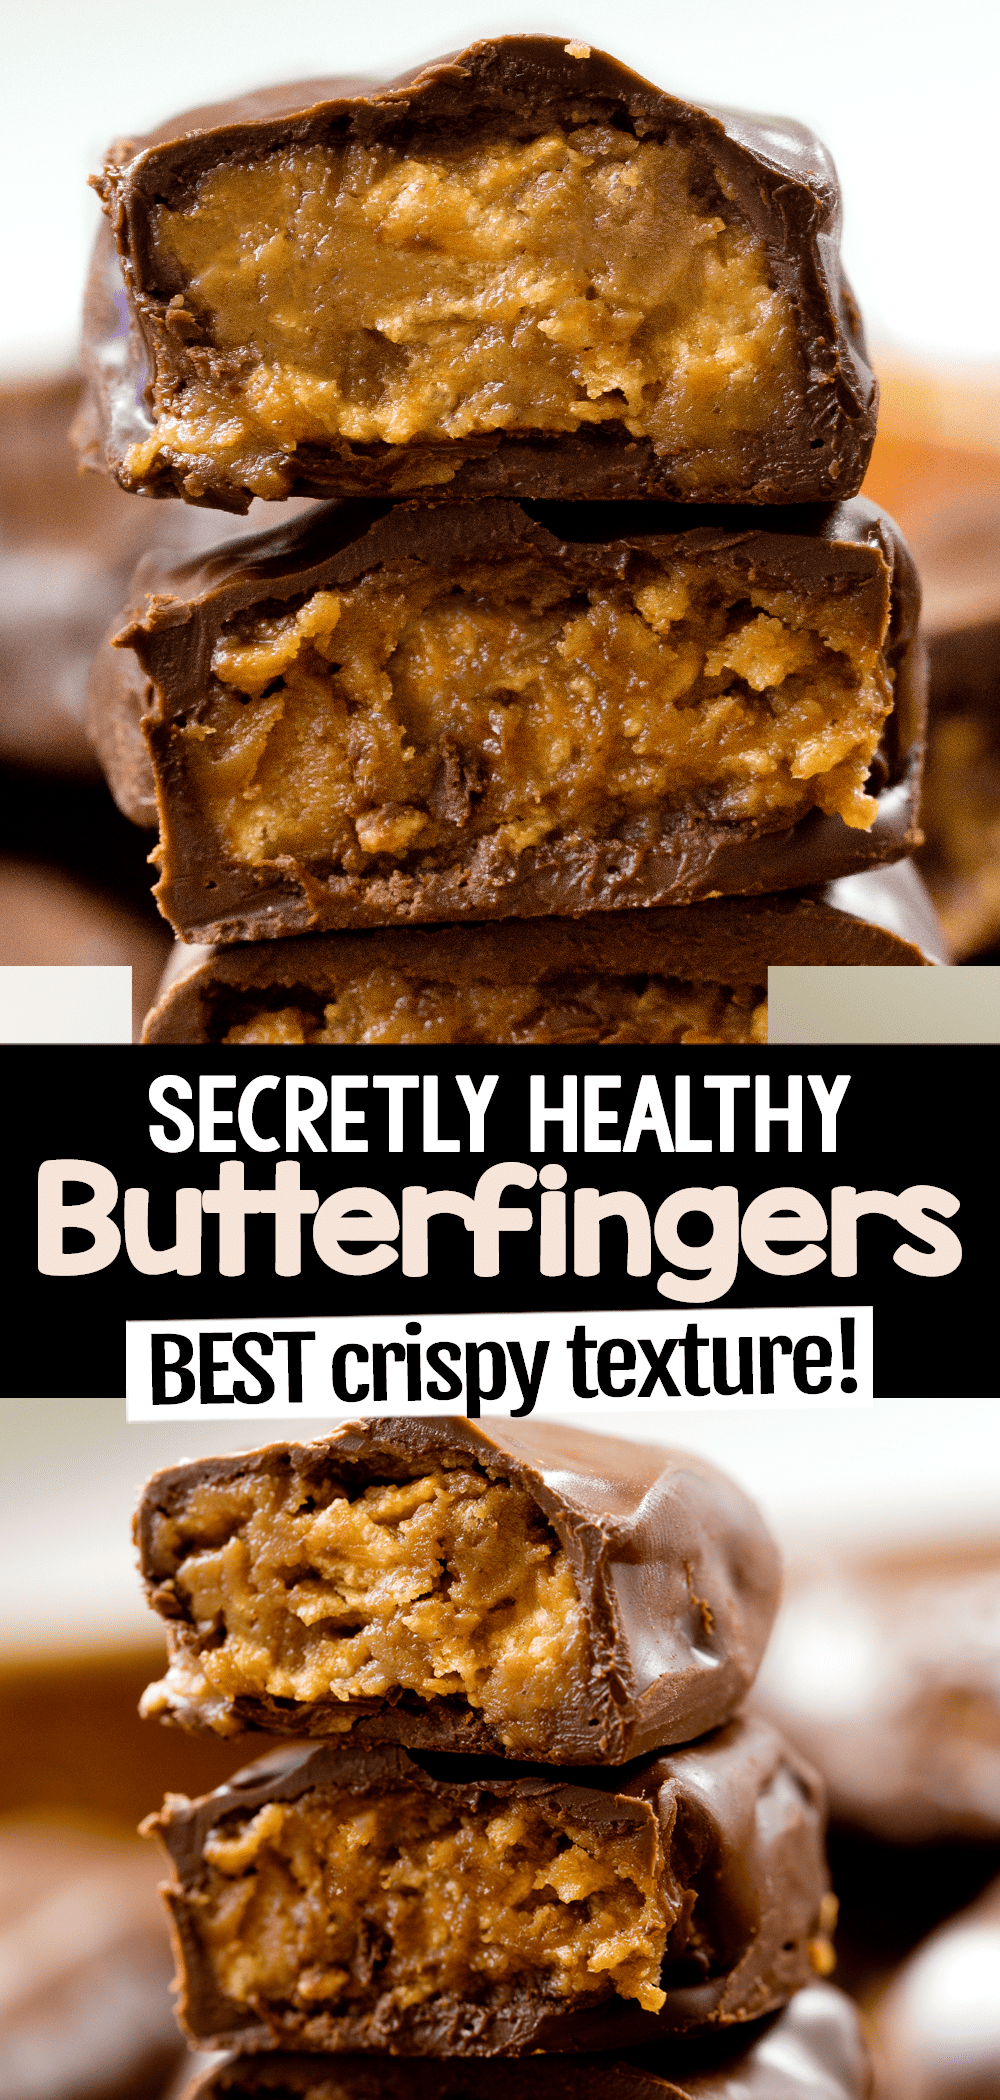

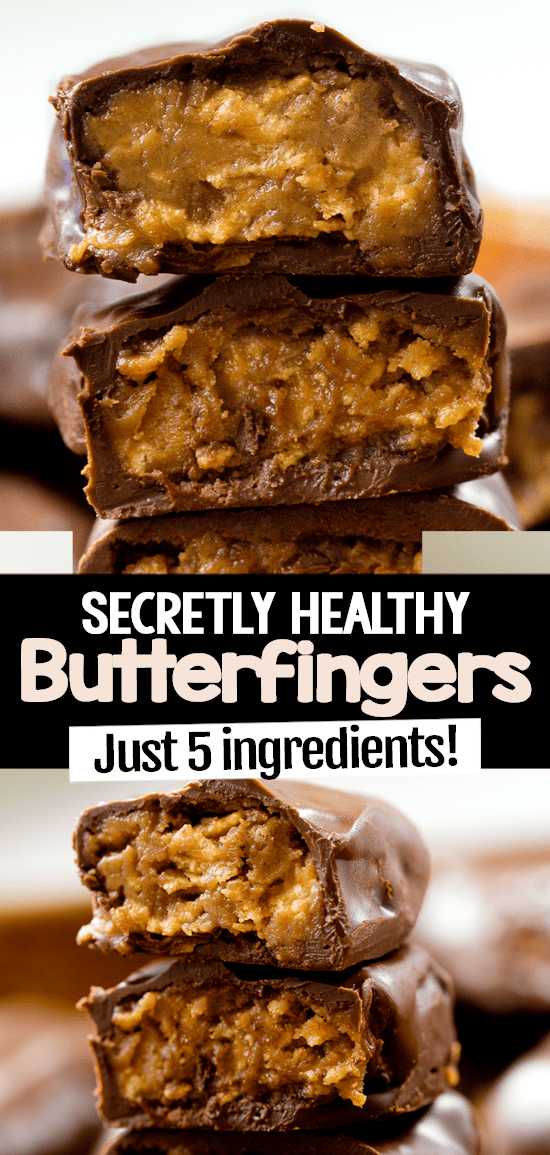
Healthy Butterfingers feature a classic toffee-like crunch, smooth chocolate coating, and much less saturated fat and sugar than the packaged candy bars!
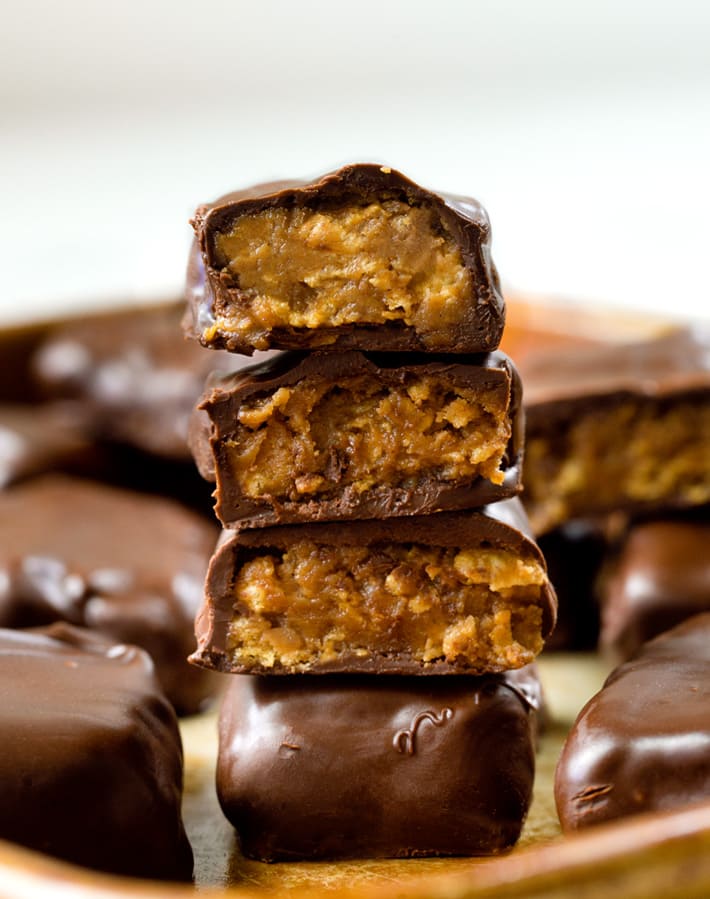

Why you’ll love these healthy Butterfingers
- You need just 5 ingredients to make the recipe.
- As if by magic, they have the exact same crispy, crunchy texture of store bought peanut butter Butterfinger candy bars!
- You’ll immediately become obsessed with the rich chocolate peanut buttery flavor.
- The homemade healthy candy bars defy all logic. Whole grain, dairy free, refined sugar free, gluten free, and vegan options are all included.
- Plus, unlike packaged Butterfinger bars, there is NO corn syrup. Instead, they are naturally sweetened with pure maple syrup and nutrient rich blackstrap molasses.
It’s one of those recipes you really have to try in order to believe!
You may also like: Healthy Chocolate Chip Cookies
Step by step recipe video
Update: I’ve since made the no bake Butterfinger bars even healthier and easier to prepare, by eliminating the granulated sugar and cooking step altogether.
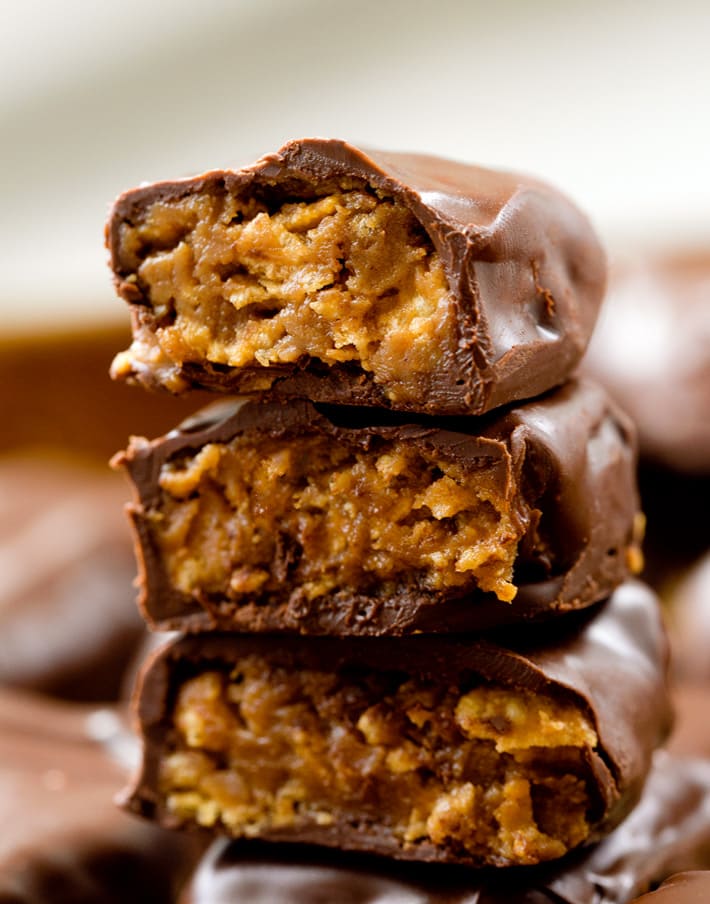
The original healthy Butterfinger bars
You may now find hundreds of healthy Butterfinger recipes on the internet.
This is the one recipe that started it all, which I first shared almost 15 years ago.
My inspiration for these homemade Butterfinger candy bars came from a dollar bin cookbook I saw at a local fabric and craft store.
The book recipe, which yielded a standard 8 inch pan just like mine, called for a full cup of sugar, 1/3 cup of shortening, and 3/4 cup of corn syrup!
Yes, 3/4 cup of corn syrup in addition to the cup of sugar…
It was basically screaming for a healthy makeover.
I got to work on the challenge as soon as I got home. Luckily, this is one of those recipes that turned out perfectly on the first try, and the healthy “Betterfinger” bars really do taste like actual Butterfinger candy bars!
If you’re looking for a healthy dessert that will impress even the most skeptical or pickiest of eaters, these healthy vegan Butterfingers are definitely the recipe to try on all your friends.
In the years since I first published, it’s become one of the site’s most popular recipes. The copycat Butterfingers are a delicious snack or dessert for Halloween, Easter, or any time you are craving crispety, crunchety peanut buttery chocolate candies.
Readers often write in to tell me that even their health-food-hating dads, moms, brothers, sisters, girlfriends, or boyfriends love the bars too!
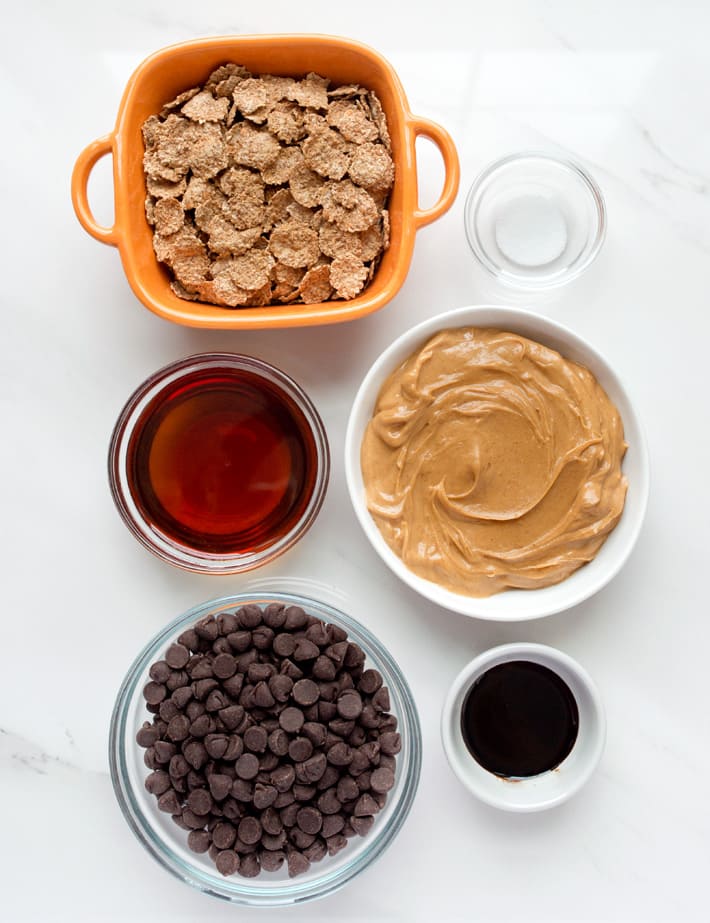
Key ingredients
Flake Cereal – I like bran flakes, but multigrain or gluten free corn flakes work well too.
Peanut Butter – This can be crunchy or creamy. Natural peanut butter is the healthiest option, although brands like Skippy or Jif are fine. Make them more allergy friendly by substituting almond butter, cashew butter, or nut free sunflower seed butter.
Pure Maple Syrup – An unrefined liquid sweetener like maple syrup, agave, or honey (not for vegans) adds sweetness and the stickiness needed to bind the bars together.
Blackstrap Molasses – This is my favorite healthy sugar alternative. It provides a classic toffee or caramel flavor while also giving you iron, calcium, and magnesium.
Salt – A pinch of salt balances the sweetness in these homemade Butterfingers.
Chocolate Chips – I like semi sweet or dark chocolate chips, which contain more flavanols than milk chocolate. Use dairy free chocolate chips for vegan Butterfingers.
Oil (optional) – Stirring a teaspoon of coconut oil into the chocolate yields a smoother sauce. You can absolutely omit the oil if you prefer.
While the peanut butter is out, make Chocolate Oatmeal Fudge Bars
How to make healthy gluten free Butterfingers
Step 1: Bring peanut butter to room temperature. You want the nut butter to be soft and easy to stir. Either let it sit out of the refrigerator until easily stirrable, or warm it up with the pure maple syrup and molasses in a saucepan on the stove top.
Step 2: Combine all ingredients. Add the softened nut butter, sweeteners, salt, and flake cereal to a large measuring cup or saucepan.
Step 3: Mix everything together. Stir the ingredients vigorously with a fork or heavy spatula. Crush the cereal well. Keep stirring until everything is thoroughly mixed and evenly coated.
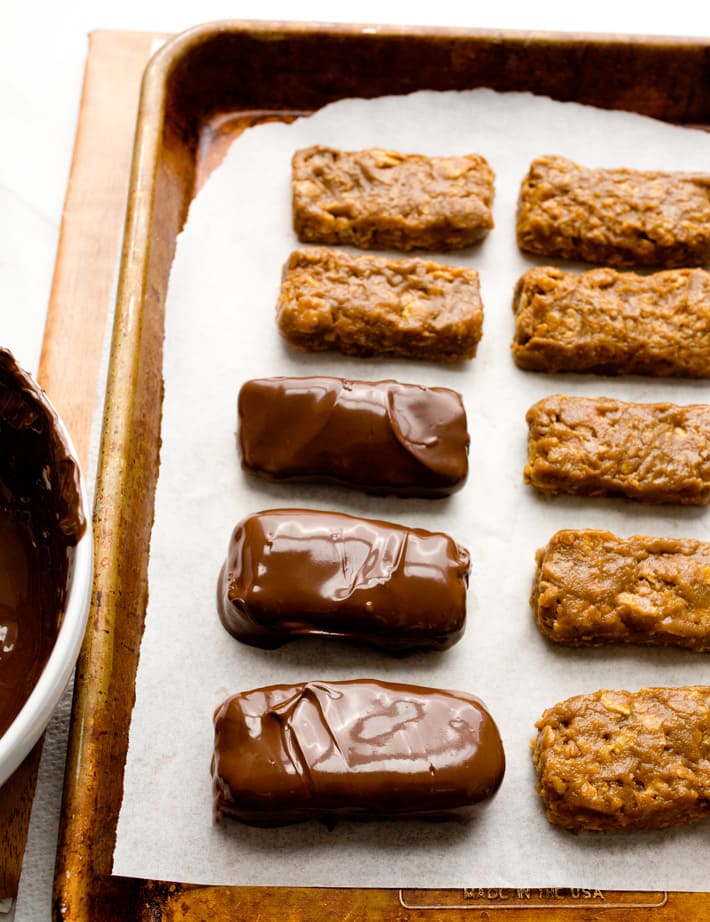
Step 4: Spread into a pan. Line the bottom of an eight inch square baking pan with wax or parchment paper. Transfer the peanut butter cereal mixture to the pan, and smooth it down evenly. It will fill the whole pan, or you can make thicker bars by only filling it up halfway.
Tip: I like to use a second layer of parchment paper to really press the mixture into the pan.
Step 5: Freeze. Place the baking pan in the freezer until the bars are fully hardened.
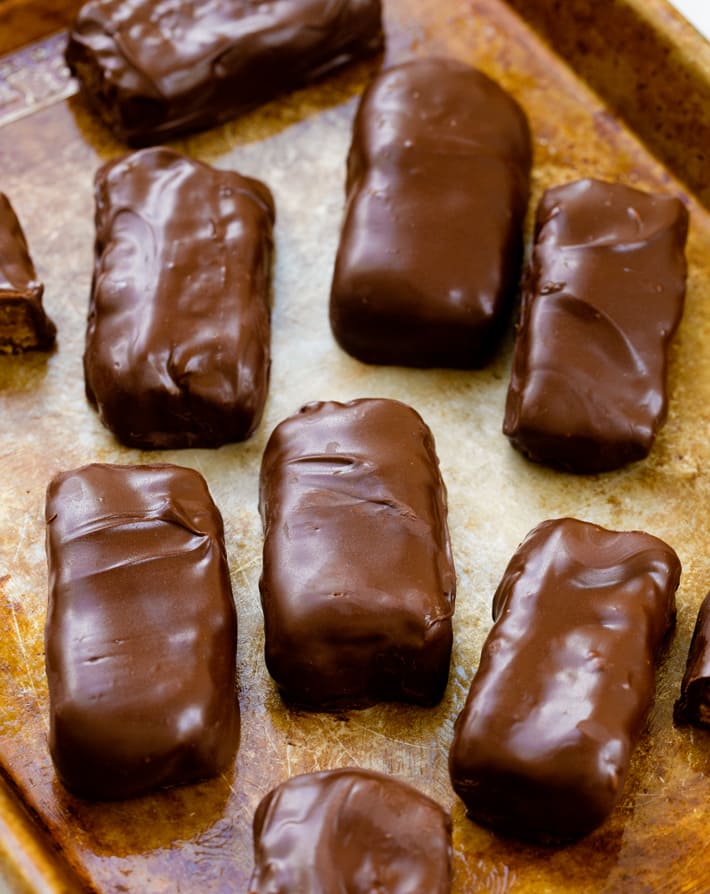
Step 6: Add chocolate. Carefully melt the chocolate chips in a microwave or double boiler. Remove the frozen Butterfingers from the freezer and pour the chocolate sauce on top. Alternatively, you can slice into bars and then dip each bar in melted chocolate.
Step 7: Return to the freezer. Freeze the pan again for just a few minutes, to set the chocolate. Remove when the topping is still a little soft, to prevent it from cracking when you slice bars.
Step 8: Enjoy! If you somehow happen to find yourself with leftovers, store them in a very cool place on the counter for up to a week. (Emphasis on cool, as they will slowly start to melt at room temperature.) Or cover tightly and store in the refrigerator for up to two weeks or freezer for up to three months. Or just ship the bars to me. I’ll eat them for you!
Leftover melted chocolate? Try this Chocolate Raspberry Bark
Homemade Butterfinger health benefits
High iron. Thanks to powerhouse blackstrap molasses and antioxidant rich chocolate, the crunchy chocolate peanut butter candy bars give you 10% of the daily iron recommendation.
High protein. Each bar provides over 6.5 grams or protein, even without any protein powder!
Good source of fiber. You get whole grains and close to 10% of the RDA for fiber in 1 serving.
Low sugar. These contain just 10 grams of sugars, as opposed to more than 20 grams in a packaged Butterfinger candy bar.
Low saturated fat. The homemade version has just 2 grams saturated fat instead of the 5 grams in the store bought version. They are lower calorie and lower carb too.
-
1. Let peanut butter sit out until easy to stir. Alternatively, warm it in a saucepan on the stove top with the maple syrup and molasses.
-
2. Stir the softened nut butter, sweeteners, salt, and cereal in a large measuring cup or saucepan. Crush the cereal with a fork or heavy spatula, and keep stirring until all cereal is evenly coated.
-
3. Transfer the mixture to an 8 inch square pan lined with parchment paper. Smooth it down to fill the whole pan, or make thicker bars by only filling up half of the pan. Press down very firmly.
-
4. Place the pan of healthy Butterfingers in the freezer to harden.
-
5. Melt chocolate chips in the microwave or a double boiler. Pour the melted chocolate over the frozen Butterfingers or dip each bar in chocolate.
-
6. Freeze again to set the chocolate shell. If cutting into bars, remove from the freezer when the chocolate is still a little soft to prevent cracking. Slice into bars.
-
7. Store any leftovers tightly covered in the refrigerator for up to two weeks on in the freezer for up to three months.
More healthy candy bar recipes
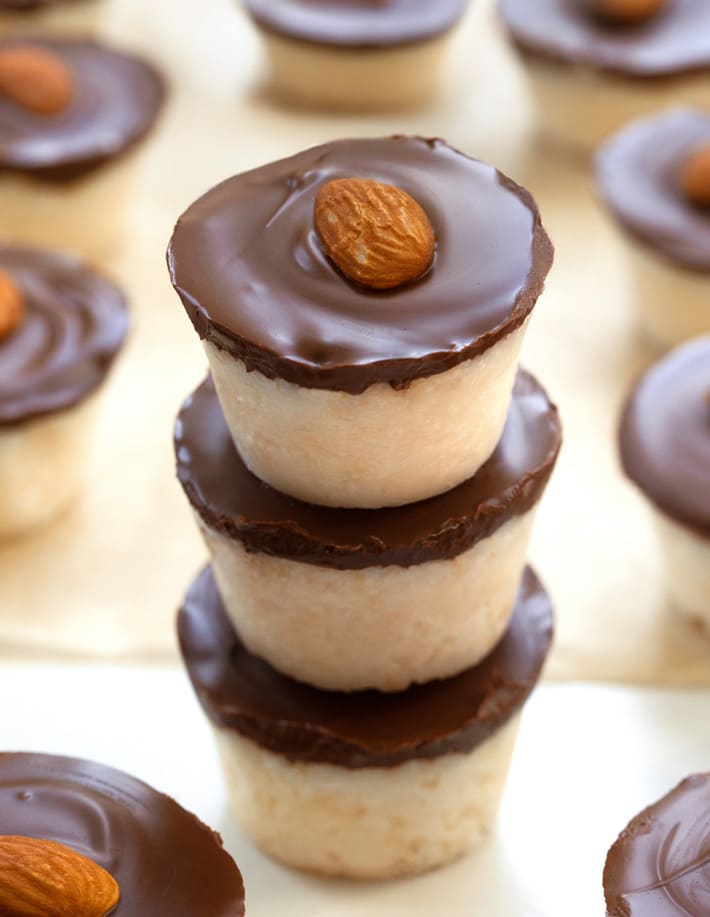
Healthy Almond Joy
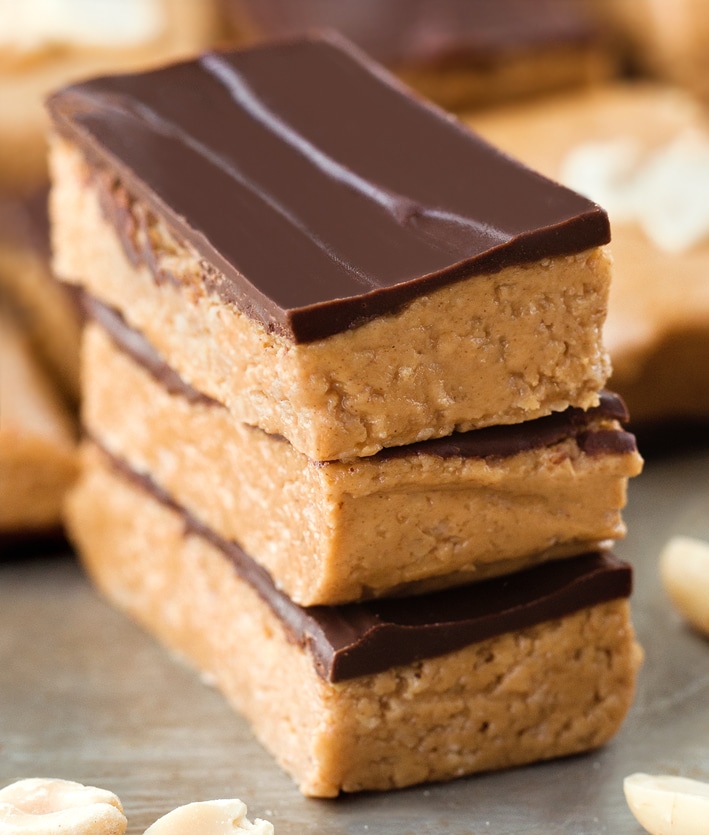
Protein Bars

Vegan Toffee
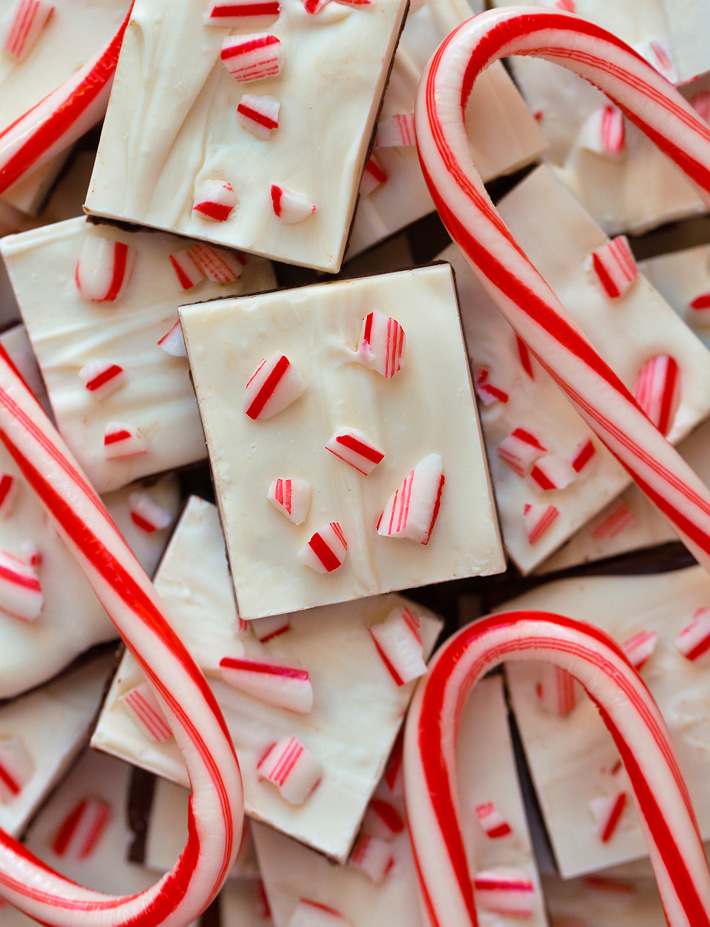
Vegan Peppermint Bark
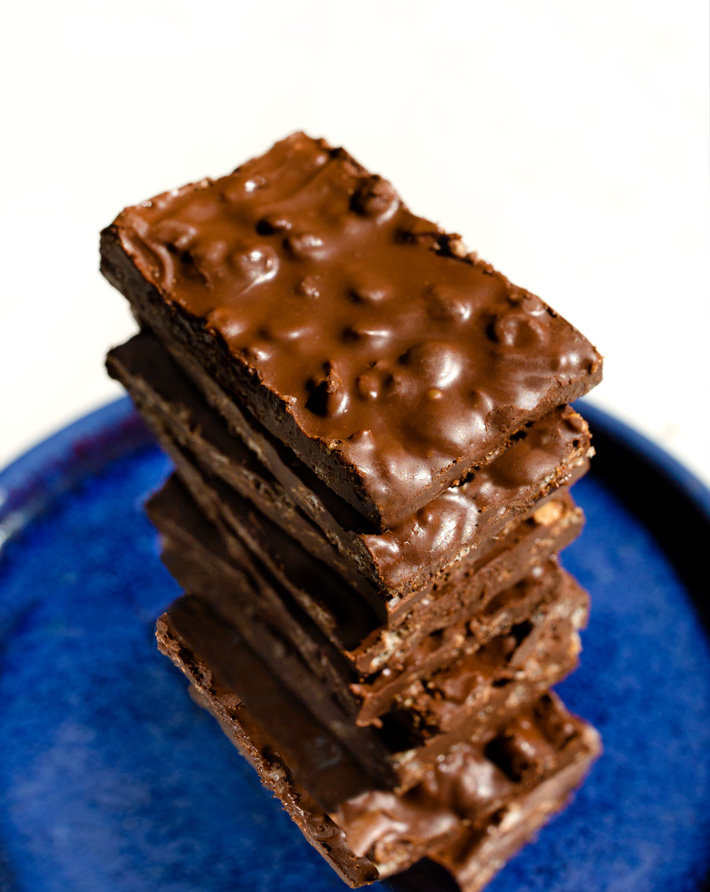
Homemade Crunch Bars
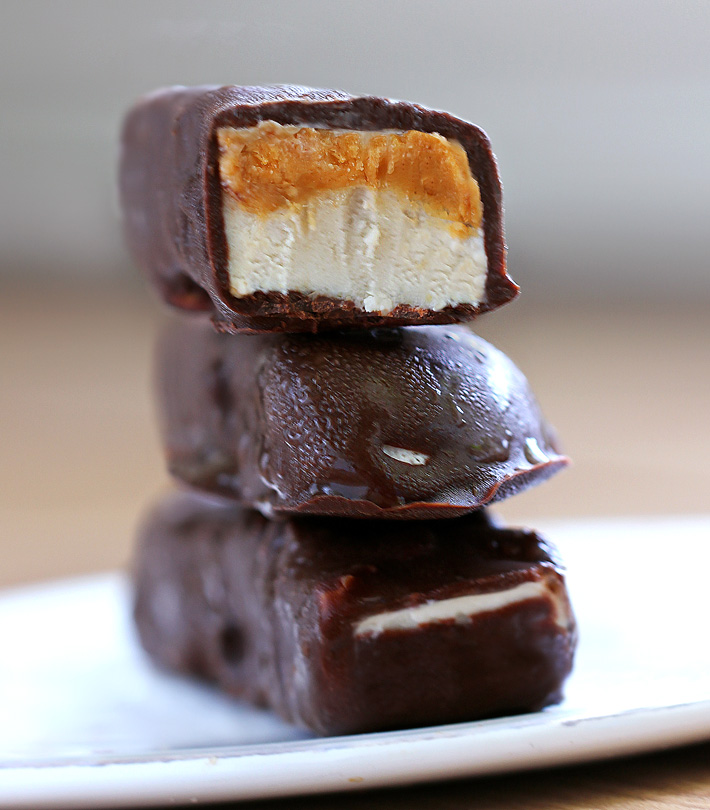
Snickers Ice Cream Bars
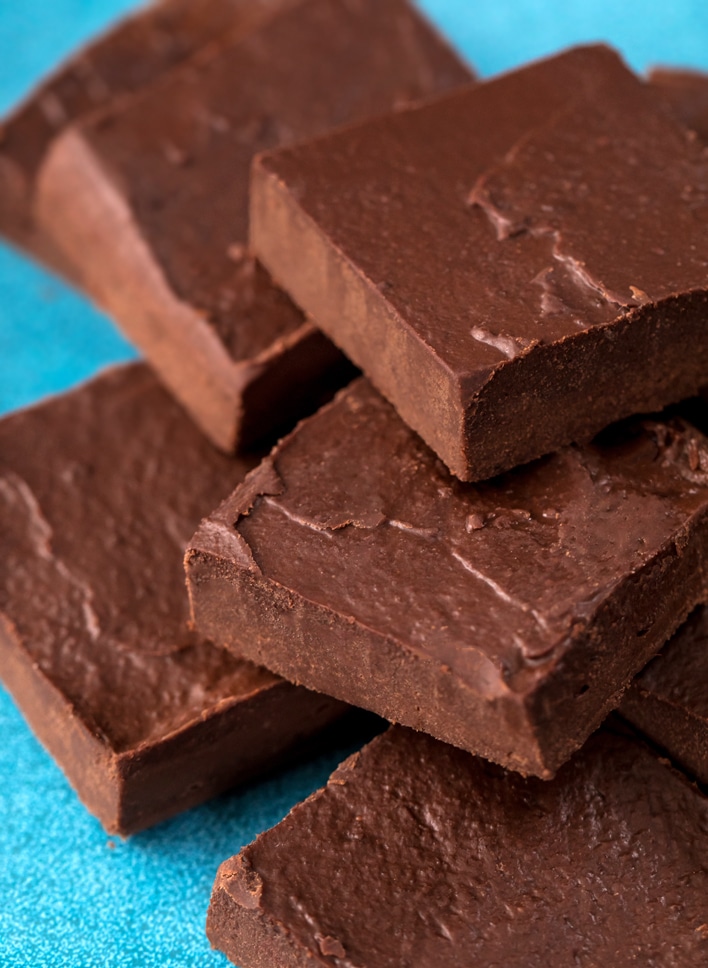
Healthy Chocolate Fudge
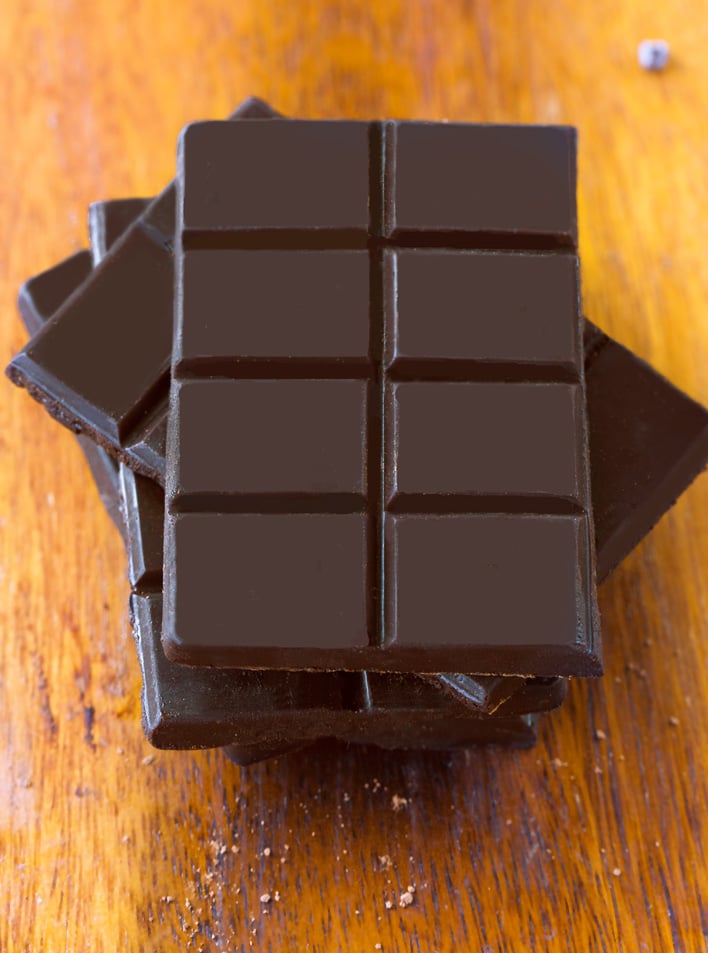
Homemade Chocolate Bars
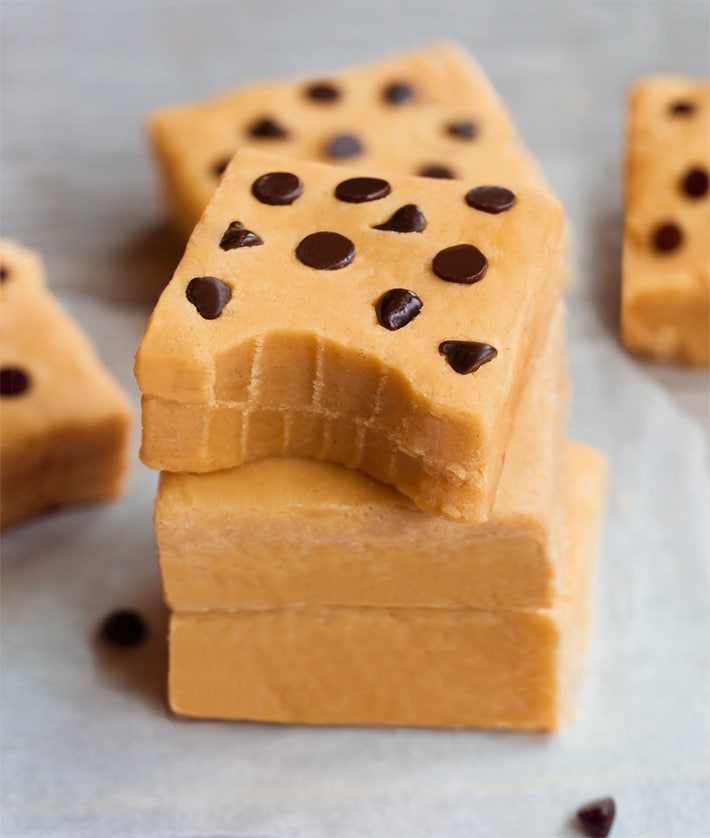
Healthy Peanut Butter Fudge
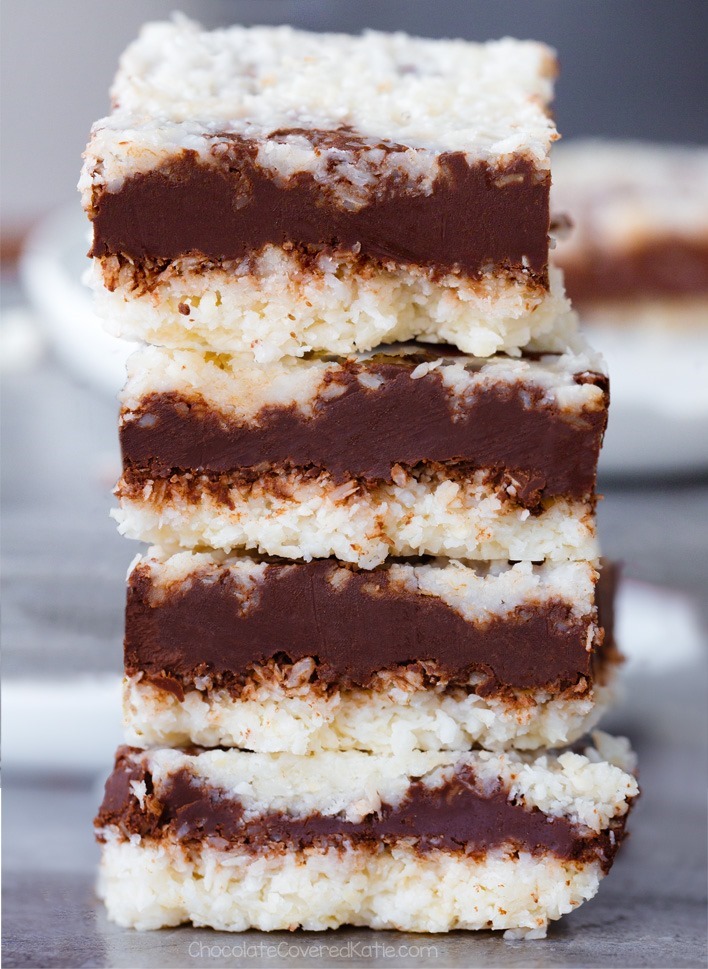
Chocolate Coconut Bars
More About The Cookbook