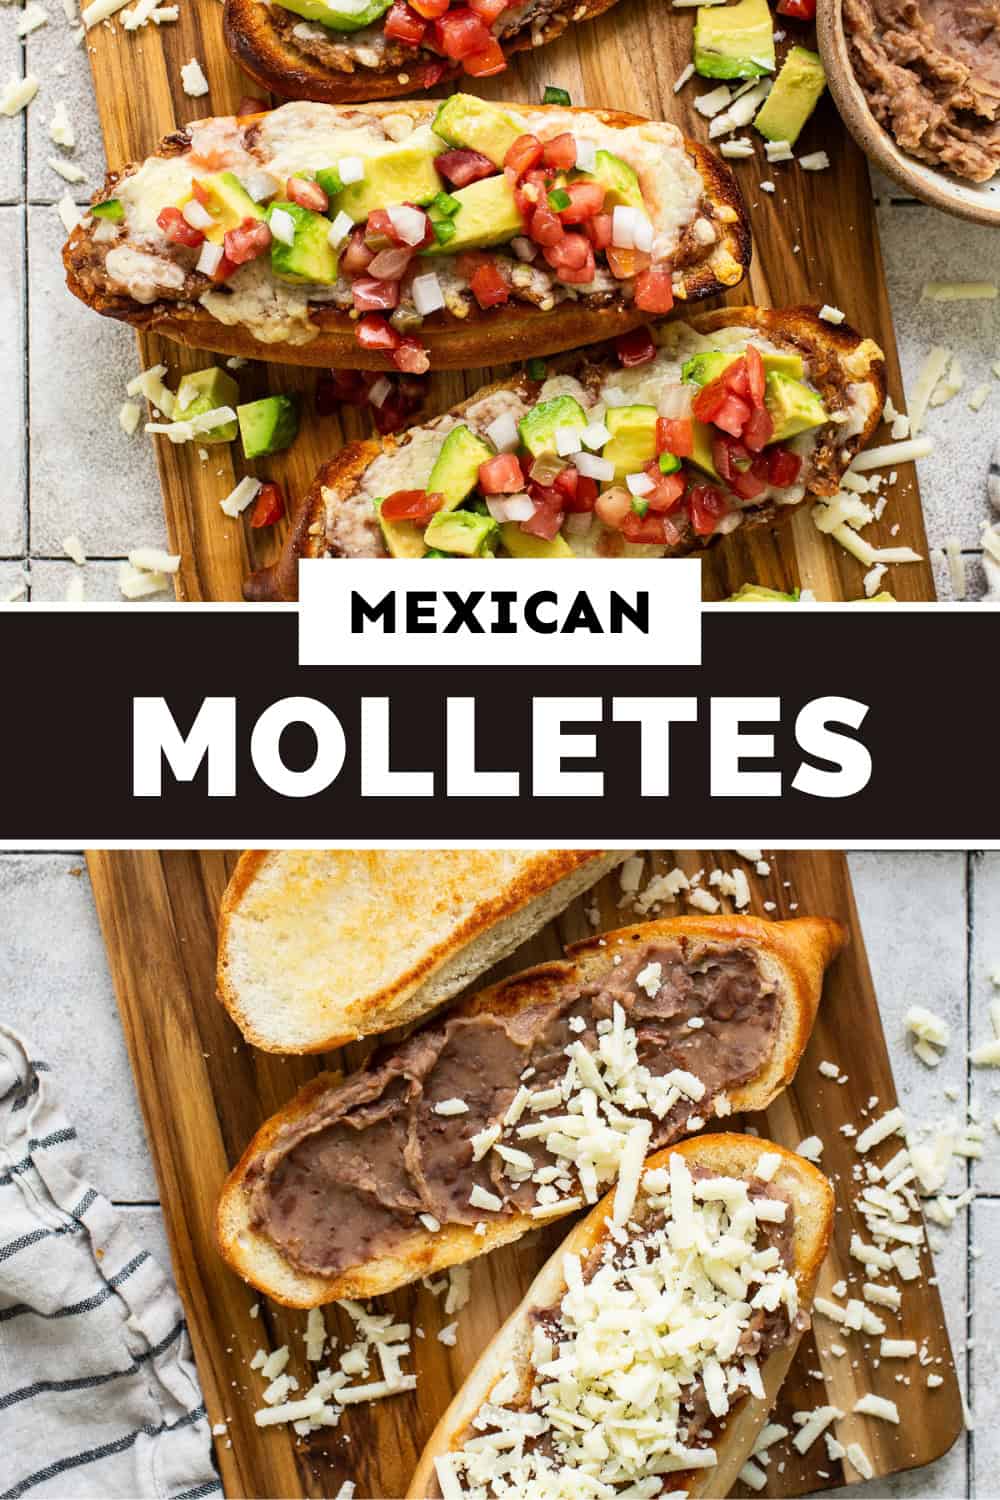
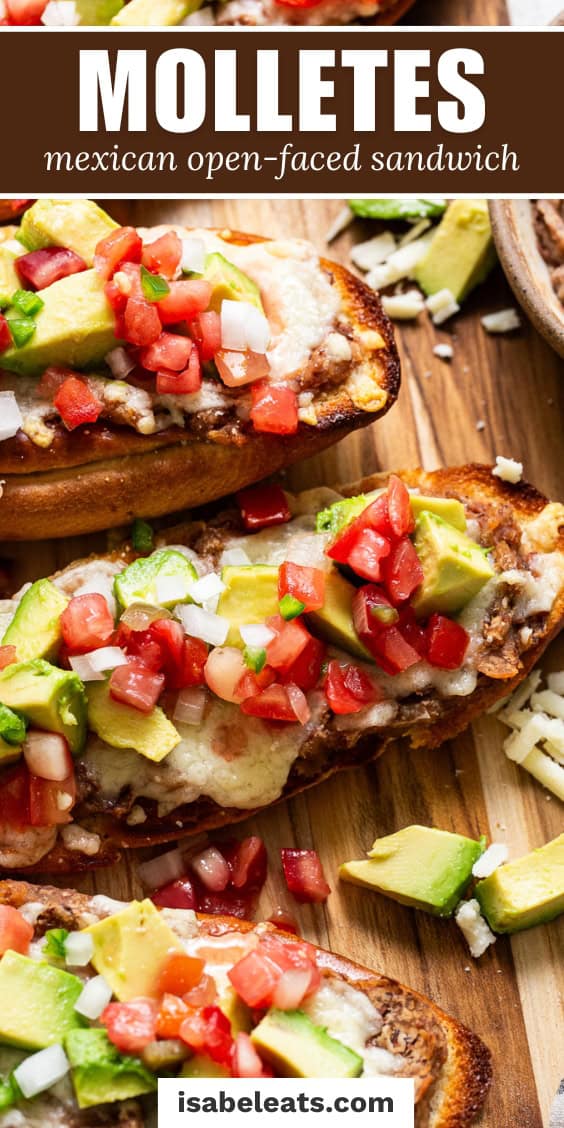
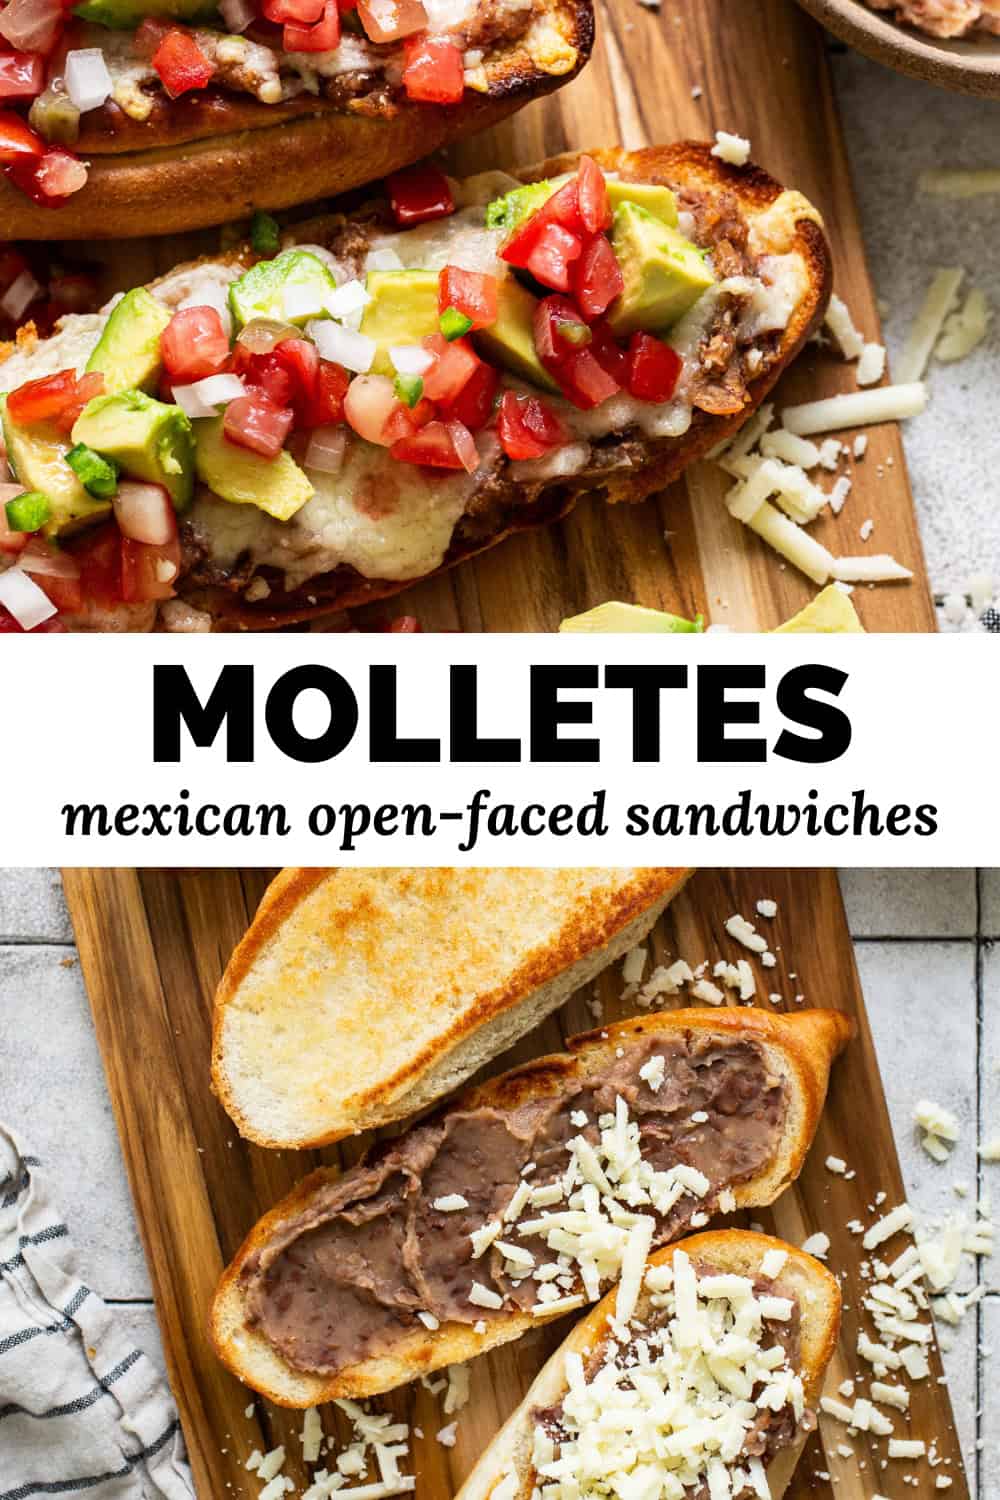
Molletes are a simple yet flavorful Mexican open-faced sandwich made with toasted bolillo rolls, refried beans, and melted cheese. Perfect for breakfast, lunch, or a quick snack, they’re best enjoyed with fresh salsa or pico de gallo on top.
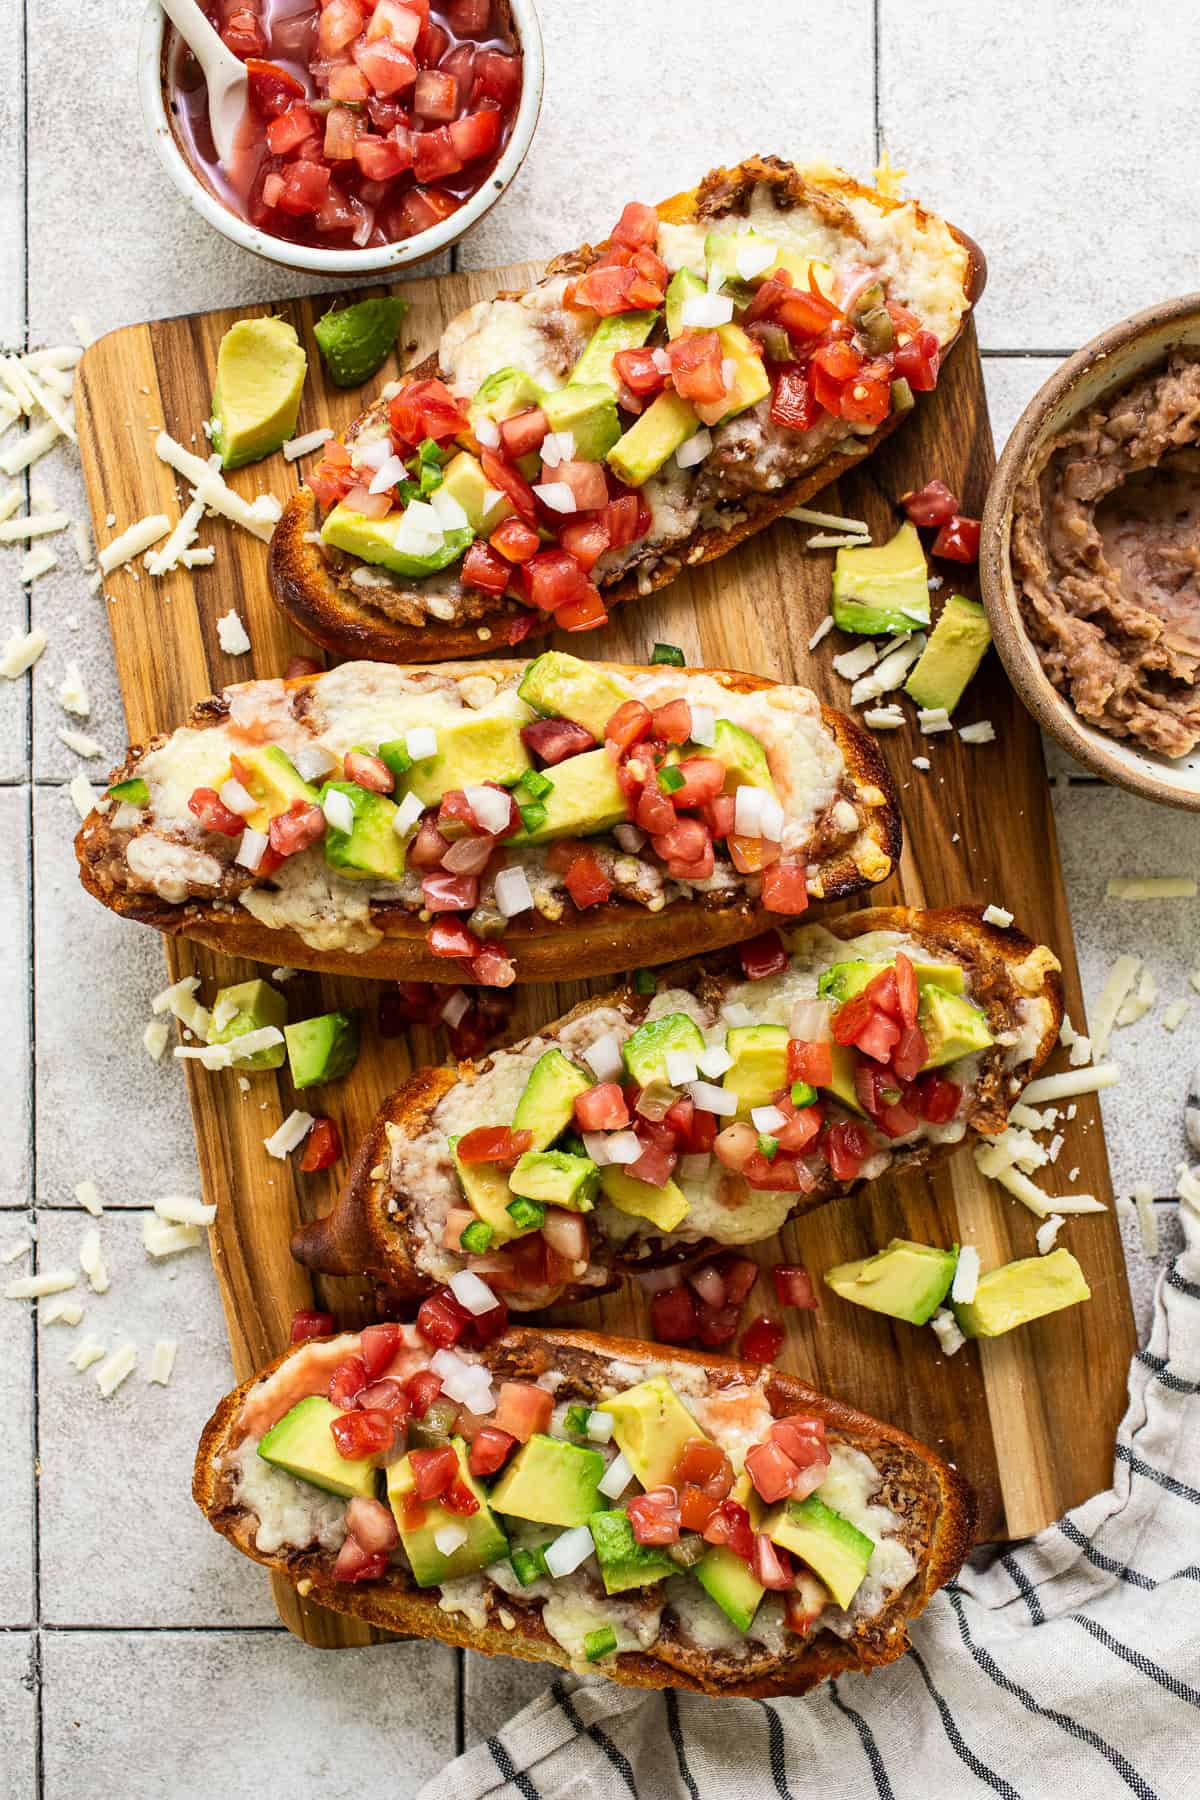
I was first introduced to molletes when my sister made them for our weekly Sunday lunch with my family. When I asked her how she made them, I was surprised at how simple and easy they were to make so I had to develop the recipe to share with you. Here’s why I love this recipe:
- It’s quick and easy: This recipe is ready in 15 minutes from start to finish, making them a great meal or quick snack.
- Simple ingredients: Molletes only use 5 ingredients, all of which are budget-friendly.
- Easily customizable: You can make molletes perfect for you in so many ways. Add different protein options, toppings, or cheese.
What Are Molletes?
Molletes are a traditional Mexican open-faced sandwich that features refried beans and melted cheese on top of a crispy crusted bolillo bread. It’s often topped with salsa or pico de gallo along with other optional toppings like avocados or even chorizo.
They’re popular all over Mexico and are the perfect meal or breakfast, lunch, dinner, or on-the-go snack.
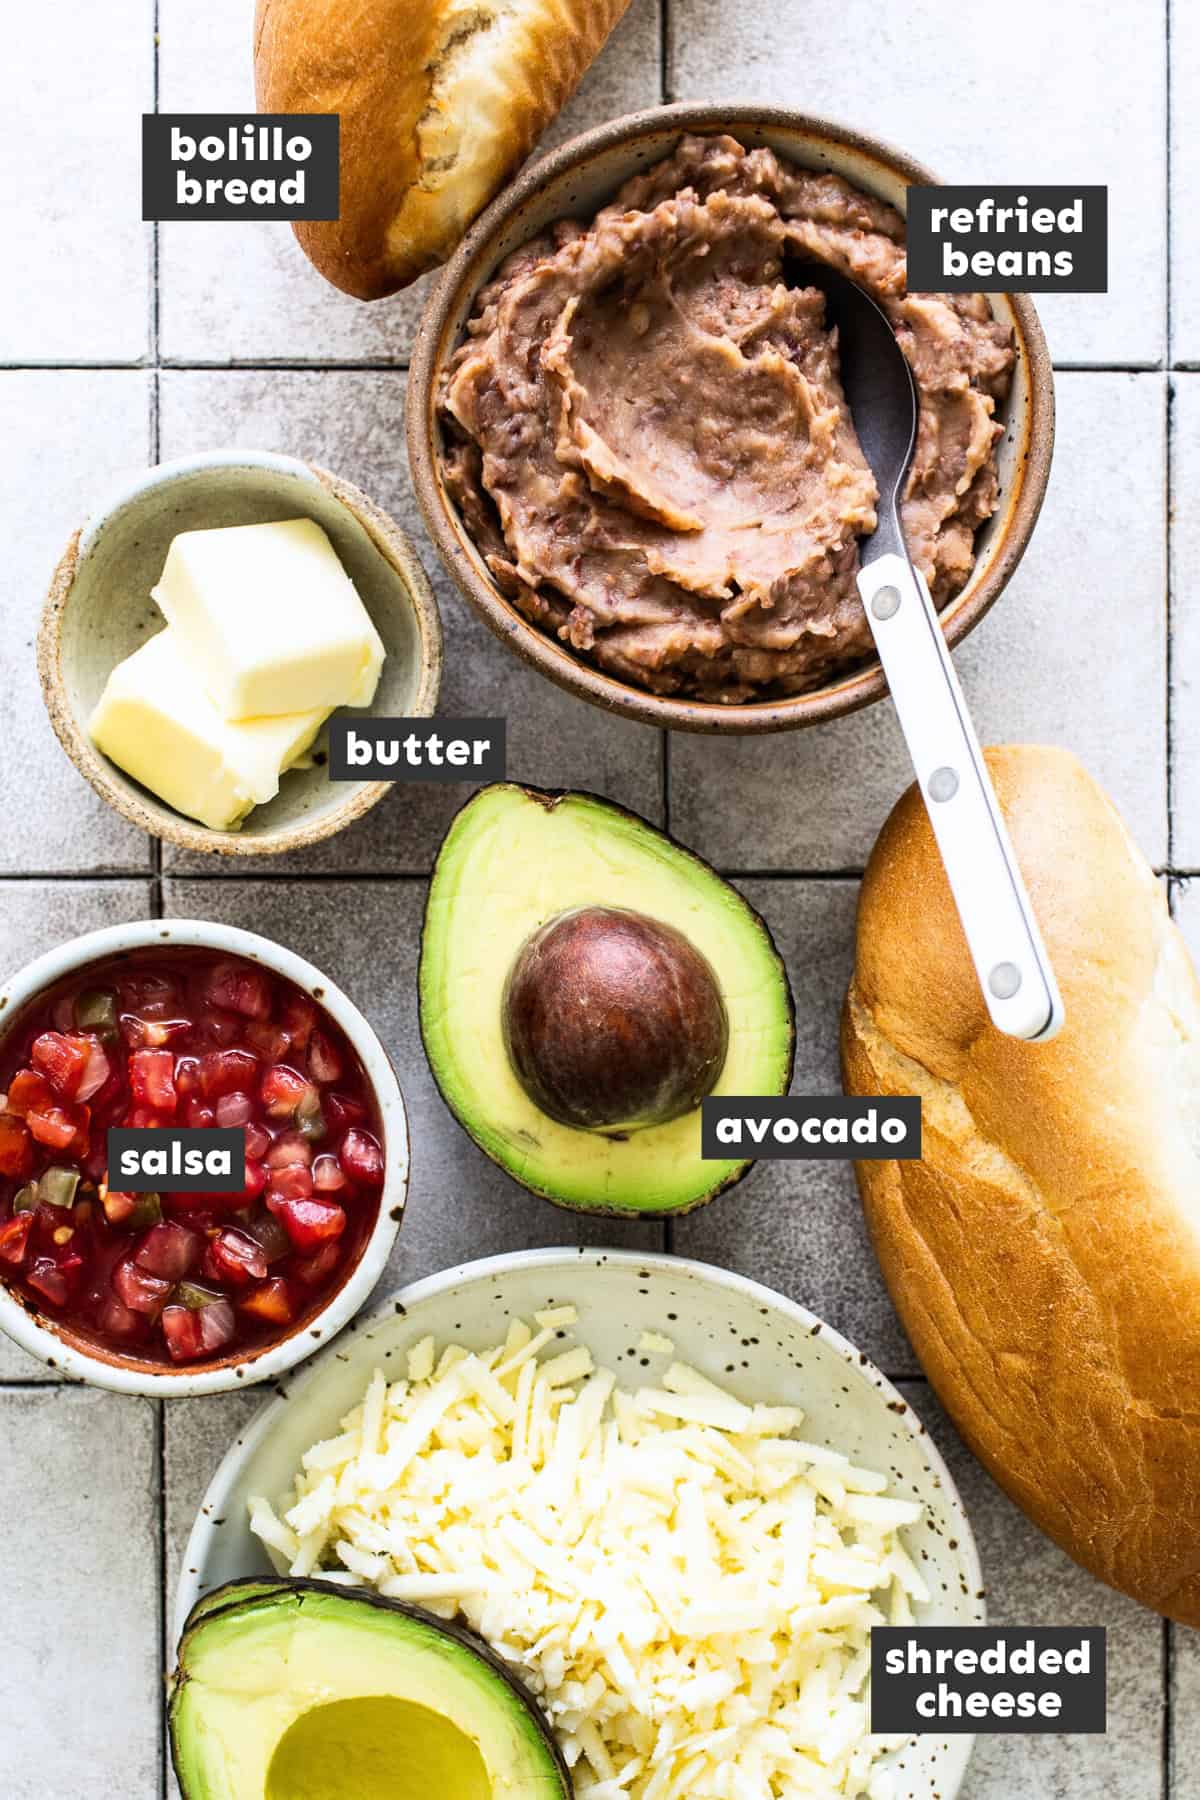
Ingredients
- Bolillo bread: Good bolillo bread is important for this recipe. You can make your own using my bolillo bread recipe, or you can find them at your local Mexican bakery or grocery store.
- Salted butter: I used salted butter to toast my bolillo bread. It adds some richness and saltiness, but you can also use unsalted butter or even margarine.
- Refried beans: I recommend using homemade refried beans since nothing beats the taste. If you’re short on time, you can use store-bought or canned refried beans.
- Cheese: Savory and easily melted cheese is also what makes molletes so delicious. I recommend Monterey jack, Chihuahua, Oaxaca (quesillo) or quesadilla cheese.
- Toppings: Molletes are usually topped with pico de gallo or salsa, but the topping options are really endless. See the Tips and Variations section below for some of my recommendations.
How to Make Molletes
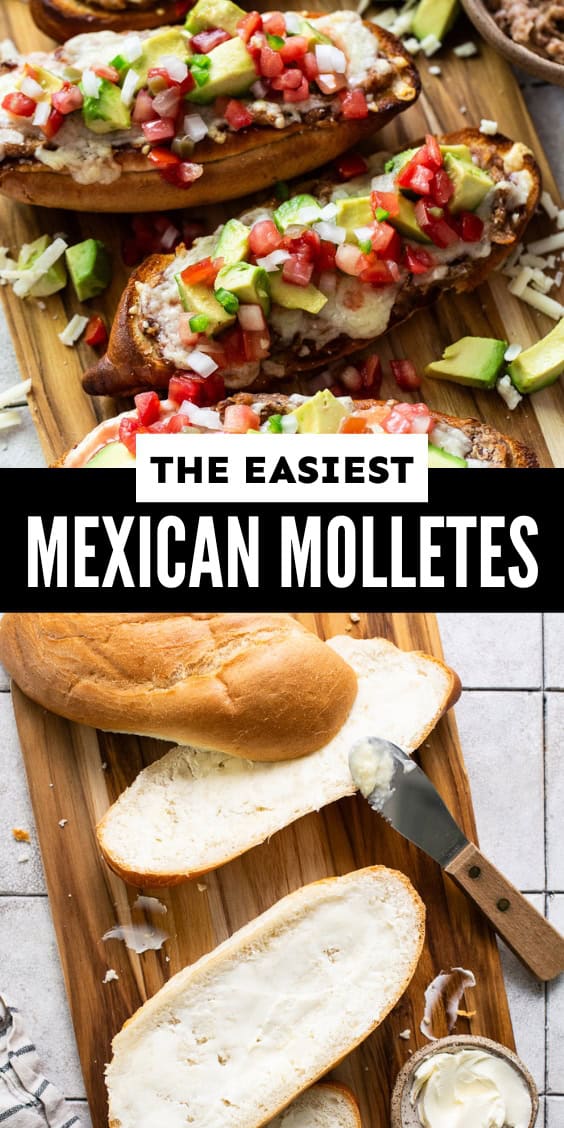
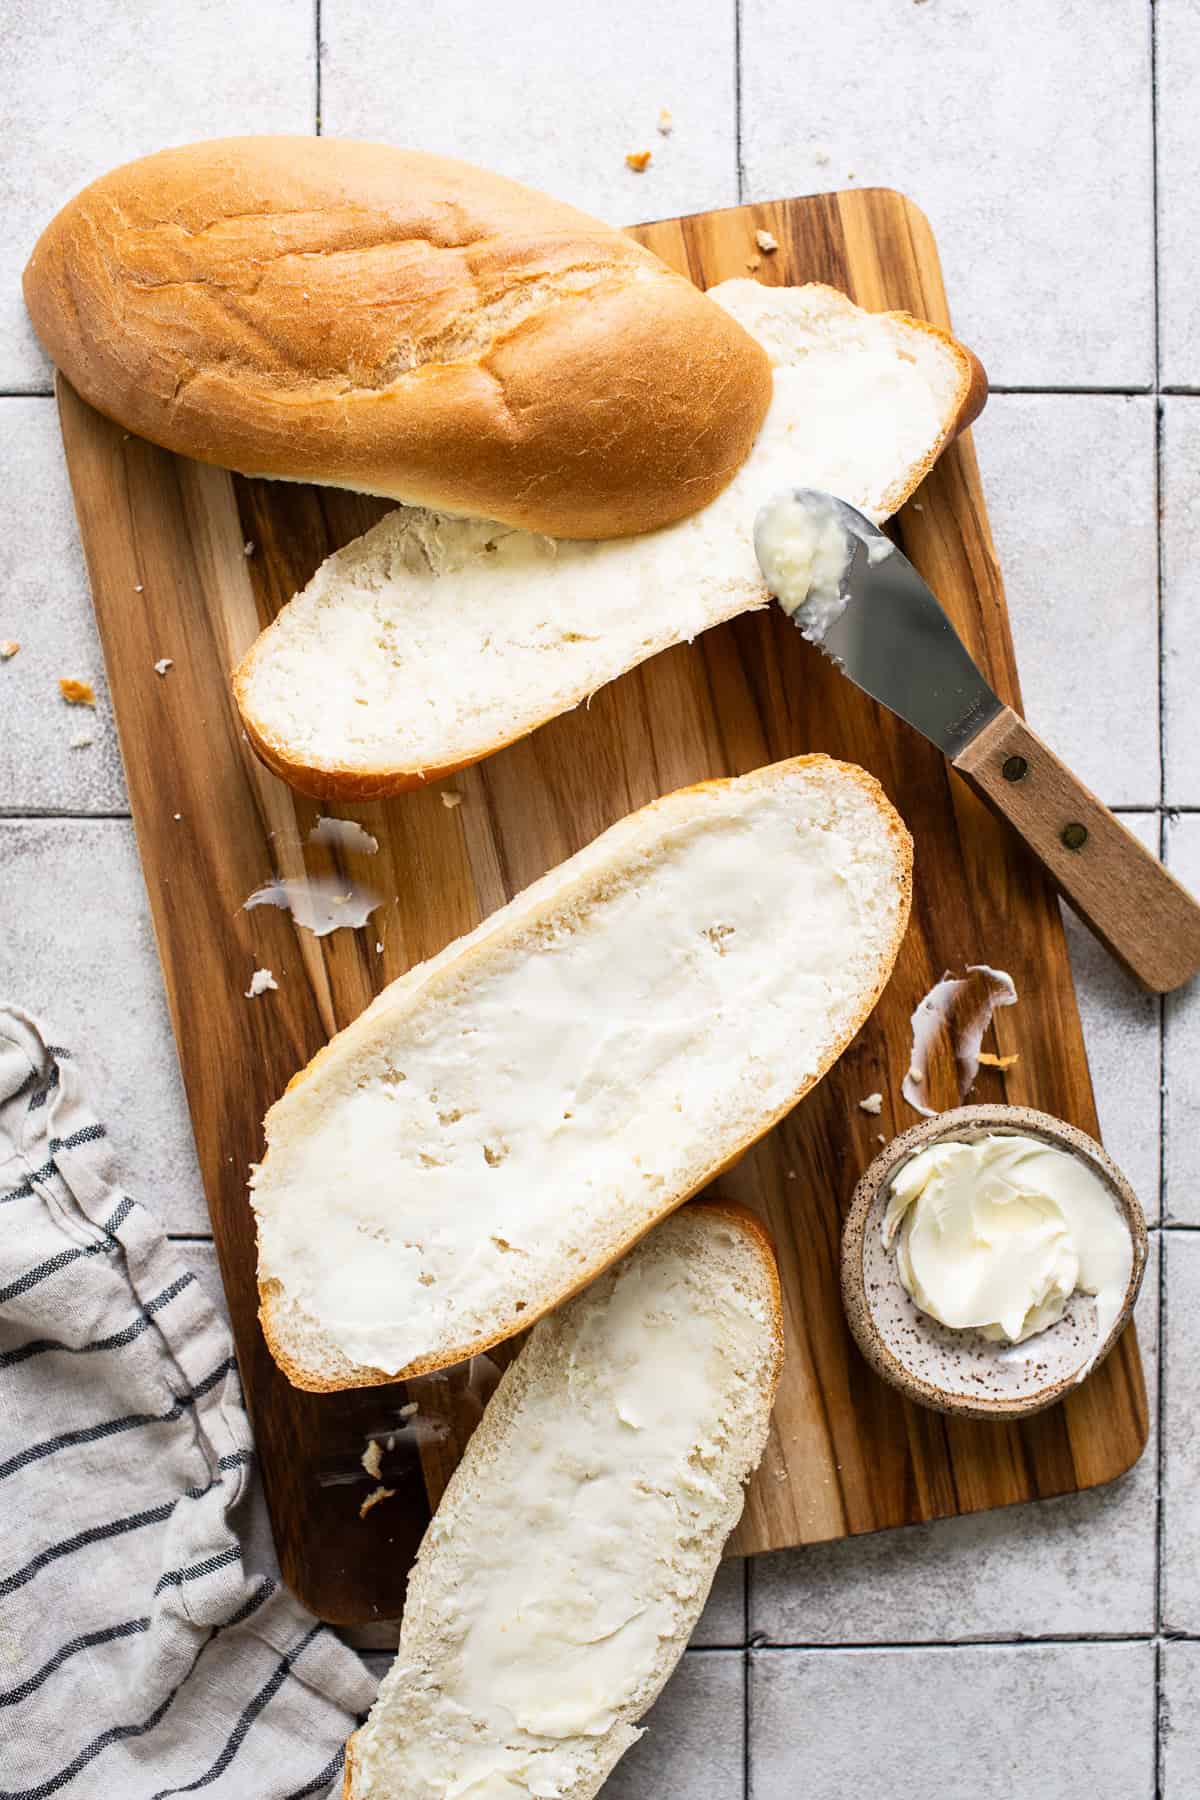
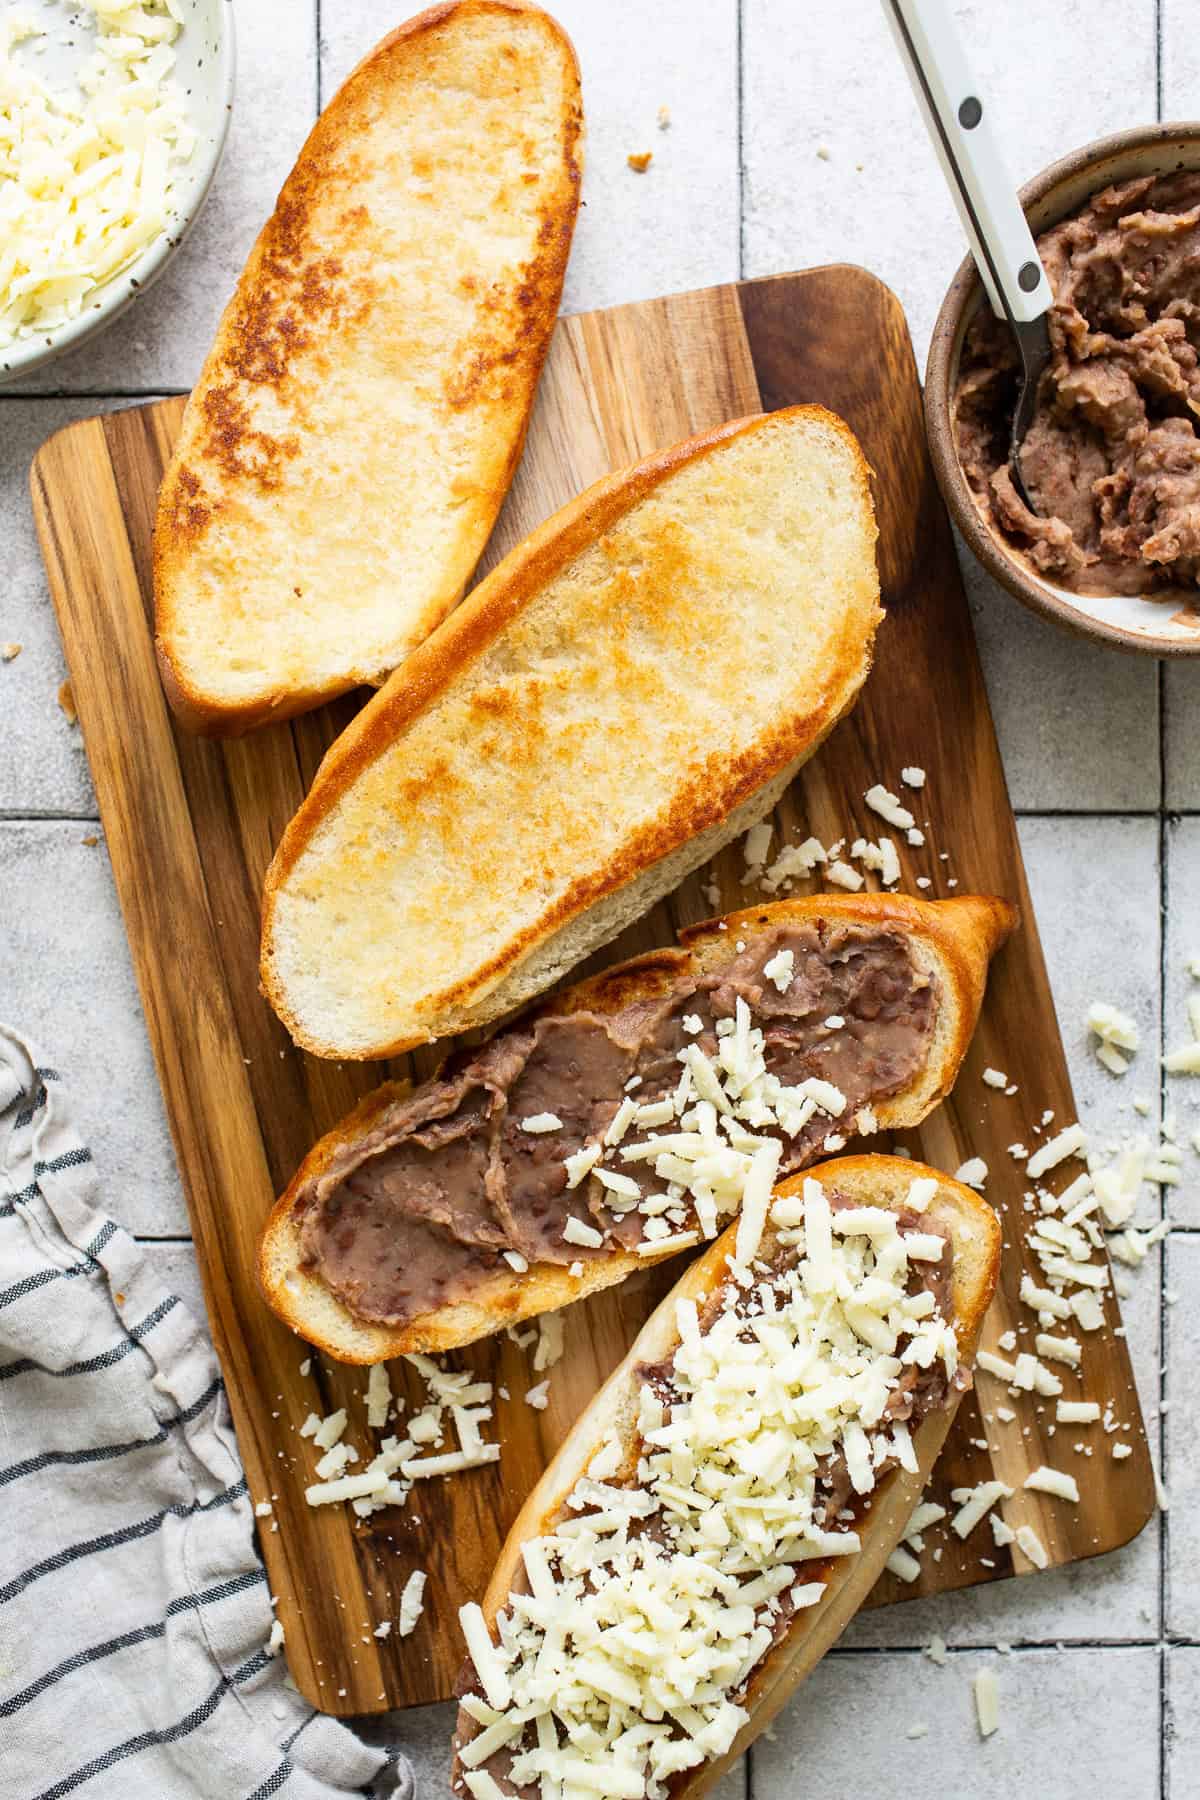
Prepare the bolillo bread by slicing them in half lengthwise. Spread ½ a tablespoon of butter on each half and arrange them on a baking sheet lined with parchment paper.
Broil the bolillo bread for 2-3 minutes, making sure to place them on the middle rack of the oven so they don’t burn. You can also toast the bolillo on a nonstick skillet over medium-high heat.
Remove the bolillo from the oven. Spread ¼ cup of refried beans on the bolillo in an even layer. Sprinkle ¼ – ½ cup of shredded cheese on top, based on the size of your bolillo.
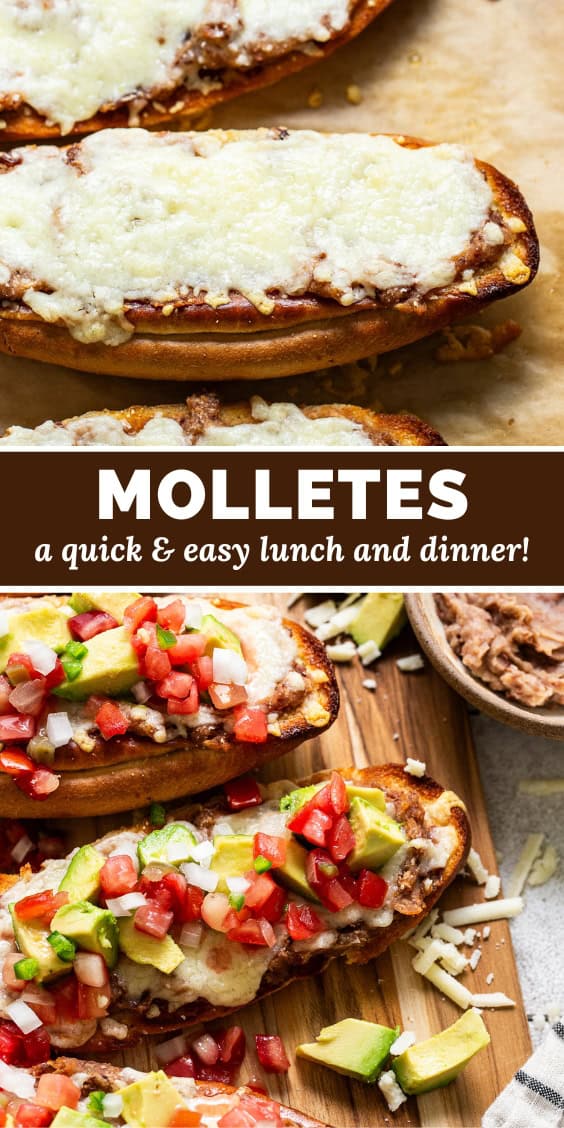
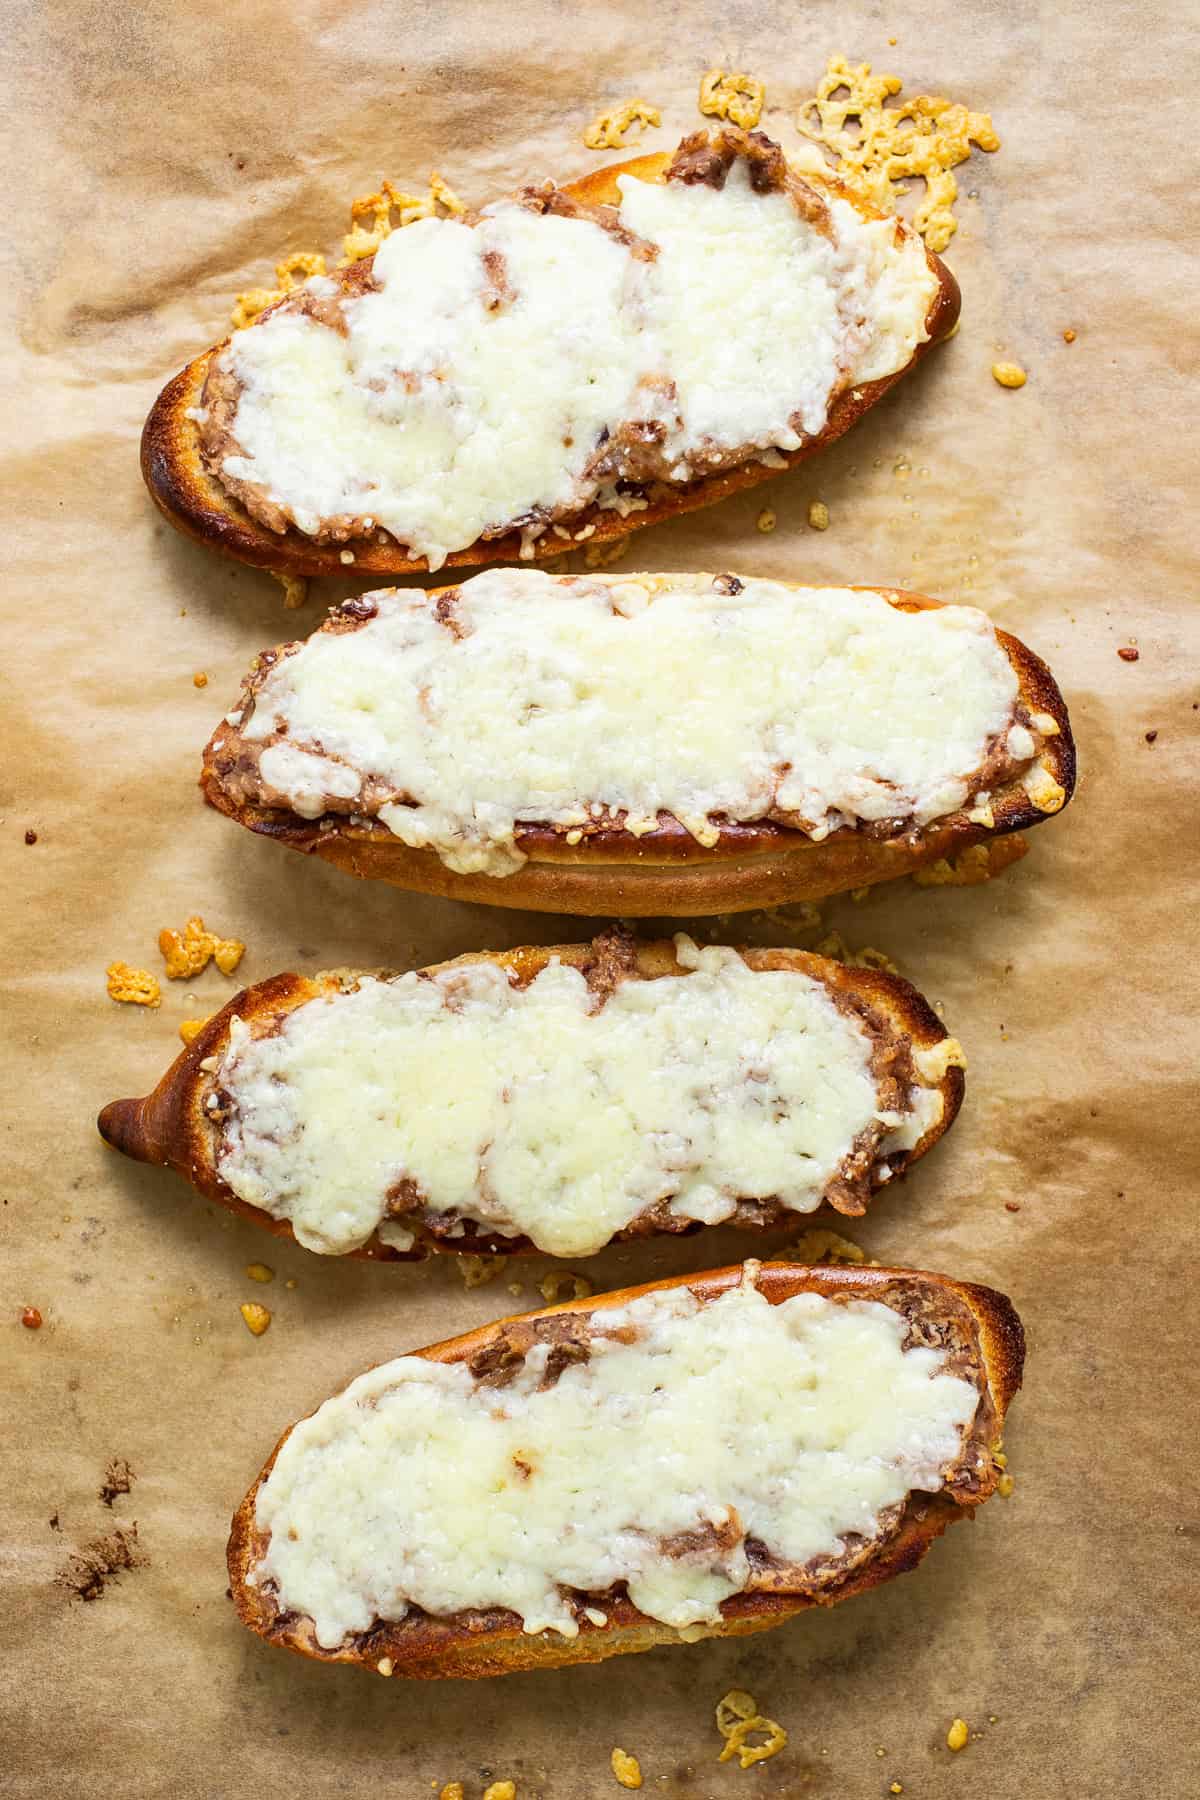
Return the molletes to the oven and broil for an additional 3-4 minutes until the cheese has fully melted and bubbly. Keep an eye on them so they don’t burn.
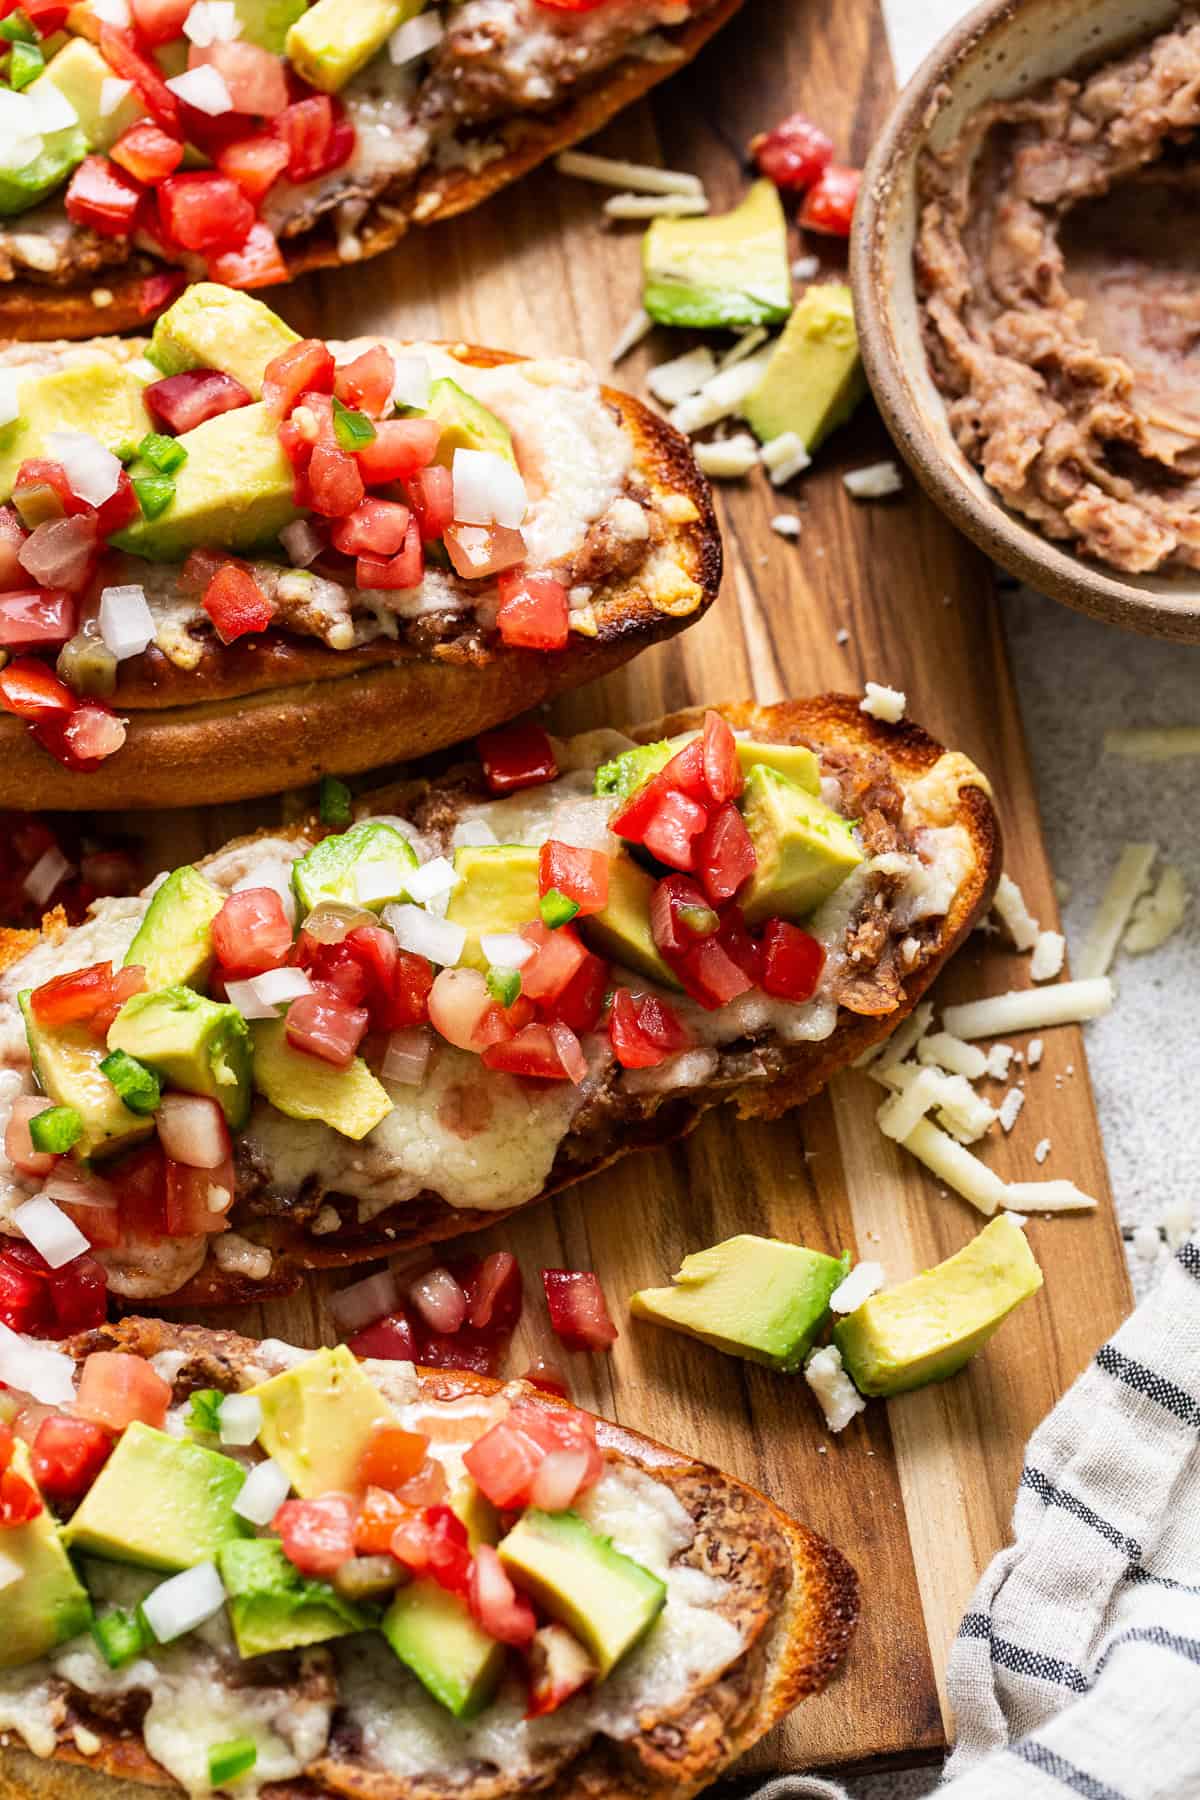
Remove them from the oven and top with your favorite toppings like pico de gallo and salsa. Serve immediately.
Tips and Variations
Molletes are easily customizable and the variations are endless. Here are some of my suggestions:
- Don’t have bolillo bread? You can use French bread or telera rolls instead.
- If you don’t like refried pinto beans, you can use refried black beans instead.
- Use your favorite cheese. A cheese that melts easily like Monterey jack, Colby jack, Chihuahua, Oaxaca (quesilllo), quesadilla cheese, or mozzarella is best.
- Add some protein. Make molletes more filling by adding your favorite protein like chicken tinga, carne asada, birria, barbacoa, or even chorizo and eggs.
Choose Your Toppings
Molletes only require a few simple ingredients, so the toppings help add lots of flavor. Here are some of my favorites:
Storing and Reheating
To store, remove the toppings and store the molletes and toppings in separate airtight containers. Place in the refrigerator for up to 4 days.
To reheat, place the molletes in the oven and broil in the center rack for 2-3 minutes until warmed. Add your desired toppings. You can also place them in the air fryer for a couple of minutes.
More Mexican Recipes
Molletes
Ready in only 15 minutes, this Molletes recipe is made with all the Mexican staples – bolillo bread rolls, refried beans and cheese!
Instructions
-
Preheat the oven to 400℉. Line a large baking sheet with parchment paper.
-
Slice the bolillos in half lengthwise and spread ½ tablespoon of butter on each slice.
-
Heat a large skillet over medium-high heat. Place the bread in the skillet buttered side down, and toast for 3-5 minutes until lightly golden brown.
-
Place the toasted bolillo halves on the prepared baking sheet buttered side up and top each half with a layer of ¼ cup refried beans and ¼ – ½ cup shredded cheese.
-
Bake in the oven for 12-15 minutes until the cheese has melted and is bubbly. Make sure to keep an eye on it during this time as the bread can quickly start to burn.
-
Top each slice with 2 tablespoons of pico de gallo or fresh salsa and some diced avocado. Serve immediately.
Notes
- Cheese: Instead of shredded Monterey Jack cheese, you can use any other melty cheese you have on hand. A classic Mexican melty cheese that’s often used is Chihuahua cheese, or you could also use Mozzarella.
- Bolillo Bread: If you can’t find bolillo bread rolls, you can use telera bread or any French bread.
- Refried Beans: Refried black beans are more traditionally served with molletes, but refried pinto beans also work!
- Butter: Adding salted butter adds more depth of flavor, but you can omit it completely or use unsalted butter or margarine.
- To make the molletes a bit more filling, you could also add crumbled chorizo, shredded chicken, or ground beef.
Nutrition Information
Serving: 1slice, Calories: 415kcal (21%), Carbohydrates: 38g (13%), Protein: 15g (30%), Fat: 24g (37%), Saturated Fat: 10g (50%), Polyunsaturated Fat: 2g, Monounsaturated Fat: 9g, Trans Fat: 0.2g, Cholesterol: 43mg (14%), Sodium: 1034mg (43%), Potassium: 317mg (9%), Fiber: 7g (28%), Sugar: 7g (8%), Vitamin A: 714IU (14%), Vitamin C: 7mg (8%), Calcium: 249mg (25%), Iron: 3mg (17%)
This post was originally published in June 2020 and has been updated with new photos and more helpful tips.
Photography by Ashley McLaughlin.


