



Freezer Meal Prep System
· Guide · Freezer Organization
You’ve got a freezer full of Lego Lunches and a plan for how they all fit together. You’ve done the work; this is the one step to not skip. Two habits that set you up for success. Label everything before it freezes, and sort by category instead of chaos, and your freezer starts working like a set of Lego bricks (hence the term, Lego Lunch): uniform, stackable, and built to snap out exactly the piece you need.
We used to wing it too. Bags went in wherever they’d fit, and future us was supposed to just remember. Future us never remembered. We portion everything into Souper Cubes trays because they pop out clean, uniform cups and half-cups every time, but a perfectly portioned cube of bourbon chicken looks exactly like a perfectly portioned cube of pork adobo once it’s frosted over in a bag. The fix wasn’t a better freezer or a smarter app; it was two boring habits: write the label before the bag freezes, not after, and sort by category instead of whatever order things got cooked in. A Sharpie and three plastic bins, and dinner goes from a ten-minute excavation to a ten-second grab.
🏷️ Exactly What to Write on Every Label
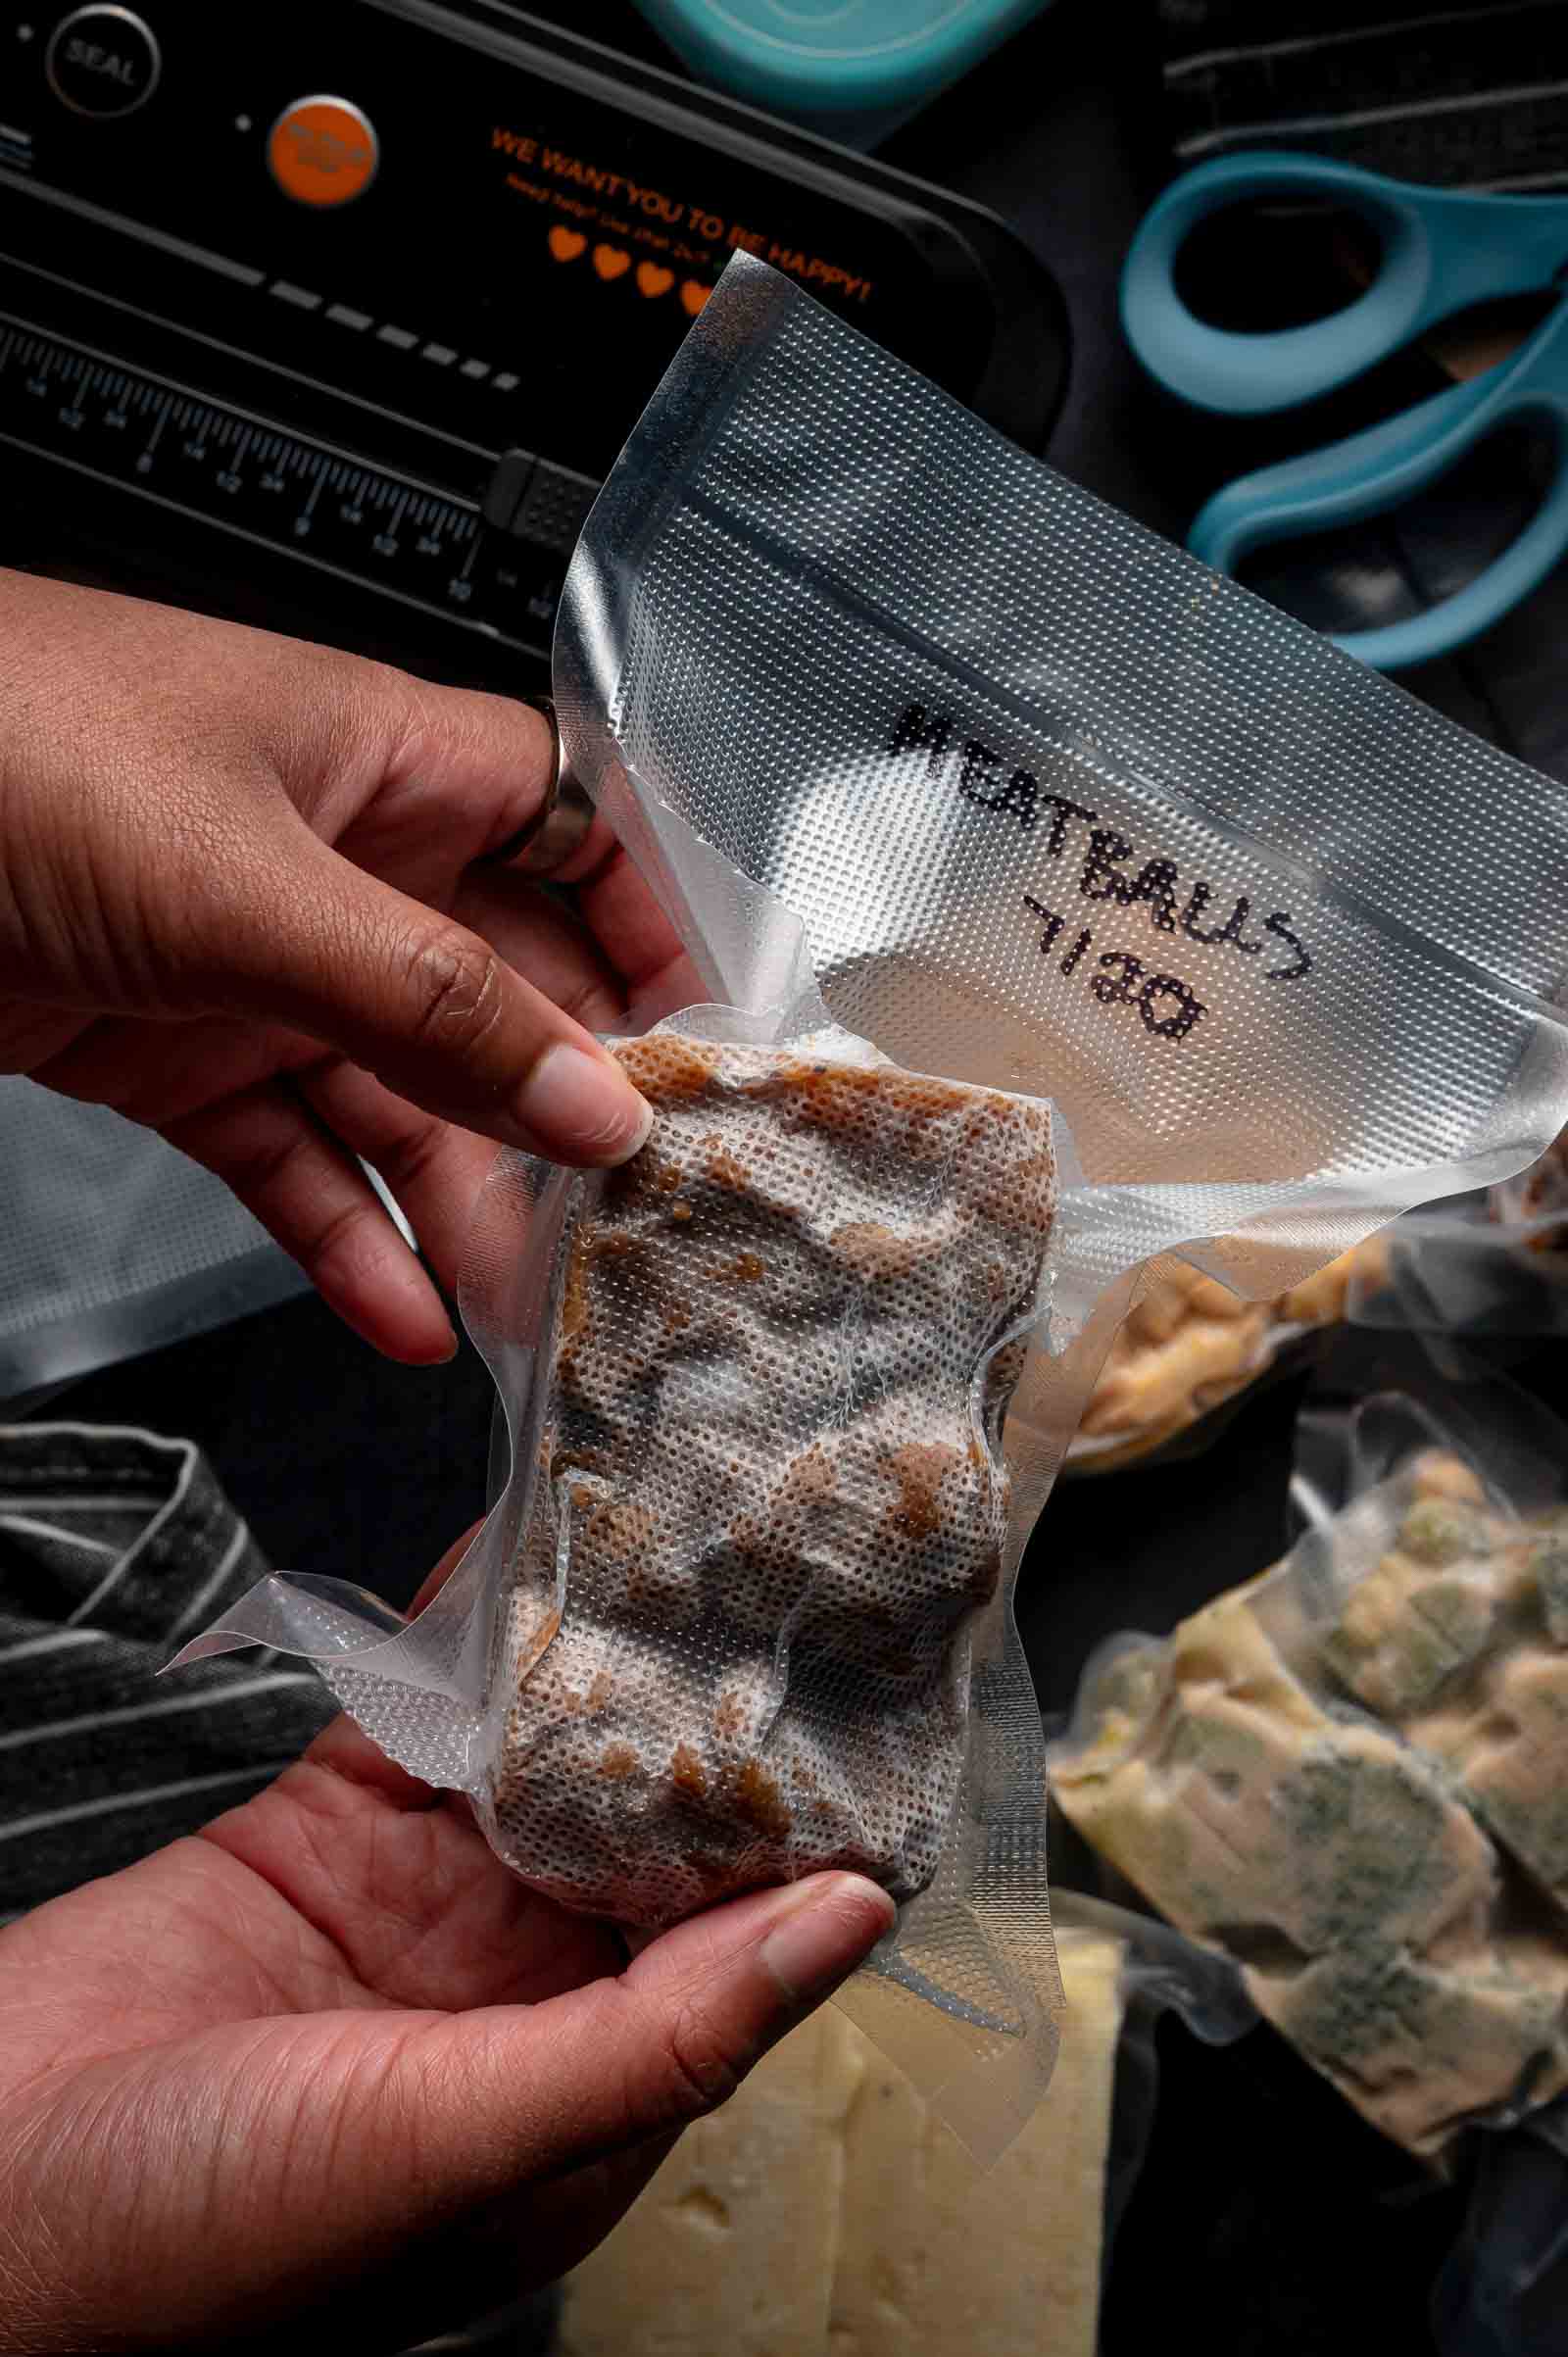
Every portion in this system gets the same three-piece label, no exceptions: recipe name, freeze date, and portion size or mold type. Not a story, not a guess at reheat time, just the three facts you need to grab the right bag without opening it.
Bourbon Chicken
Frozen 7/12 · 1-cup portion
Stick of Butter Rice
Frozen 7/12 · ½-cup portion
Lemon Garlic Broccolini
Frozen 7/12 · 1-cup portion
The freeze date matters more than most people treat it. It’s what lets you track the how long freezer meals last window without doing math from memory. And the mold type or portion size on the label saves you from opening a bag just to check whether you’re looking at a single serving or enough for the whole table. Write the label before the bag goes in the freezer, not after. Once it’s frozen solid, marker doesn’t stick to frosted plastic and you’ll be back to guessing.
📦 The Bin System
Labels tell you what’s in a bag. Bins tell you where to look for it. Inside our own chest freezer (er, freezers….), we run small bins split by category. When it’s dinner and you need a protein, you go straight to the protein bin instead of digging through the whole freezer past rice and broccolini to find it.
This matters more as the system grows. One Cook Set is five different recipes. Run three of our tested recipe sets, and you’ve got fifteen recipes in rotation, all frozen solid, all roughly the same size and shape once they’re bagged flat. Without bins, that’s a science experiment waiting to happen. With bins, it’s organized bliss for busy nights. If you want to see what a fully stocked freezer under this system looks like, Cook Set 1, Bold & Saucy is built exactly for this kind of category-based storage.
The Gear Behind our Lego Lunch Recipes
Every step above assumes you have got the right sealer and the right molds. See the exact FoodSaver sealer and Souper Cubes mold set GC runs this whole system on, plus the budget-friendly swap, in one place.
See the Full Equipment Guide →
🔄 First In, First Out
Every portion holds its best quality for up to three months, but only if you rotate through what’s frozen instead of burying it. New batch goes in, push it to the back, pull the older bags forward, same protein, same category, oldest out first. Skip it, and the same bag sits at the bottom past its window, headed for freezer burn instead of dinner.
“The newest bag is always the easiest one to grab. That’s exactly the one you shouldn’t grab first.”
🚫 What to Avoid
| Mistake | Fix |
|---|---|
| Stacking bags loosely, no bin | Loose bags shift and hide behind each other. Sort into category bins the moment they’re frozen. |
| Pencil or fading marker | If you can’t read it in six weeks, it didn’t work. Use permanent marker or a freezer-rated label. |
| Reusing a bag, no relabel | Wiping a bag clean doesn’t wipe the memory of what it held. New contents get a new label every time. |
| Mixing Cook Sets, one bin | Bourbon chicken from three weeks ago and three months ago look identical once frozen. The freeze date is what separates them. |
Unlock the Full System
Sign up and get every new Cook Set the moment it drops, plus the full Freezer Meal Prep System, tested recipes portioned to mix and match. All FREE.
📋 Shopping Lists
📅 Sunday Cook Order
🔄 Mix & Match Cheat Sheet
Guides Worth Bookmarking
Quick Summary
Label every portion with recipe name, freeze date, and portion size before it goes in the freezer. Sort by category into small labeled bins, and rotate older portions to the front so nothing sits forgotten past its three-month window. Two habits, and your freezer starts snapping together like the system it’s supposed to be. For the labels, bags, and bins we use, see the Freezer Meal Prep Equipment Guide.
❓ FAQs
Use a permanent marker on a dry bag before it goes into the freezer, or write on a freezer-rated adhesive label first and stick that on. Marker written directly on a frosted or wet bag smears and fades fast. Write it dry, write it early.
Either works. What matters is the bin setup inside it, not the freezer style. A chest freezer needs bins so you’re not digging straight down through layers. An upright works well because you can shelve bins by category at eye level. Pick whichever freezer you already have and organize it the same way.
Treat it as first out, not last. Thaw it enough in the fridge to check color and smell before you decide what it is, and if you can’t tell what it is, don’t gamble on dinner, toss it. Going forward, keep the marker sitting right next to the bags so labeling happens before freezing, not after.
Even one shallow bin or basket per category beats loose bags. If space is tight, at minimum keep proteins in one stack, starches in another, and vegetables in a third, front to back by date, even without a physical bin dividing them.
Yes. Vacuum-sealed bags run colder and smoother than zip bags, so marker needs to go on before sealing, not after, while the bag is still warm and dry from the sealer. Check vacuum sealing and freezer burn for how the sealing step itself affects how long that label holds up.