



You know that first cold Sunday when the whole house wants something in the oven all afternoon? That’s our apple cider braised pork. A couple hours in, the kitchen smells like an orchard fell into a pot roast, and the family starts wandering through asking when dinner is. If this isn’t fall on a plate, we’re not sure what is.
You get to lift the lid at the table while everyone leans in hungry and ready to dig in. The pork falls apart on the fork, but the apples go in late, so they’re still wedges instead of applesauce. If you loved our apple cider chicken thighs last fall, this is their Sunday roast upgrade.
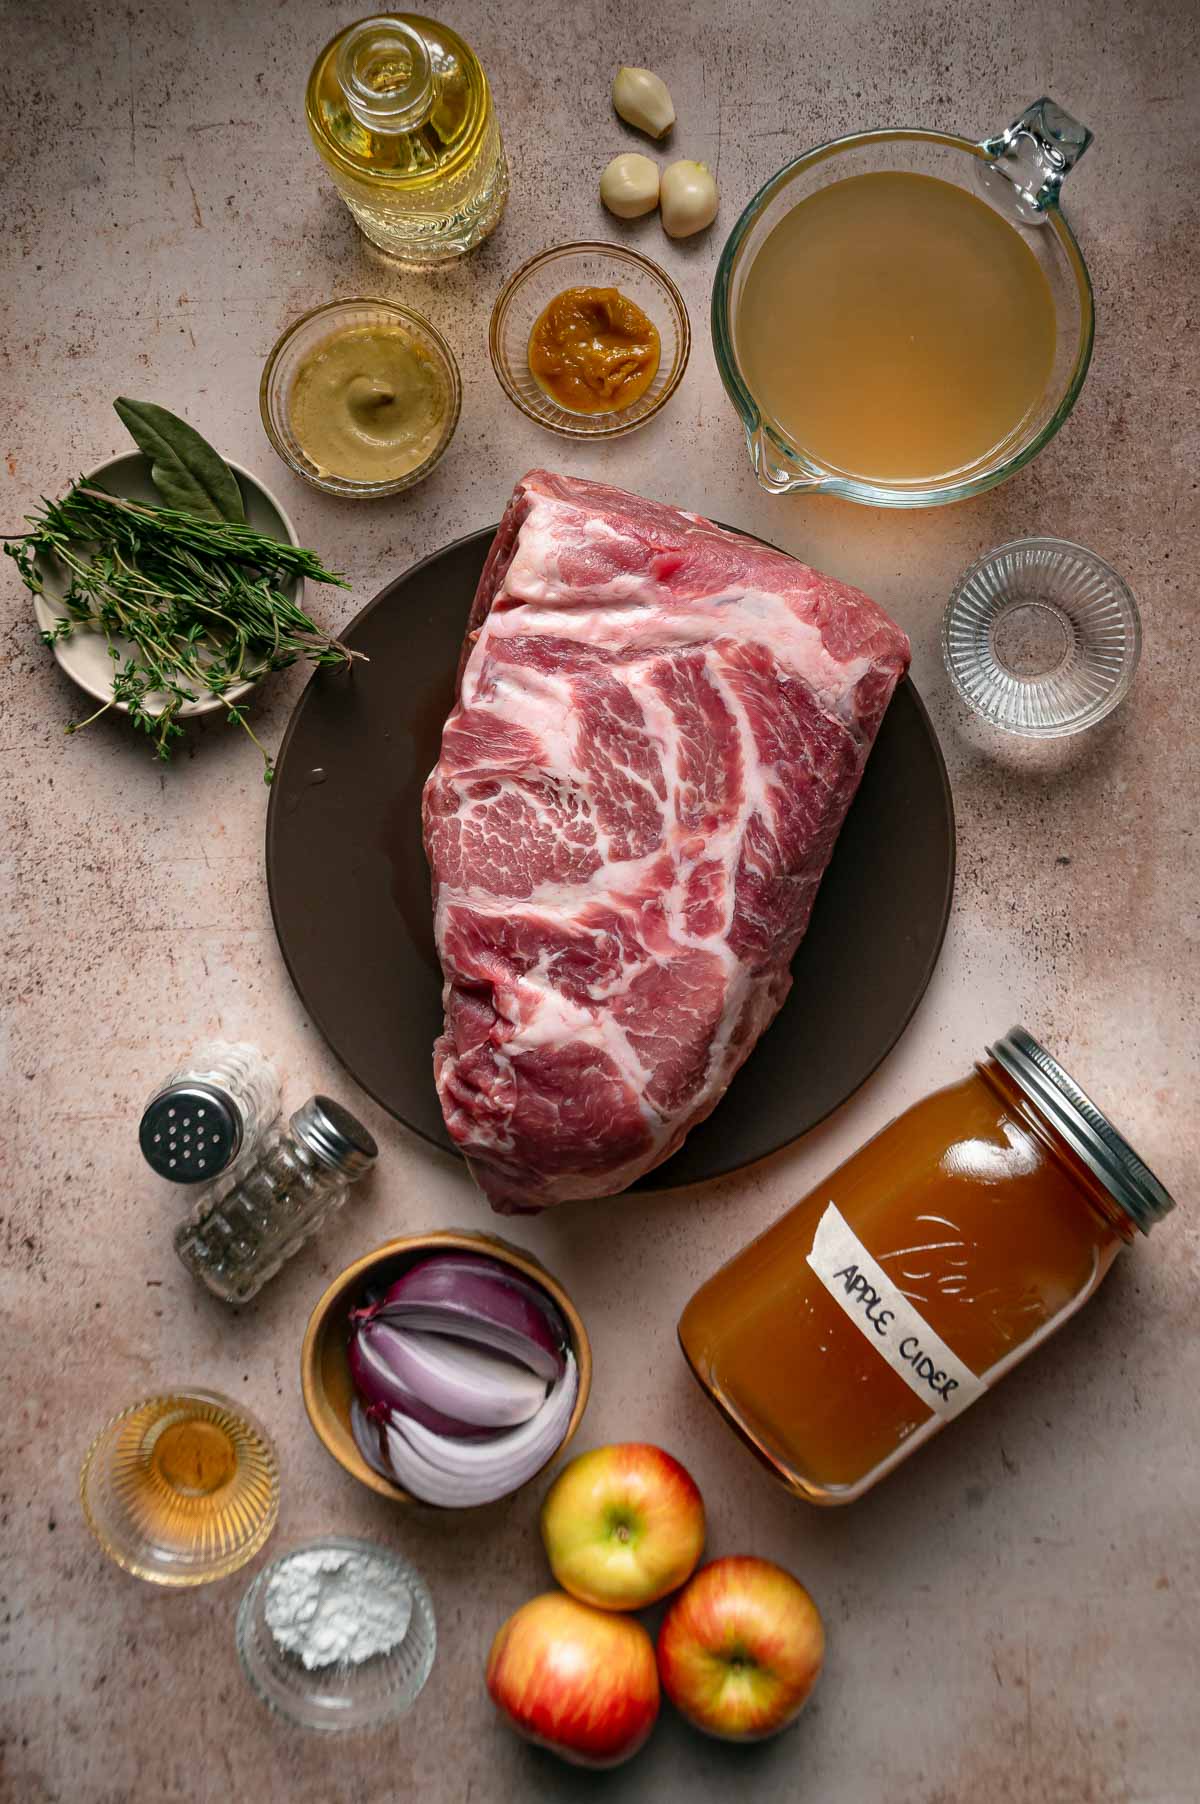
🔪 Ingredients for Apple Cider Braised Pork
If you know our cider braised pork short ribs, this is the other one. Those start with a cut you usually have to order online and a splash of white wine. This one starts with a grocery store pork shoulder, skips the wine, and finishes the braising liquid as a glossy cider gravy. More ways to cook the cut live in our pork shoulder recipes.
- Pork shoulder: sold as pork shoulder or pork butt (Boston butt), the upper half of the same shoulder. Both braise the same way. Not sure which one you’re holding? Here’s pork shoulder vs. pork butt.
- Kosher salt and black pepper
- Avocado oil: high smoke point, so the sear gets hot without the oil burning.
- Red onion: cut into ½ inch slices.
- Garlic: minced.
- Dijon mustard
- Fresh apple cider: the cloudy, unfiltered jug from the refrigerated case. Not hard cider, not sparkling.
- Low sodium chicken broth: low sodium because the cider, broth, and chicken base all concentrate over hours in the pot.
- Better Than Bouillon roasted chicken base: the broth brings the volume, the base brings the savory depth.
- Fresh thyme, fresh rosemary, and bay leaves
- Honeycrisp apples: cored and cut into thick wedges. Firm enough to go tender and still hold their shape.
- Cornstarch and cold water: the slurry that turns braising liquid into gravy.
- Apple cider vinegar: goes in last, off the heat, to brighten the sauce.
Equipment
- Dutch oven with a tight lid: the sear, the braise, and the gravy all happen in the same pot, whether it braises on the stovetop or in the oven.
- Instant read thermometer: this recipe runs on two checkpoints, 180 to 185°F before the apples go in and 195 to 205°F before dinner. A Thermapen reads both in seconds.
- Whisk and a small bowl: for a lump free cornstarch slurry.
- Paper towels: a dry surface is the difference between a crust and a steamed roast.
- Serving platter: the pork and apples rest here while the gravy comes together.
📝 How to Make Apple Cider Braised Pork
- If you’re braising in the oven, heat it to 325°F. Pat the pork dry with paper towels, then season it all over with the salt and pepper. Get the surface completely dry, because moisture on the pork is what keeps a crust from forming.
- Heat the Dutch oven over medium-high heat. Add the avocado oil, then the pork. Sear until the first side has a deep brown crust, 4 to 5 minutes, then turn and brown the remaining sides. Move the pork to a plate.
- Drop the heat to medium. Add the red onion and cook 3 to 4 minutes, stirring now and then, until softened. Add the garlic and cook about 30 seconds, until fragrant.
- Stir in the Dijon and cook about 30 seconds. Pour in the apple cider and scrape across the bottom of the pot to release the browned bits. Bring it to a simmer and cook 5 to 7 minutes, until slightly reduced.
- Stir the chicken base into the chicken broth until it dissolves, then pour it into the pot. Return the pork and any juices from the plate. Tuck in the thyme, rosemary, and bay leaves.
Pick your heat. Both methods work well for pork shoulder and land in the same place. The oven surrounds the pot with even heat and asks less of you, while the stovetop needs a little more attention because all the heat comes from underneath.
Stovetop braising method
- Bring the braising liquid to a gentle simmer over medium heat. Drop the heat to low, cover, and braise about 2½ to 3 hours. Keep it at a very gentle simmer the whole time. If the bubbles stop, nudge the heat up a little. If it starts to boil, turn it down.
- Check the thickest part of the pork at about 2½ hours. It should be noticeably softer but still push back a little when you pierce it with a fork, and read about 180 to 185°F on an instant read thermometer.
- Add the apples, cover, and keep braising over low heat for 35 to 45 minutes at a gentle simmer, checking at 35. The pork is done between 195 and 205°F, when a fork slides in easily and the meat starts to separate with very little pressure. The apples should be tender but still holding their shape.
Oven braising method
- Cover the pot and move it to the 325°F oven. Braise 2½ to 3 hours, until the pork is noticeably softer but still pushes back a little when you pierce it with a fork. Check the thickest part with an instant read thermometer. It should read about 180 to 185°F at this stage.
- Add the apples, cover, and return the pot to the oven for 35 to 45 minutes, checking at 35. The pork is done between 195 and 205°F, when a fork slides in easily and the meat starts to separate with very little pressure. The apples should be tender but still holding their shape.
Finish the sauce
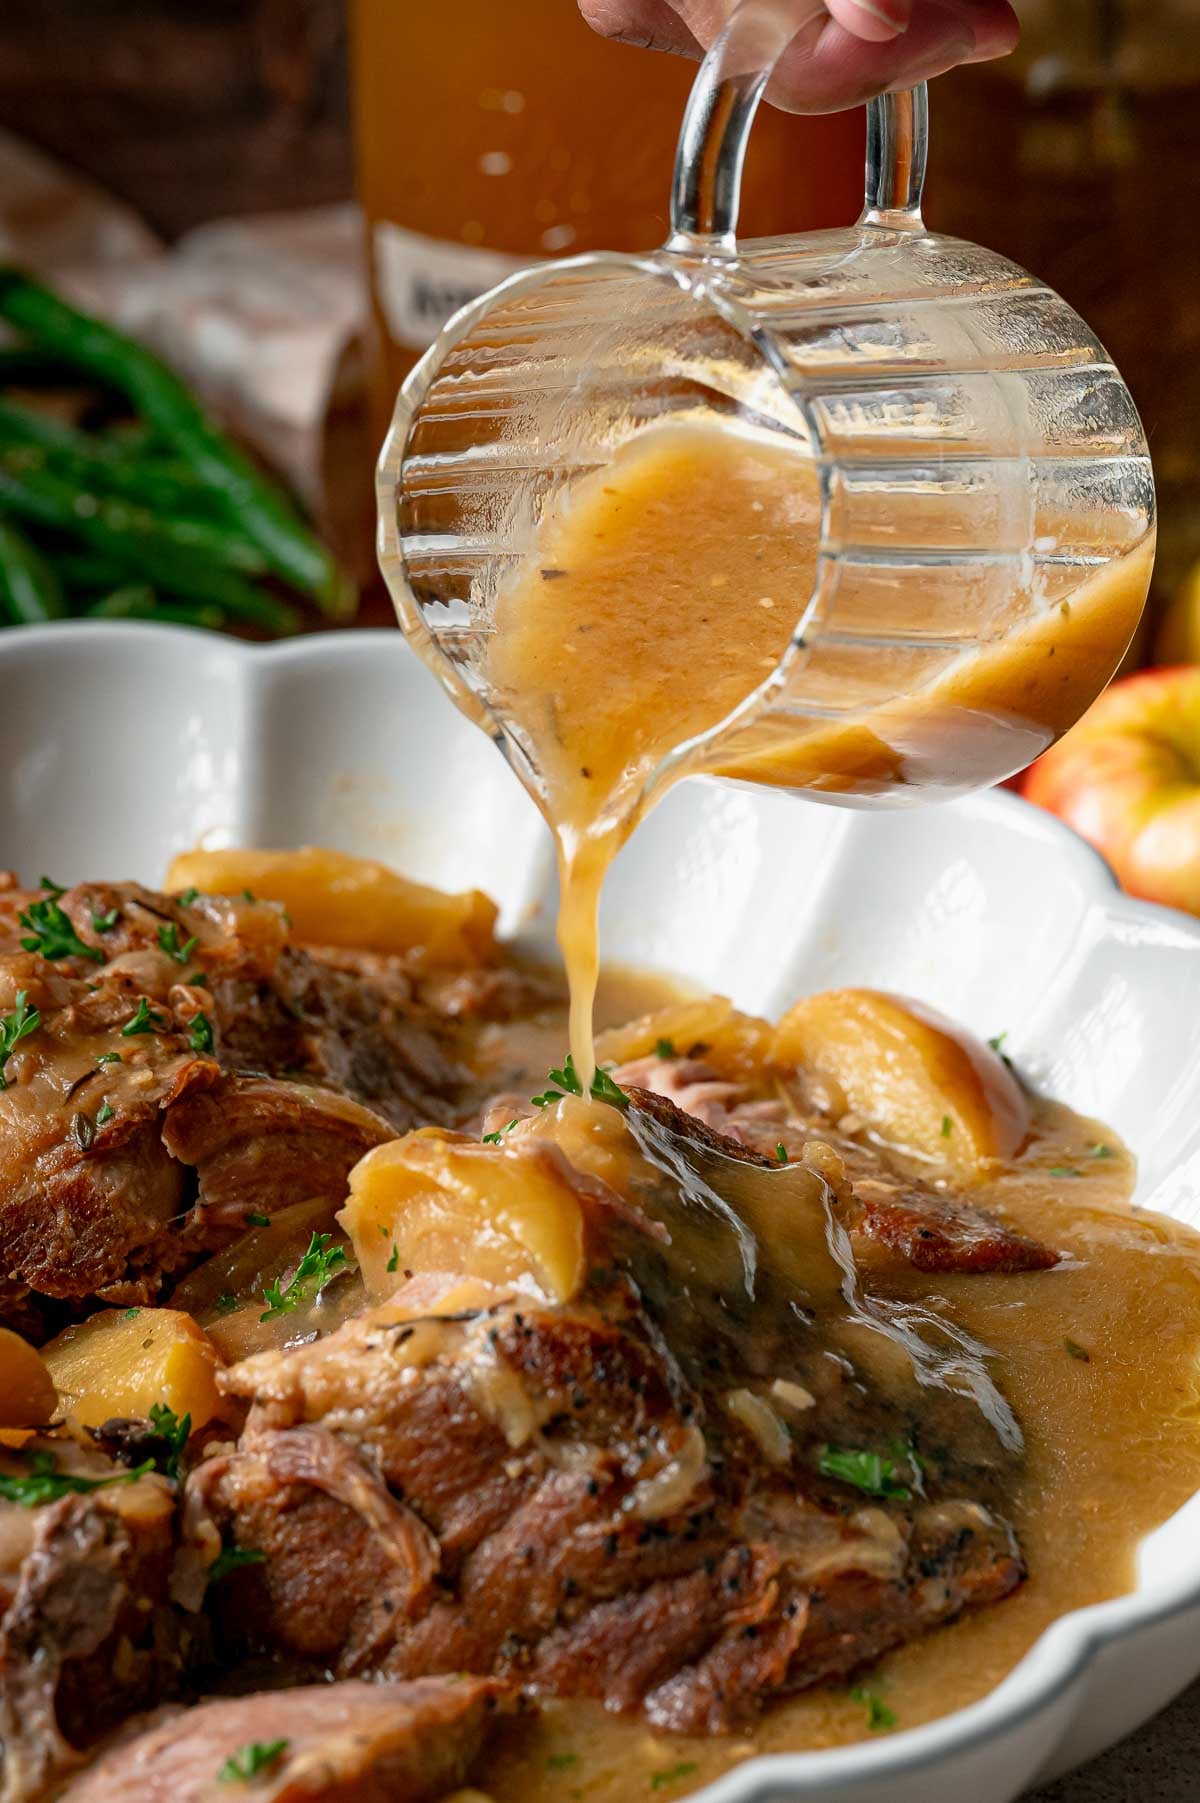
- Move the pork and apples to a serving platter and cover loosely. Fish out the herb stems and bay leaves. Skim some of the rendered fat from the braising liquid if you like, but leave a little behind, because that fat is where the gravy gets its richness.
- Bring the braising liquid to a gentle simmer over medium heat. Whisk the cornstarch with the cold water until completely smooth, then slowly whisk it into the pot. Cook 1 to 2 minutes, until the sauce turns glossy.
- Take the pot off the heat and stir in the apple cider vinegar. Taste the sauce, then adjust the seasoning. Return the pork and apples to the sauce, or arrange them on the platter and spoon the sauce over the top.
🔄 Substitutions
- Granny Smith for Honeycrisp: a tarter apple and a sharper sauce.
- Unsweetened apple juice for fresh cider: the finished flavor is lighter. Let it reduce fully during the cider step to concentrate it.
- Boneless country style pork ribs for pork shoulder: the smaller pieces tenderize faster, so start checking them earlier.
💡 Meat Nerd Tips
- Safe is not the same as done. Pork shoulder can be fully cooked from a food safety standpoint and still feel tough, because its connective tissue hasn’t softened yet. If it pushes back, keep braising until it reads 195 to 205°F and a fork slides in easily. More low and slow ideas live in our braising recipes.
- The 180°F checkpoint times the apples. At 180 to 185°F the connective tissue is actively breaking down, so you know you’re in the home stretch. That’s when the apples go in, and they finish tender right alongside the pork instead of cooking down to mush.
- Taste before you salt the gravy. The pork juices, broth, chicken base, and cider all get more concentrated as the dish cooks. Salt only after the vinegar goes in and you’ve tasted it.
- On the stovetop, barely simmer. Rapid bubbling evaporates the liquid too fast and can cook the pork unevenly. Turn the burner down any time the pot starts to boil hard.
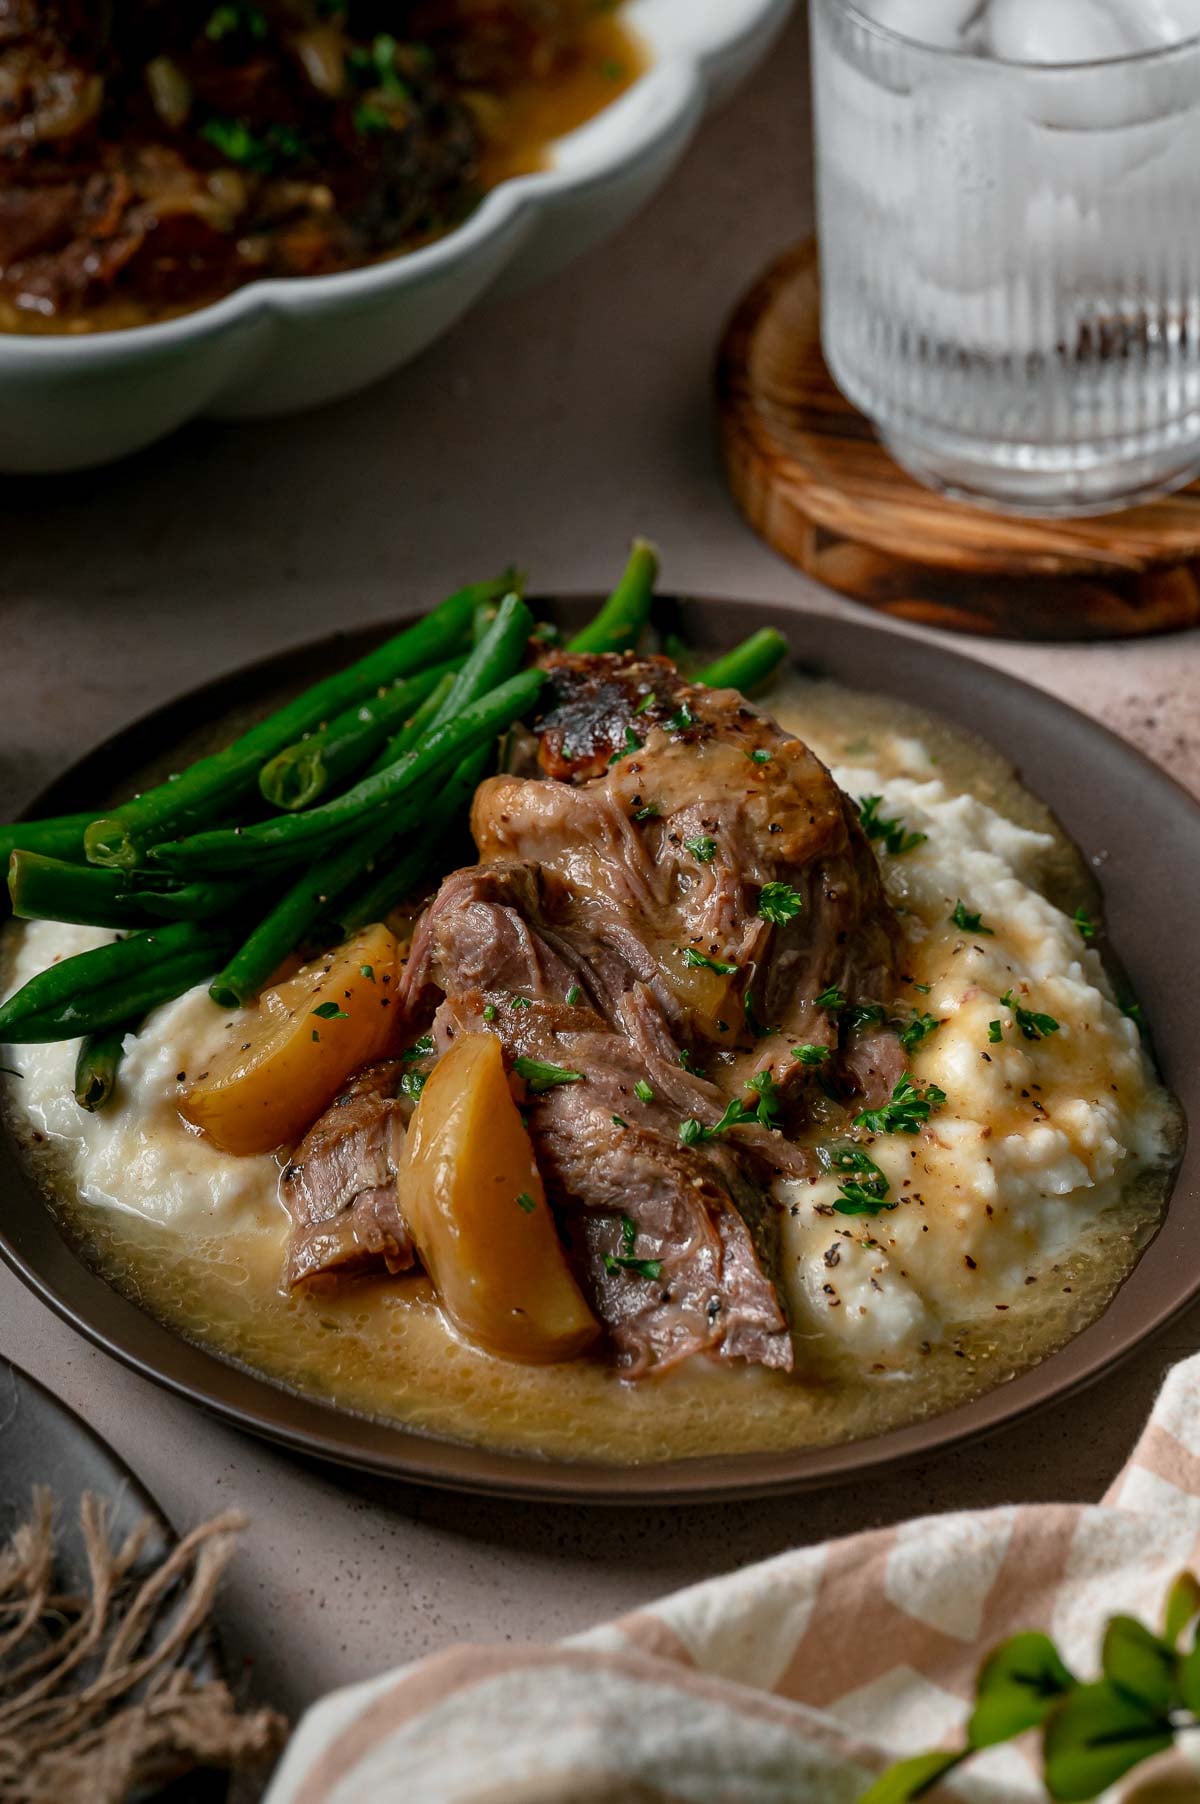
🍽️ What to Serve with Apple Cider Braised Pork
- Cream cheese mashed potatoes, because that gravy needs somewhere to land.
- Buttered egg noodles, tossed with a ladle of the sauce before the pork goes on top.
- Roasted Brussels sprouts or green beans with a squeeze of lemon. Something green and sharp cuts right through the pork and the sweet cider.
- Crusty bread, torn by hand, for the gravy left on the platter.
- A cold glass of the same fresh cider next to the plate.
🧊 Leftovers and Storage
- Fridge: store the pork, apples, and sauce together in an airtight container for up to 4 days. Keeping the meat surrounded by sauce stops it from drying out.
- Reheat: covered, in a 325°F oven, until hot through. If the gravy tightened up in the fridge, loosen it with a splash of chicken broth or apple cider.
- Next day: pile the pork onto toasted rolls with a spoonful of the gravy.
You’re about to make the whole house smell like fall for an entire afternoon. Lift the lid at the table, let the pork fall apart under a fork, and keep the gravy boat on your end.
Prevent your screen from going to sleep
Sear
-
Heat the Dutch oven on medium high heat. Add the avocado oil, then the pork. Sear until the first side develops a crust, about 4 to 5 minutes. Turn and brown the remaining sides. Remove the pork to a plate.
Soften the Aromatics
-
Reduce heat to medium. Add the red onion and cook 3 to 4 minutes, stirring occasionally, until softened. Add the garlic and cook about 30 seconds, until fragrant.
Reduce the Cider
-
Stir in the Dijon mustard and cook about 30 seconds. Add the apple cider, scraping the bottom of the pot to release the browned bits. Bring to a simmer and cook 5 to 7 minutes, until slightly reduced.
Add the Broth and Herbs
-
Stir the chicken base into the chicken broth until dissolved, then pour it into the Dutch oven. Return the pork and any collected juices to the pot. Add the thyme, rosemary, and bay leaves.
Braise
-
Cover and transfer to the oven. Braise about 2 1/2 to 3 hours, until the pork is noticeably softer but still has some resistance when pierced with a fork. The thickest part should read about 180 to 185°F.
Add the Apples
-
Add the apples, cover, and braise 35 to 45 minutes more, checking at 35 minutes, until the apples are tender but hold their shape and the pork reads 195 to 205°F (aim for 200 to 203°F). It’s done when a fork slides in easily and the meat separates with very little pressure.
Thicken the Sauce
-
Bring the braising liquid to a gentle simmer over medium heat. Whisk the cornstarch with the cold water until smooth, then slowly whisk it into the liquid. Cook 1 to 2 minutes, until glossy and the sauce coats the back of a spoon.
- Pat the pork very dry. Moisture on the surface is the usual cause of poor browning.
- Taste before salting the finished sauce. The pork juices, broth, chicken base, and cider all concentrate as the dish cooks.
- Pork that still feels firm needs more time, even if it is already safe to eat. Keep braising until it reaches 195 to 205°F and a fork slides in easily.
- Sauce too thick? Loosen it with a splash of chicken broth or apple cider.
- Granny Smith works for tart apple flavor. Unsweetened apple juice can replace the cider; the flavor is lighter, so let it reduce fully.
- Boneless country-style pork ribs can replace the shoulder. Start checking them earlier.
- Store the pork, apples, and sauce together in an airtight container in the fridge for up to 4 days.
Serving: 1g | Calories: 332kcal | Carbohydrates: 22g | Protein: 29g | Fat: 14g | Saturated Fat: 4g | Polyunsaturated Fat: 2g | Monounsaturated Fat: 7g | Cholesterol: 93mg | Sodium: 902mg | Potassium: 698mg | Fiber: 2g | Sugar: 14g | Vitamin A: 76IU | Vitamin C: 7mg | Calcium: 44mg | Iron: 2mg
Quick Summary
Apple cider braised pork shoulder, seared hard in a Dutch oven and braised low in reduced cider and chicken broth, either covered on the stovetop at a bare simmer or in a 325°F oven, with Honeycrisp wedges added for the last 35 to 45 minutes. Check for 180 to 185°F before the apples go in and pull the pork at 195 to 205°F, when a fork slides in easily. Thicken the braising liquid with a cornstarch slurry and stir in the apple cider vinegar off the heat.
❓ FAQs
That temperature tells you the pork is well past the basic safe cooking temperature and into the stage where its connective tissue is actively breaking down. It gives you a reliable checkpoint for adding the apples without waiting until the pork is completely tender.
Yes. Both methods work well for pork shoulder. The stovetop version needs a little more attention because the heat comes directly from below, so keep the pot covered and hold it at a very gentle simmer rather than a boil.
The end goal is the same. Oven heat surrounds the Dutch oven more evenly, while stovetop heat is concentrated at the bottom of the pot, so keeping the burner low is what helps the stovetop version cook evenly.
Pork shoulder needs enough heat and time for its connective tissue to soften, and that usually happens between 195 and 205°F. Below that range it can be fully safe to eat and still tough, which is why the meat gets so much more tender once it gets there.
The vinegar is there to brighten the finished dish. Added at the end, off the heat, its acidity stays fresh and balances the richness of the pork without making the sauce taste like vinegar.