



This post may contain affiliate links. As an Amazon Associate I earn from qualifying purchases. Please read my disclosure policy.
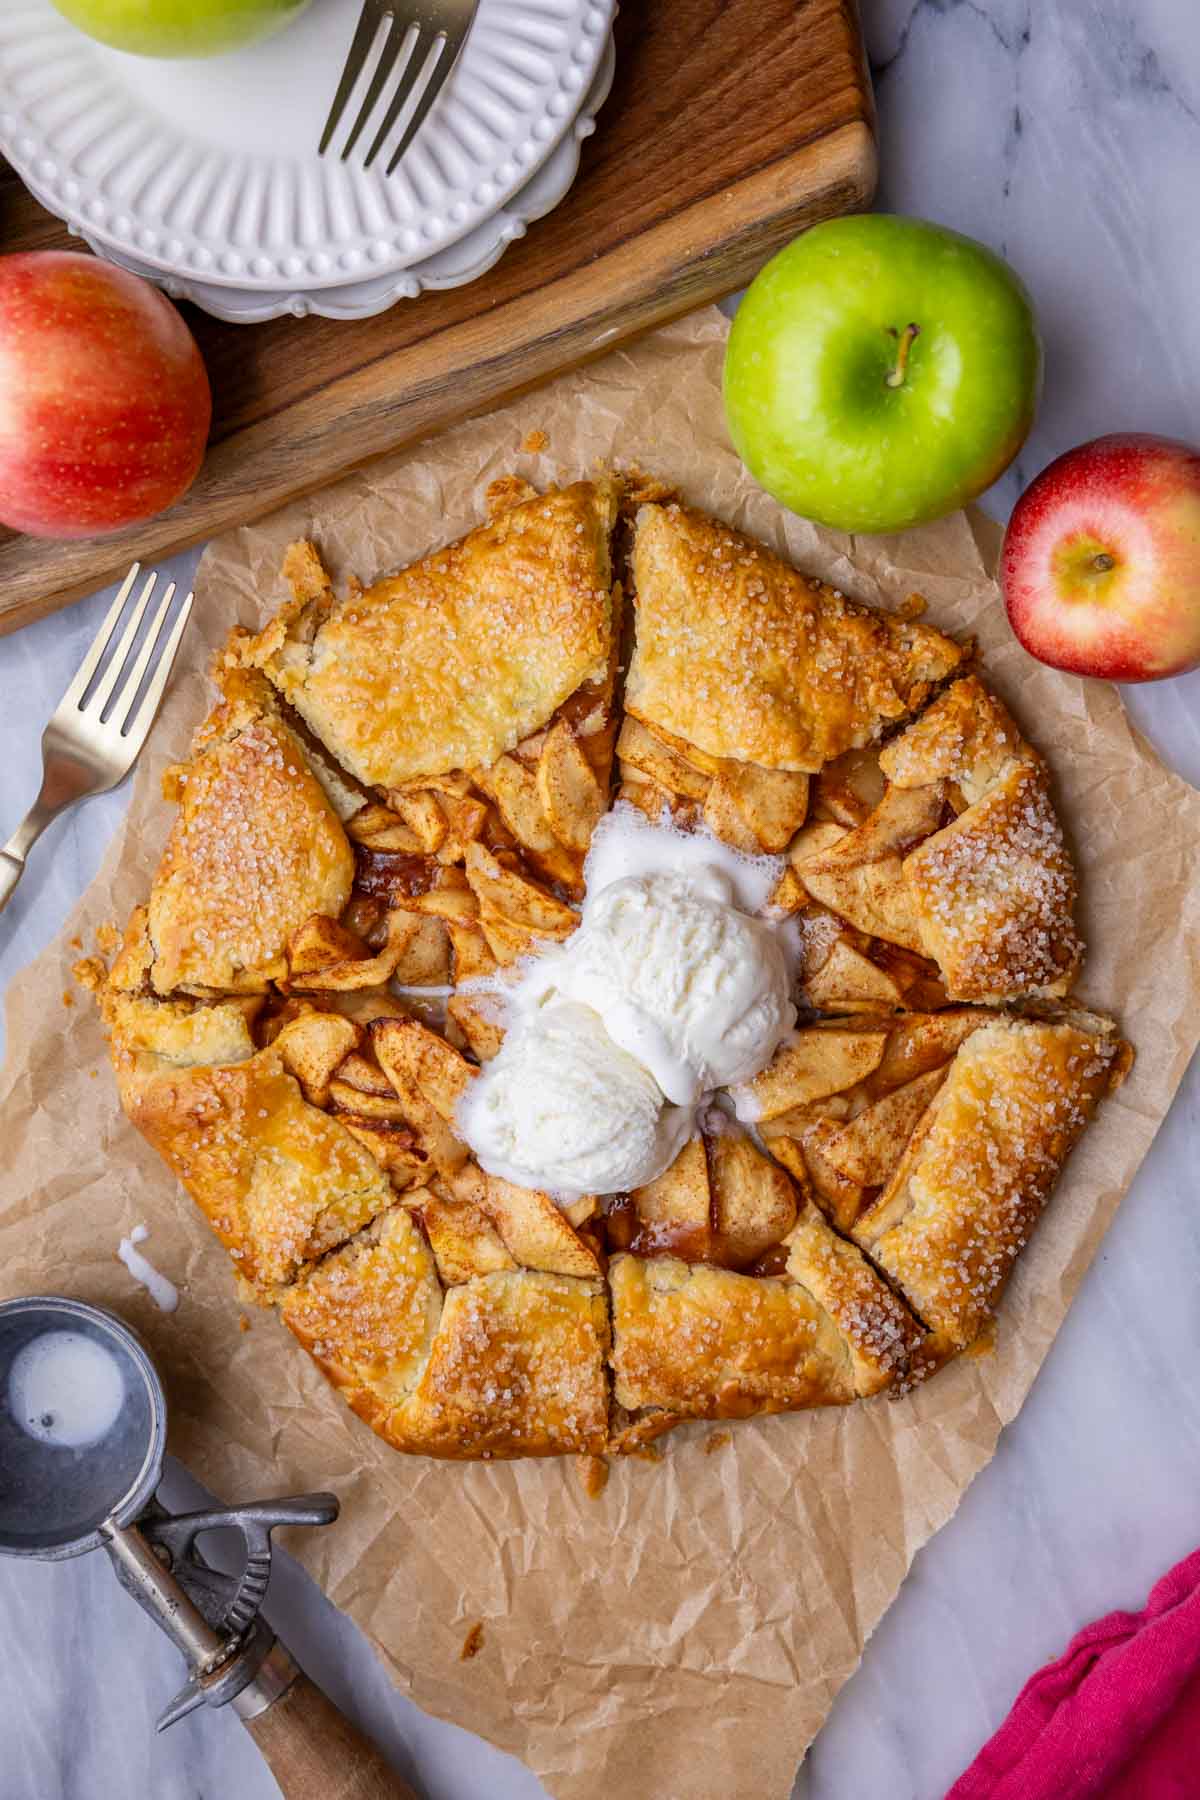
This apple galette recipe has all the best parts of apple pie, but is much easier to assemble. It’s made with tender, cinnamon-spiced apples and a buttery, flaky crust, but its free-form shape is intentionally casual and rustic, making the assembly and decoration easy as pie (😉). Serve it still-warm with vanilla ice cream for the perfect fall dessert! Recipe includes a how-to video!
Easy Apple Galette Recipe
An apple galette is basically just a free-form, rustic apple tart with buttery, flaky pastry casually tucked around a spiced apple filling. It delivers everything you love about apple pie without the stress; there’s no worrying about decorating it perfectly since it’s meant to be rustic, with no-top crust or crimping required.
Like any other fruit galette recipe, imperfections and rustic-ness are part of the charm in this apple galette recipe. The pie dough doesn’t need to be rolled out to a perfect circle and the folds don’t need to be identical. I call it my lazy-day apple pie for when I don’t feel like making my easy apple pie!
Why This Recipe WORKS
- It’s easier than apple pie. No pie plate or pre-cooking the filling, no pressure to make it pretty. Add the apples over your rolled out pie dough, fold the edges over the filling, add some butter and sugar, and bake! The galette is supposed to look rustic, so there’s no pressure to make it look perfect.
- The crust is every bit as good as the filling. In some pie recipes, the crust is just a vehicle for the filling. That is NOT the case here! Here, the crust is just as much a star as the filling, thanks to my best pie crust recipe. It uses sour cream, a secret ingredient for a super flavorful crust that’s basically foolproof, perfect for beginners, and and easy to handle. I make it in the food processor, but you could also do it with a fork or pastry cutter (I provide notes for this in the recipe).
- Perfectly balanced filling. Brown sugar adds a warm, caramel-like flavor that we’ll balance with granulated sugar to keep it from being too rich. A little lemon juice brightens the natural apple flavors, and a few dots of butter on top create a glossy finish (I use this technique in my blueberry pie too).
Ingredients
Most of the ingredients are pretty straightforward, but let’s talk about a few of them.
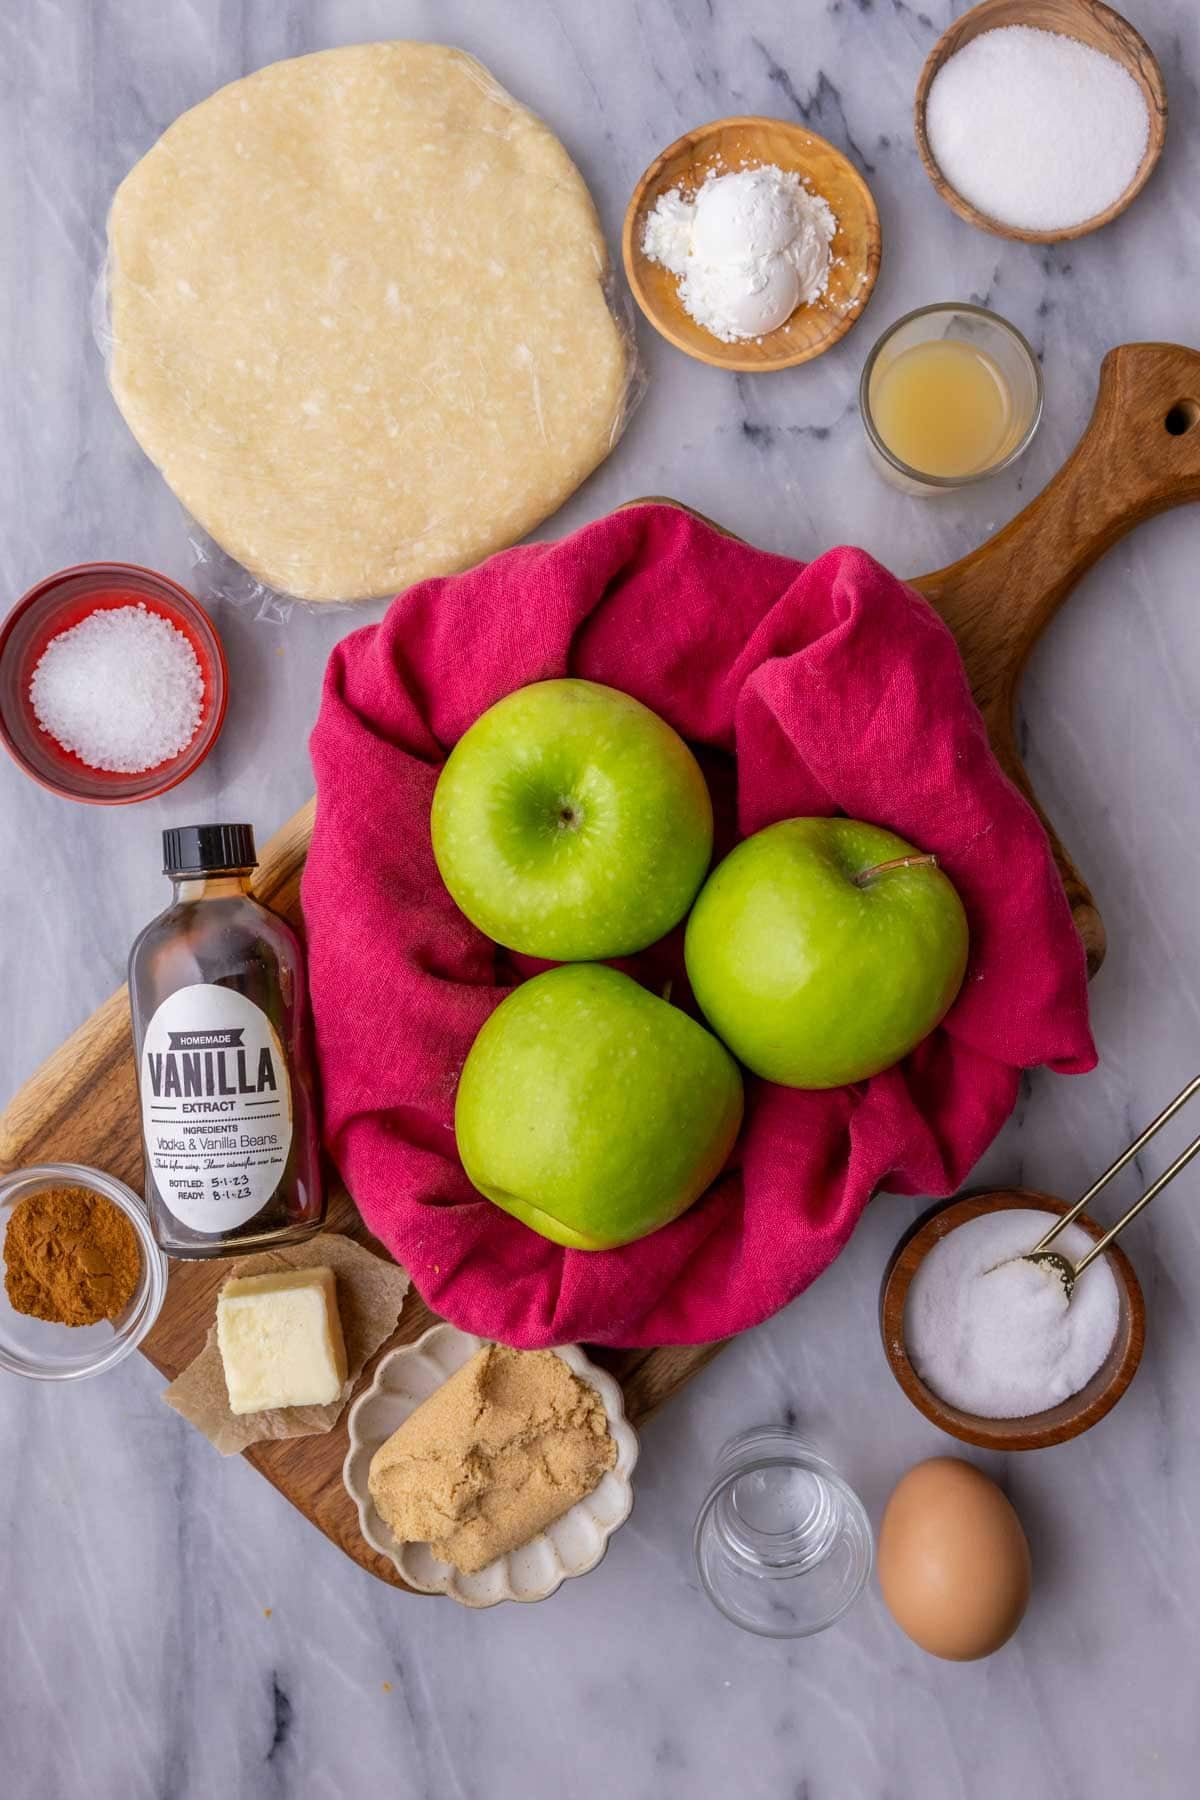
- Pie crust. You can either use my recipe included here or a store-bought crust. I obviously recommend my recipe for best (butteriest and flakiest) results, but a pre-made crust will still work if you don’t have time. Sourdough pie crust would also work (and quite wonderfully) here!
- Apples. Choose apples that hold their shape well when baked. Granny Smith are a great choice; they stay a bit more firm/crisp and the galette will be less sweet. I also love Gala, which are softer but hold their shape well and make for a slightly sweeter result. Pink Lady, Honeycrisp, Braeburn, and Fuji are all great options too! Avoid soft apples like McIntosh or Red Delicious (they’ll get mushy and the galette could become soggy).
- Brown sugar. Using brown sugar in the filling gives it an almost caramel-like flavor, which pairs very well with apples (see also: my caramel apple dip!). I prefer light brown sugar, ad dark brown sugar has more molasses flavor and can make it feel too rich.
- Cornstarch. Important for thickening the sauce from the apples as they bake and keeping the filling from being watery and the crust from being soggy. You could alternatively substitute 2 Tablespoons of all-purpose flour.
- Butter. Keep the butter for your pie crust COLD to encourage those flaky, buttery, irresistible layers in the crust. I recommend even popping yours in the freezer for a few minutes before using it. A small amount of butter (any temperature) dotted over the galette before baking adds glossiness and richness to the filling.
- Coarse sugar. This is optional, but I love sprinkling coarse baker’s sugar over my galette crust before it goes in the oven. I linked to what I use in the recipe notes, but you could always use turbinado sugar or granulated sugar instead.
Remember, this is just an overview of the ingredients I used and why. For the full recipe please scroll down to the bottom of the post!
Sam’s Tip
Slice your apples ¼-inch thick so they cook evenly. This also allows them to become tender in the same amount of time it takes the crust to bake.
How to Make an Apple Galette (Step-by-Step)
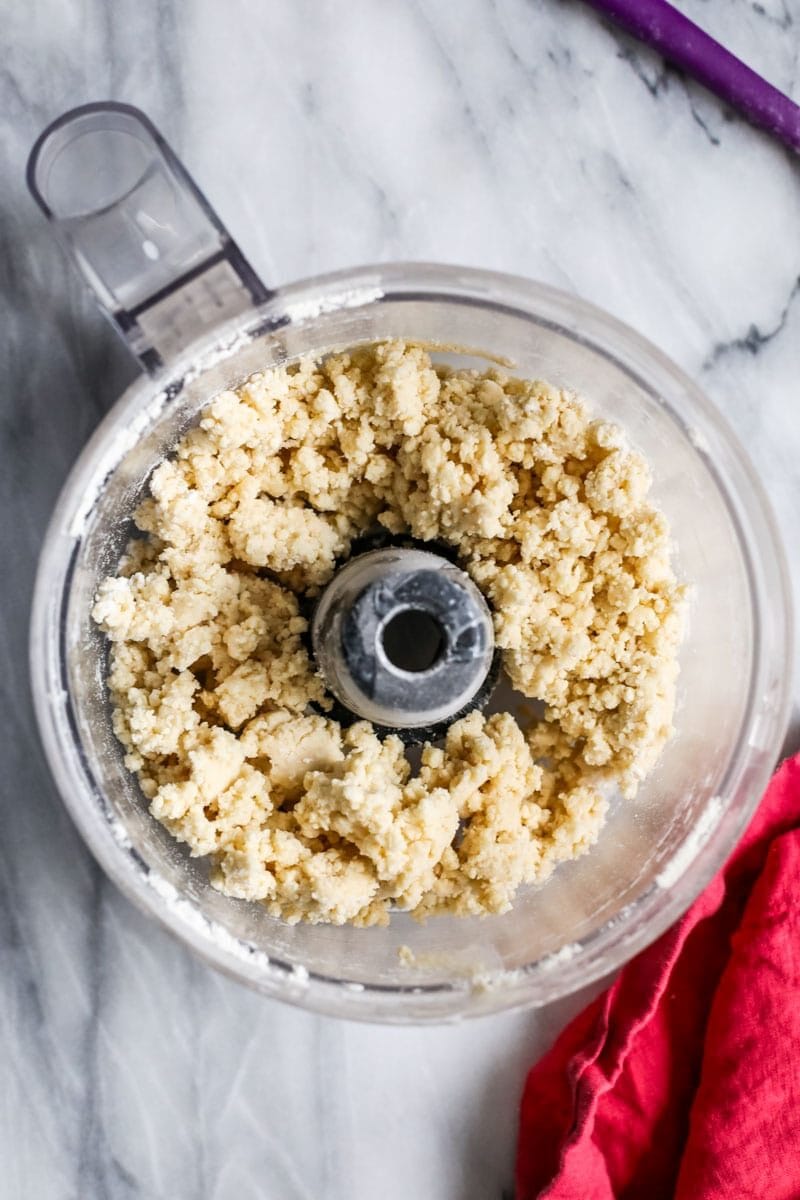
- Make the pie dough. Using either a food processor or a pastry cutter, prep the pie dough. Form into a smooth disc, wrap in plastic wrap, and let chill for at least 45 minutes.
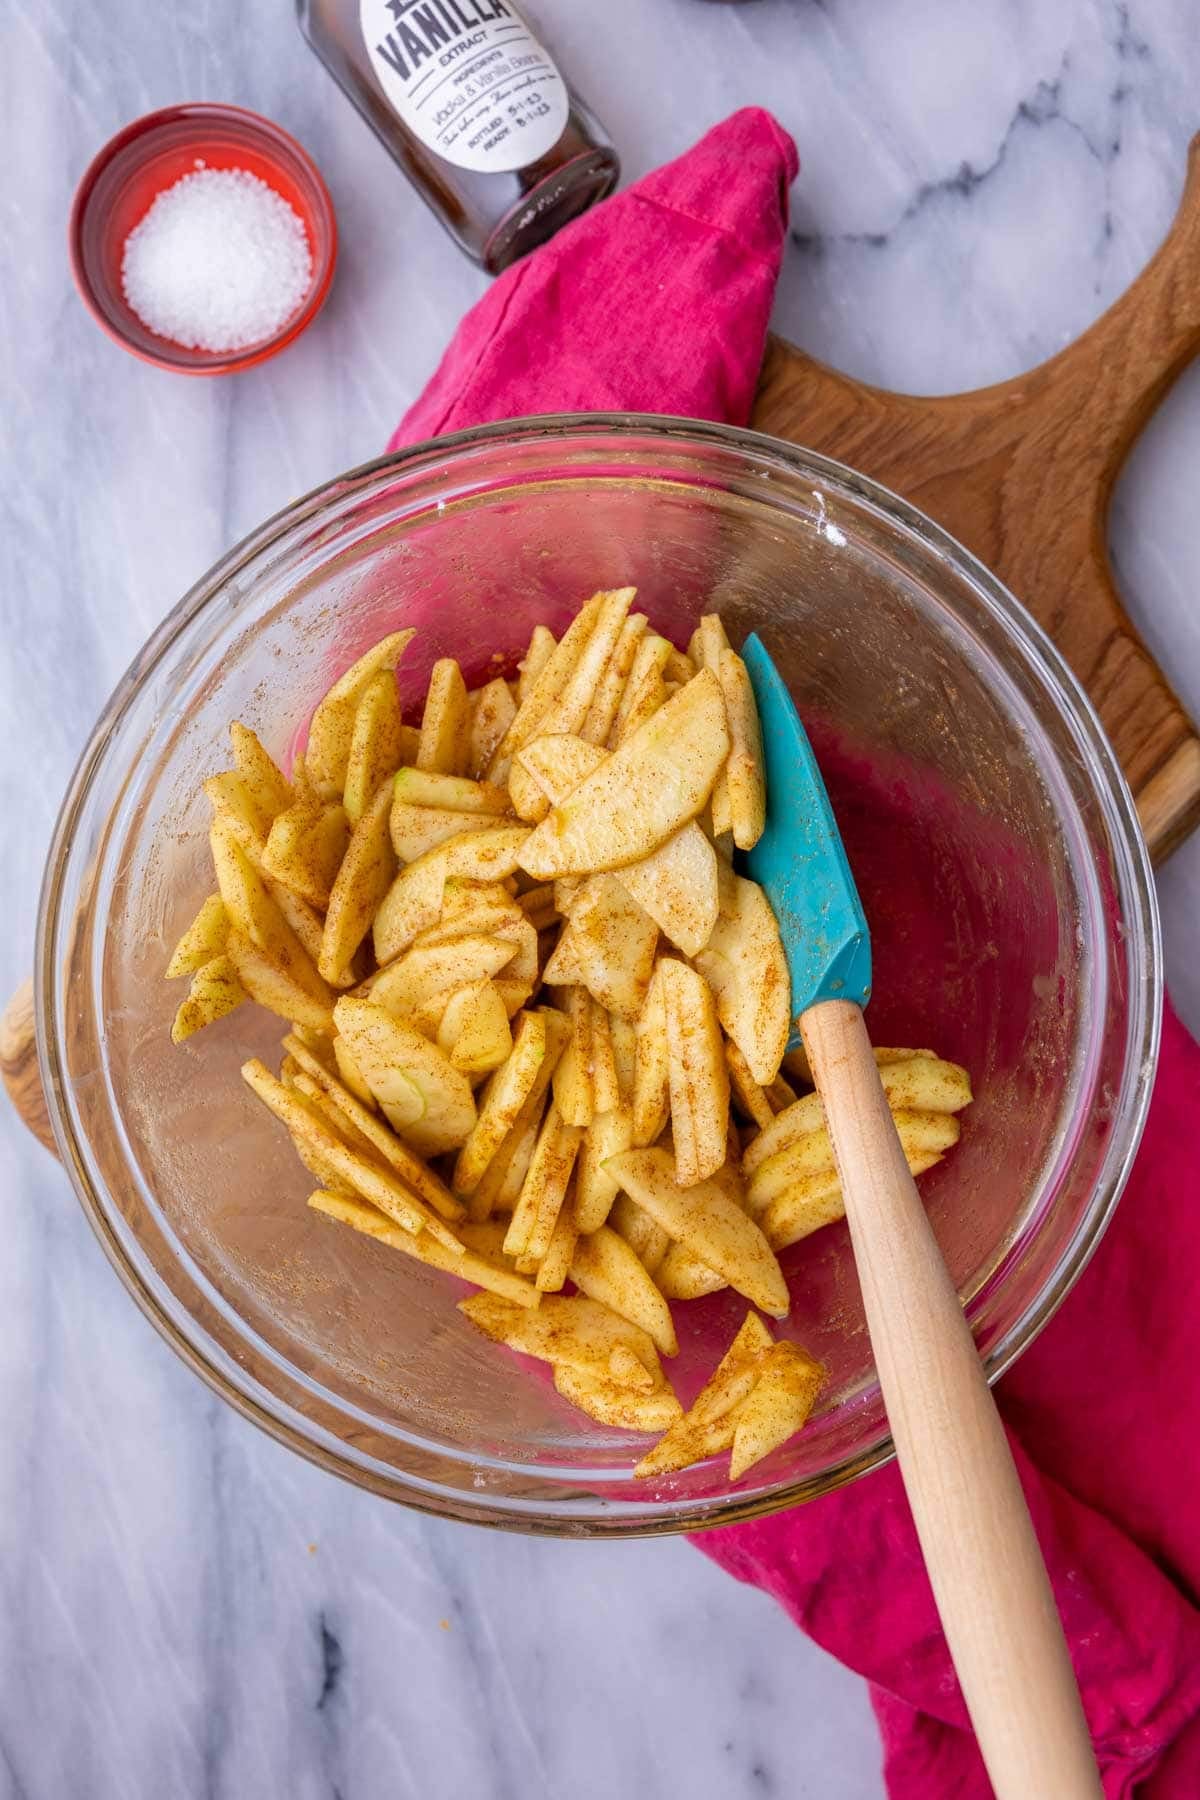
- Prep the filling. Combine the apples, sugars, lemon juice, cornstarch, cinnamon, vanilla, and salt in a large bowl. Let this sit for a few minutes while you prepare your crust.
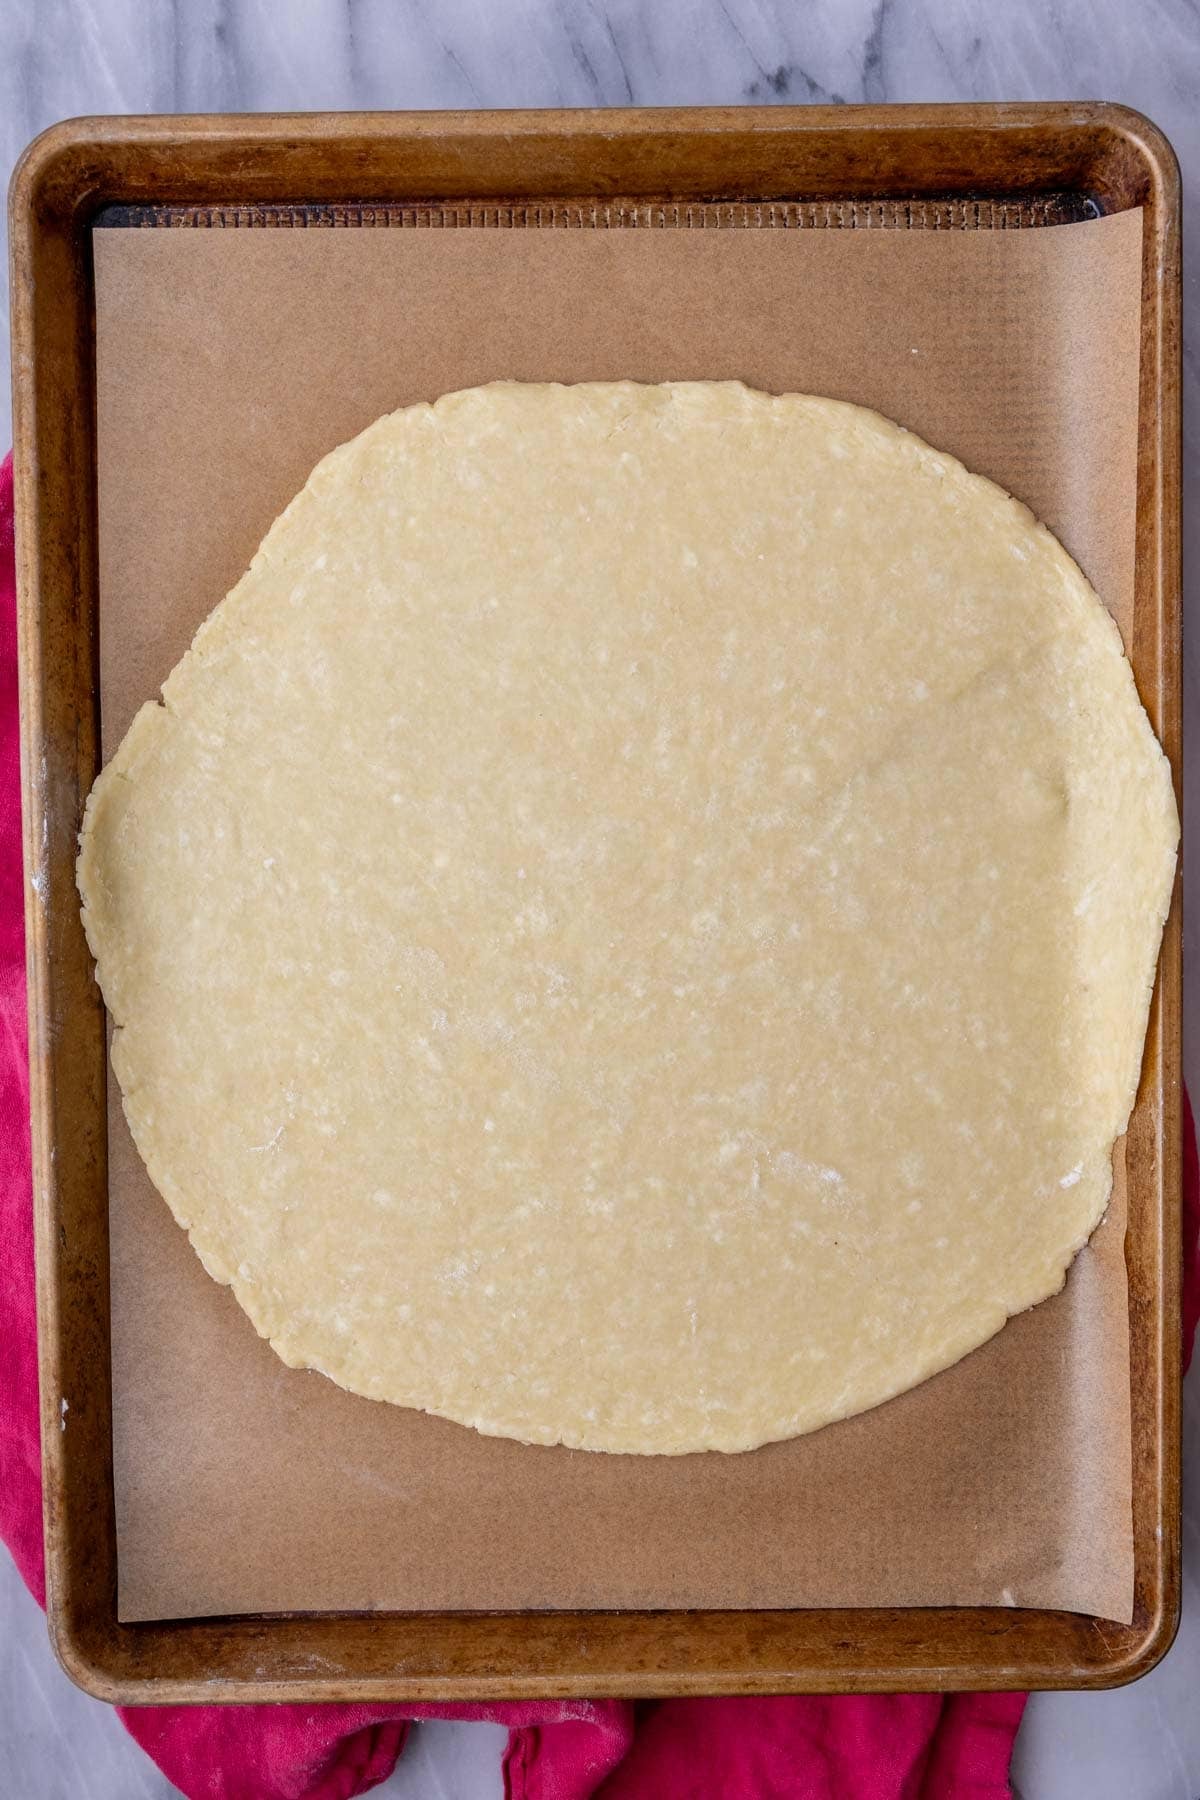
- Roll out the dough. Roll the dough into a 12″ circle on a lightly floured surface, then transfer to a parchment lined baking sheet.
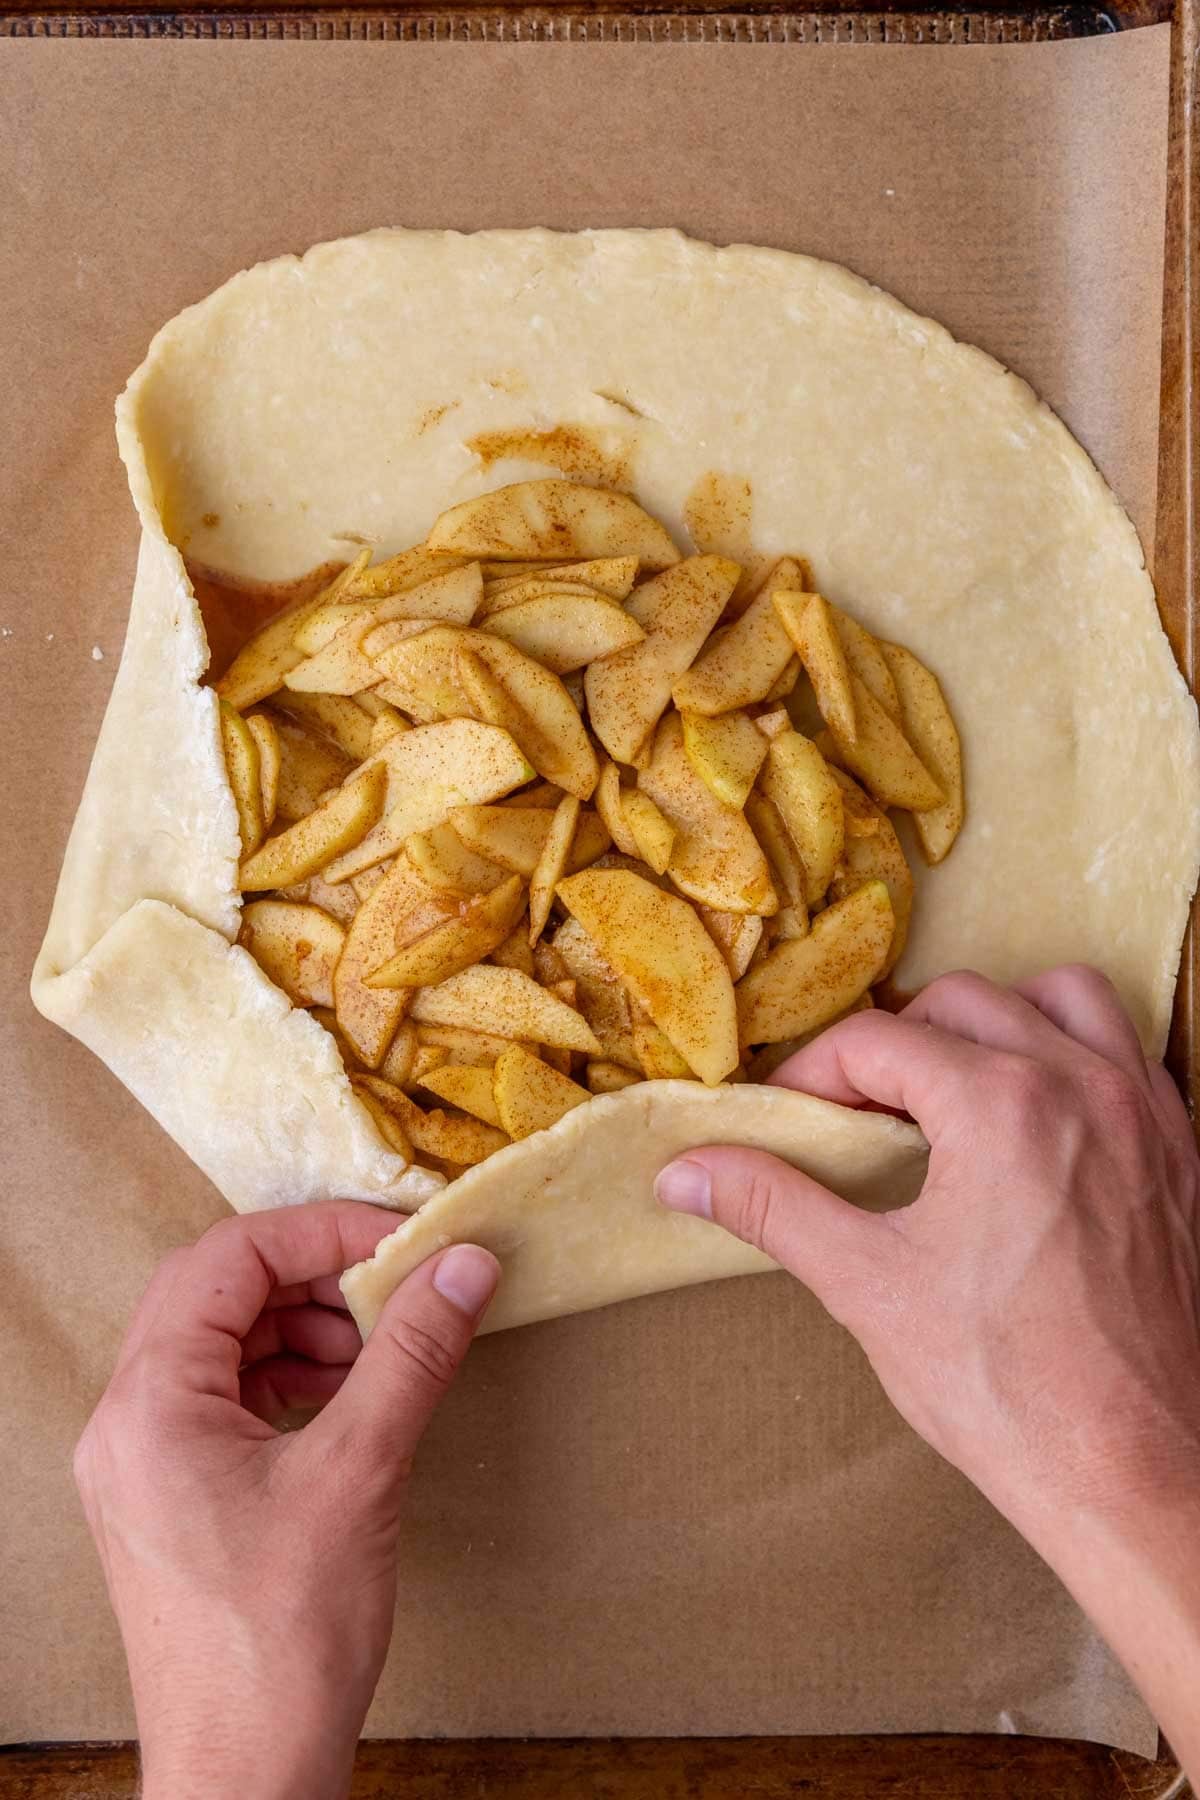
- Add the filling. Stir your filling mixture one more time, then gently pour it onto your rolled out crust, mounding the apples in the center. Fold the crust over the filling; the apples should peek out in the center.
Sam’s Tip
If the pie dough is cracking while you try to roll it out, it may just be too cold. Let it sit at room temperature for 10-15 minutes before trying again.
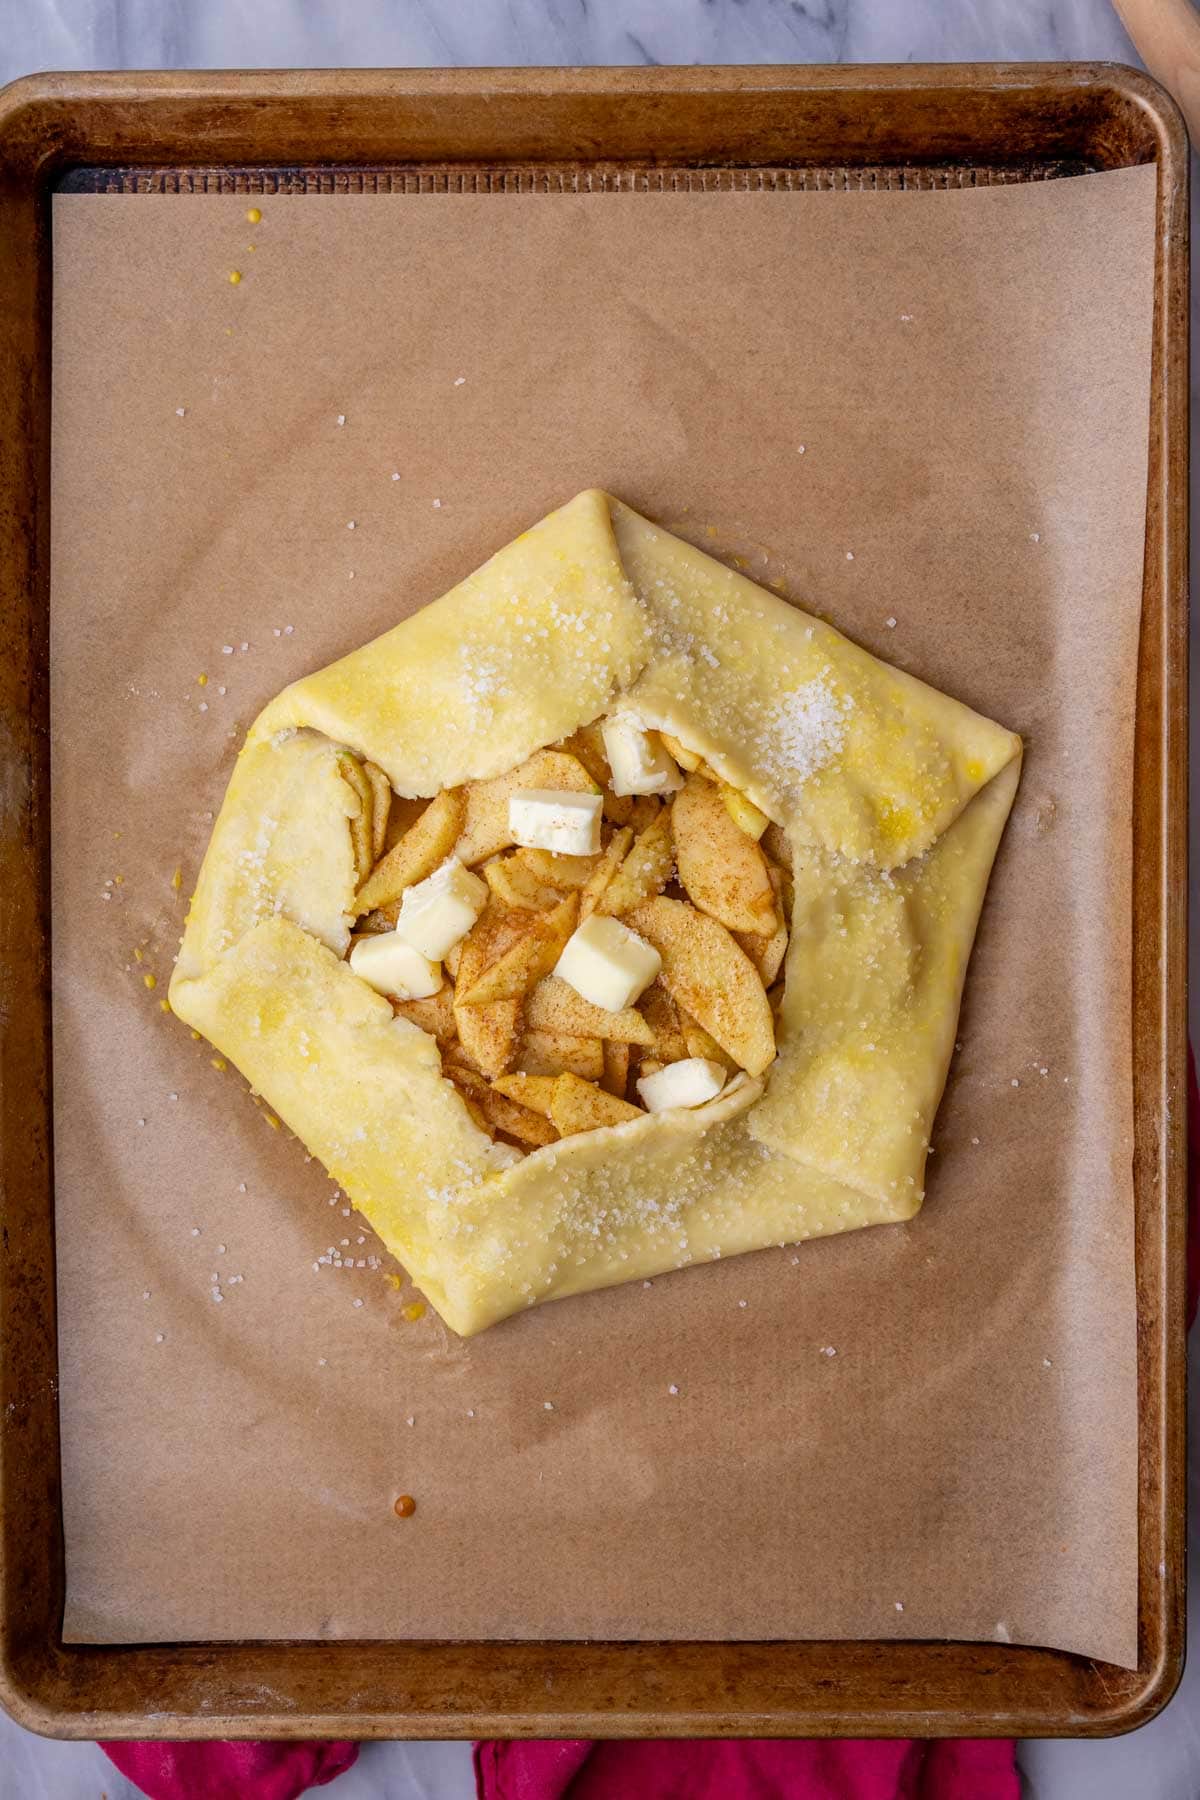
- Egg wash & butter. Brush the crust with egg wash and sprinkle with coarse sugar. If you are trying to avoid eggs, you can skip this; your crust just won’t get quite as brown on the outside. Nestle the butter pieces into the filling.
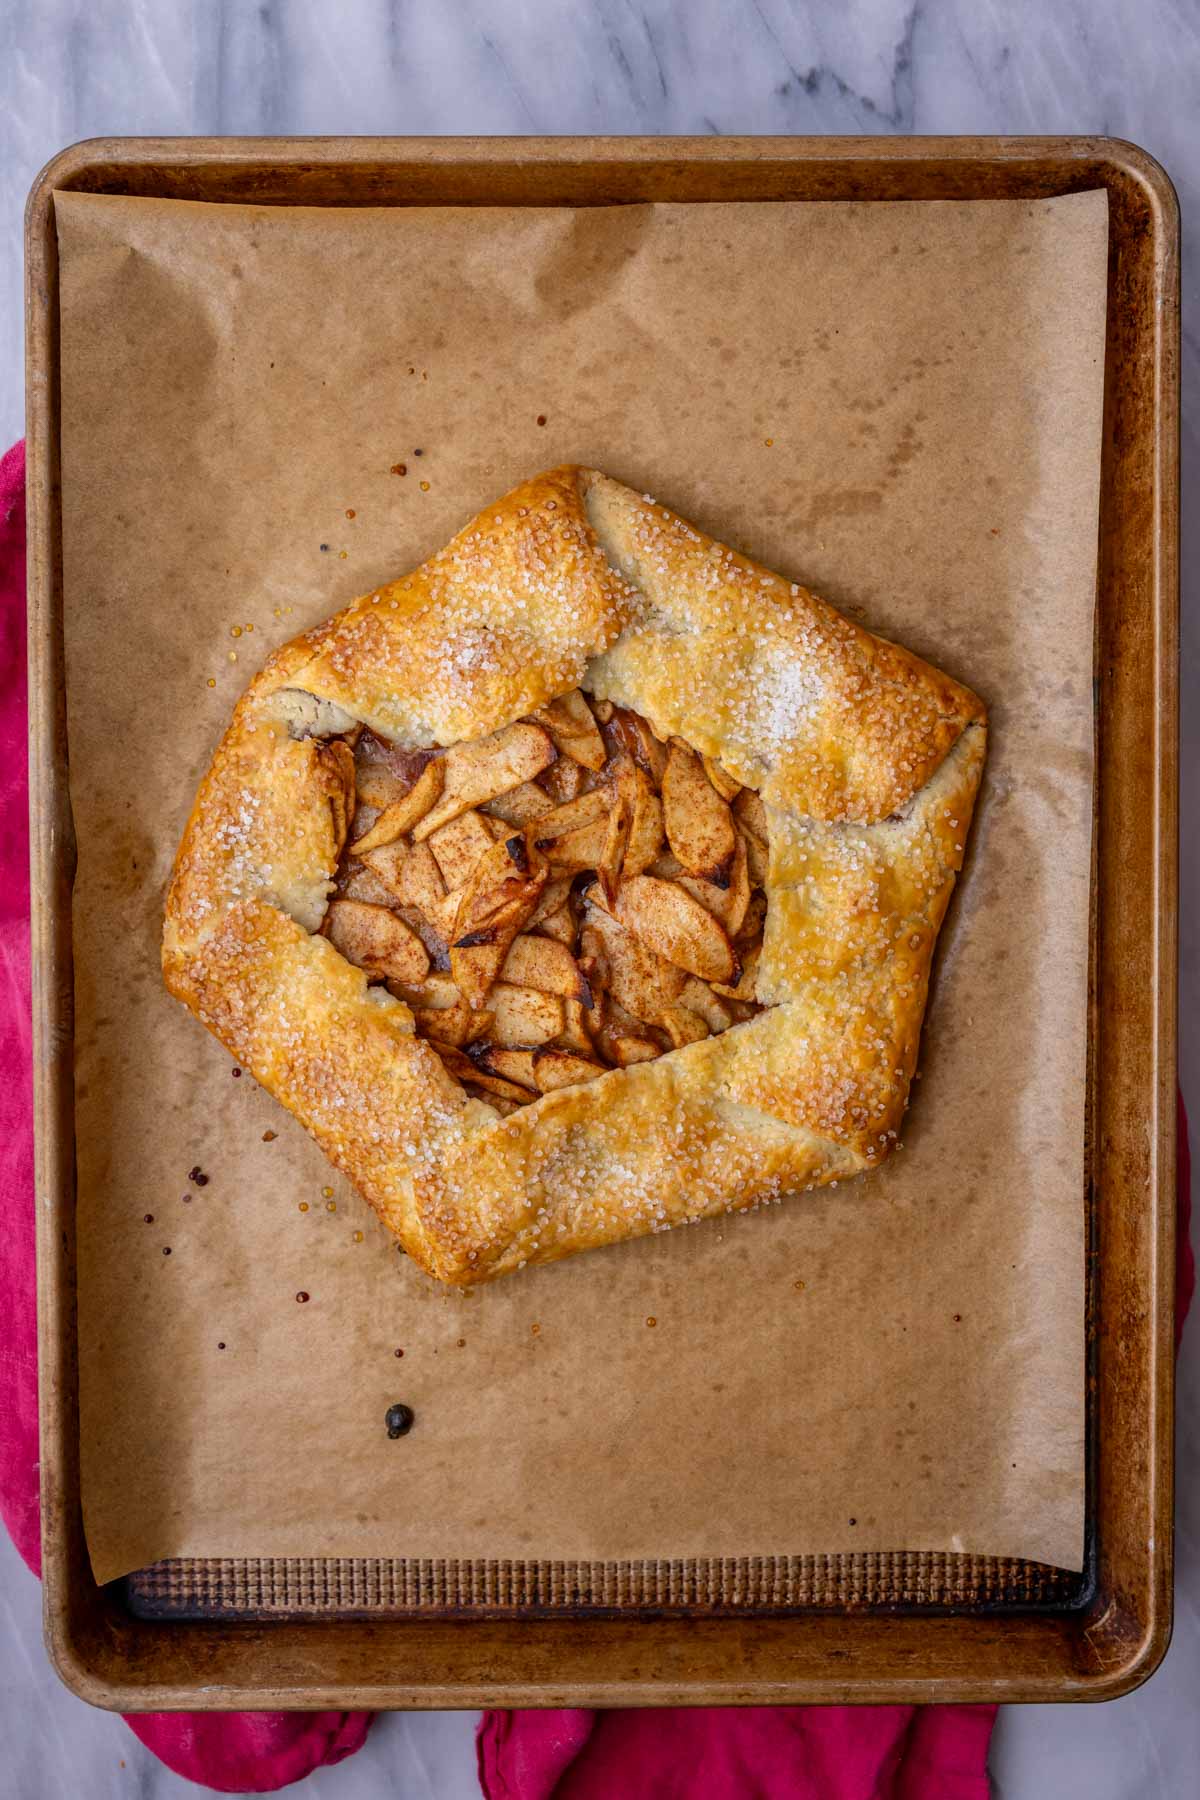
- Bake. Transfer to your oven and bake until golden brown, about 40 minutes. Let cool for 20 minutes or so before slicing and serving. For easy cutting, I like to use a pizza cutter to slice my apple galette. Kitchen shears could work too!
Frequently Asked Questions
They are extremely similar (pretty much identical!) in terms of flavor and ingredients. Where you’ll see the most differences come in terms of preparation and appearance.
Apple pie is typically made with two crusts (sometimes a lattice crust!) or with one crust and a crumble topping (like my Dutch apple pie). It’s baked in a pie plate and has a more structured, polished appearance.
On the other hand, this apple galette recipe uses just one crust and NO pie plate. As a result, it has a more freeform, rustic appearance and is generally simpler to prep.
Yes, but I do recommend you try my version at least once. There’s a good reason it’s my favorite–it’s so easy, flavorful, buttery, and flaky. Store-bought crust simply doesn’t compare to homemade pie crust!
Make sure you choose firm baking apples (like Granny Smith), don’t skip the cornstarch in the filling, and, after baking, let the galette sit for 15-20 minutes before slicing it (this gives the filling time to cool and thicken). You shouldn’t have any issues with a soggy crust here. I designed my apple galette recipe to have a perfectly crisp, flaky exterior with a jammy apple filling.
More Apple Recipes
If you’re feeling fancy, serve your galette with scoop of vanilla ice cream and drizzle of salted caramel sauce on top 😉
Enjoy!
Let’s bake together! Subscribe to my newsletter to be notified of all the newest recipes, and find my free recipe tutorials on YouTube 💜
Prepare the crust
-
Combine flour, sugar, and salt in the basin of a food processor (see note if you do not have a food processor) and pulse briefly to combine.
1 ¼ cups (156 g) all-purpose flour, 2 teaspoons granulated sugar, ¼ teaspoon table salt
-
Scatter butter evenly over the dry ingredients and pulse again in 1-second intervals until butter is well cut into the dough and resembles coarse crumbs. You should still have some pea-sized butter pieces remaining.
½ cup (113 g) unsalted butter
-
Add sour cream and pulse again in 1-second intervals until mixture just begins to cling together. It may seem dry and crumbly, but if you pinch the dough between your thumb and forefinger it should cling together.
¼ cup (60 g) sour cream
-
Turn out onto a clean surface and, working quickly, form into a smooth ball (don’t over-handle, you want the dough to stay as cold as possible). Flatten into a disk, wrap tightly in plastic wrap or parchment paper and refrigerate for at least 45 minutes before proceeding with the recipe.
Prepare the filling
-
Preheat oven to 400F (205C) and line a rimmed baking sheet with parchment paper (in case of spills). Set aside.
-
In a large bowl, stir together apples, sugars, lemon juice, cornstarch, ground cinnamon, vanilla extract, and salt until well-combined. Set aside while you roll out the galette dough.
3 cups (365 g) apples , 2 Tablespoons brown sugar, 2 Tablespoons granulated sugar, 1 Tablespoon lemon juice, 1 ½ Tablespoons cornstarch, 1 ½ teaspoons ground cinnamon, ½ teaspoon vanilla extract, ¼ teaspoon table salt
-
Remove chilled galette dough from the refrigerator and place on a clean, lightly floured surface. Use a rolling pin to roll out to an even 12” (30cm) circle, then carefully transfer to your prepared baking sheet (Note: if the crust is too difficult to roll or is cracking, it may just be too cold. Allow it to sit at room temperature for 10 minutes or so before trying again).
-
Give your apple mixture another quick stir then carefully pour the apples into the center of the galette dough, leaving about 2” (5cm) of the dough uncovered and mounding the apples slightly toward the center.
-
Fold the dough over the apple filling toward the center.
-
Whisk together the egg and water until smooth, then use a pastry brush to brush the exposed dough.
1 egg, 1 teaspoon water
-
Dot the butter pieces evenly over the exposed apple filling and then sprinkle the entire galette generously with the coarse sugar, focusing on the dough border.
1 ½ Tablespoons salted butter, 1 Tablespoon bakery coarse sugar
-
Transfer to the center rack of 400F (205C) preheated oven and bake for 40 minutes or until crust is golden brown and apples are tender when pierced with a fork.
-
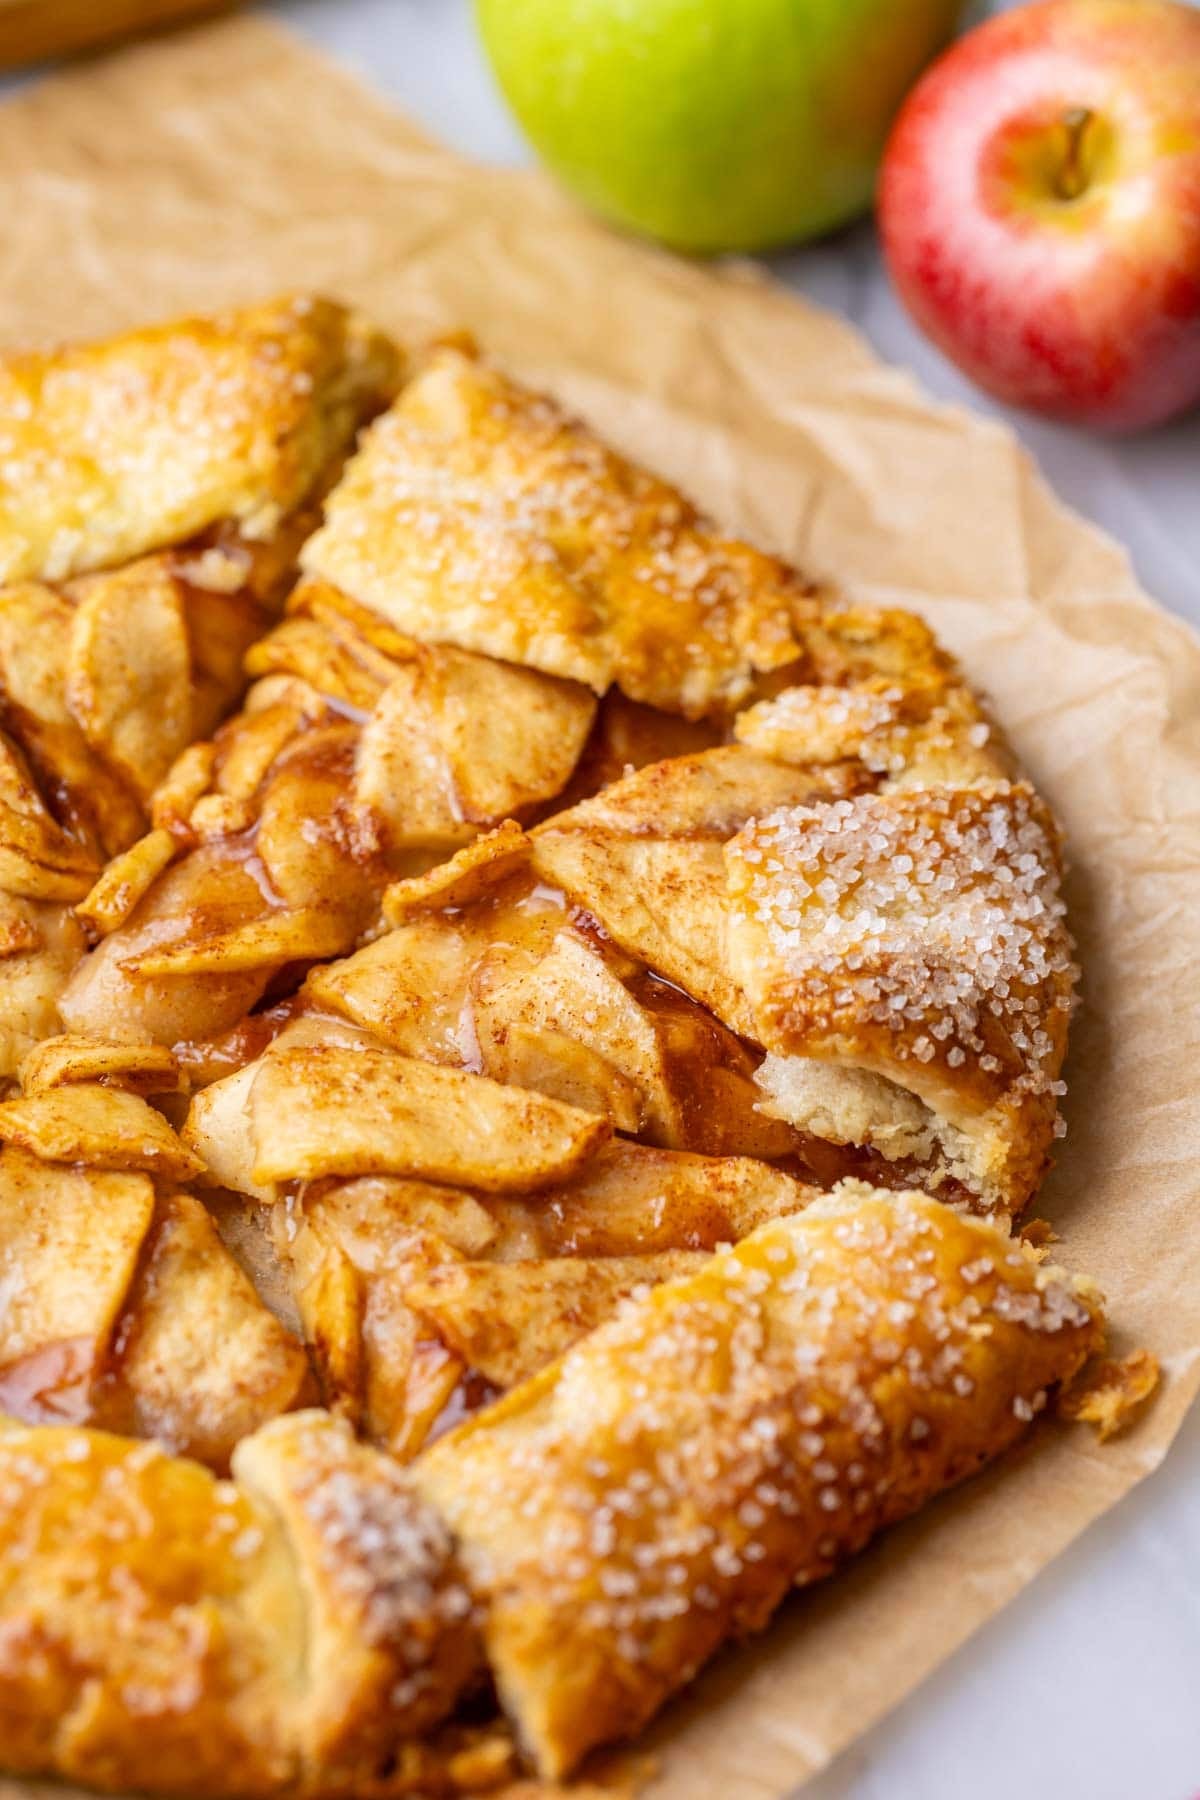
Remove from oven and allow to cool for 20 minutes or so before slicing with a pizza cutter (otherwise the filling will be quite loose and the slices not as neat) and enjoying (preferably topped with vanilla ice cream!).
No food processor? No problem.
In a large bowl, whisk together flour, sugar, and salt, then use a pastry cutter to cut in the cold butter until the mixture resembles coarse crumbs (with some pea-sized pieces remaining). Add the sour cream and stir with a fork until the dough begins to clump together and holds when pinched, then proceed with the recipe as instructed.
Apple note
This is typically about 3 apples for me but can vary wildly depending on their size. Weigh apples after pelling/coring/slicing. Type of apple to use: I like making this galette with everything from Granny Smith to Pink Lady or Gala. I recommend avoiding super soft, super sweet apples like McIntosh or Red Delicious.
Sugar for topping
I use and recommend this bakery-style sugar. I love its large, sparkly crystals and use it for many recipes, from this apple galette to my banana bread cookies and blueberry muffins.
Storing
Cool completely then cover and store at room temperature for up to two days, or store in the refrigerator in an airtight container for up to 4 days. To reheat, I recommend reheating individual slices in a 350F (175C) preheated oven until warmed through. The microwave works, too, but will soften the crust while the oven will restore its crispiness.
Serving: 1serving | Calories: 371kcal | Carbohydrates: 43g | Protein: 4g | Fat: 21g | Saturated Fat: 13g | Polyunsaturated Fat: 1g | Monounsaturated Fat: 5g | Trans Fat: 1g | Cholesterol: 81mg | Sodium: 234mg | Potassium: 133mg | Fiber: 2g | Sugar: 18g | Vitamin A: 695IU | Vitamin C: 4mg | Calcium: 36mg | Iron: 2mg
Nutrition information is automatically calculated, so should only be used as an approximation.