

And if you serve ribs cooked by the 3-2-1 method, 95 percent of the people who taste them will react with delight and will declare you a genius. My guests sure did, and I did not deflect their praise. And yet … and yet … I felt a certain discomfort accepting my guests’ compliments. These were good ribs. Safe ribs. Ribs by rote. These were ribs almost anyone could love on account of their moistness and tenderness.
(If you are unfamiliar with it, the 3-2-1 approach calls for smoking the ribs for 3 hours, cooking for 2 hours tightly wrapped in foil, and unwrapping for the final hour for a total of 6 hours.)
This barbecue-by-the-numbers method is undeniably popular among backyard pit masters and on the competition circuit, where it is believed to have originated. So why do I keep revisiting it? I have never been totally satisfied with ribs barbecued according to the 3-2-1 formula. Sometimes, the chew skews from tender to mushy. The bark softens in the steam while the ribs are foiled. The rub disappears. The flavors seem dialed down, a bit washed out, almost like boiled ribs.
After experimenting, I identified the primary cause of the problems: The ribs were simply spending too much time in the steamy environment of the foil.
I’m now a proponent of the 3-1-1 method. (Not as catchy as 3-2-1, but oh well.) Below are the particulars. Note: If using baby back ribs, cut the smoking time down to 2 hours.
Step-by-Step Guide to the 3-1-1 Method Ribs
- Start with the best spare ribs you can buy, preferably heritage breed and never frozen. Buy St. Louis-style ribs or trim them yourself. One rack feeds 2 to 3 people. Remove the papery membrane from the bone side of the ribs as it impedes the absorption of smoke and spices.

- Apply your favorite rub (I’m partial to my Planet Barbecue Kansas City Smoke Rub) to both sides of the ribs an hour or so before you intend to cook. The salt in the rub draws some of the moisture from the surface of the meat, giving you better bark.
- In the meantime, set up your smoker according to the manufacturer’s instructions and preheat to 250 degrees F. (Alternatively, set up your charcoal grill for indirect grilling and preheat to the same temperature.) If using wood chips to generate smoke, soak in water for at least 30 minutes, then drain. (I don’t bother soaking wood chunks.) Place a shallow pan of water in the cook chamber if not using a smoker with a built-in water pan. You could add moisture to the ribs by mopping, but repeated opening and closing of the lid compromises the temperature’s stability.
- Once the temperature has stabilized in your smoker or grill, arrange the ribs on the grate, bone side down. If smoking several racks at once, use a rib rack. Immediately close the lid. Smoke for 3 hours, replenishing the fuel, water, and/or smoking wood as necessary.
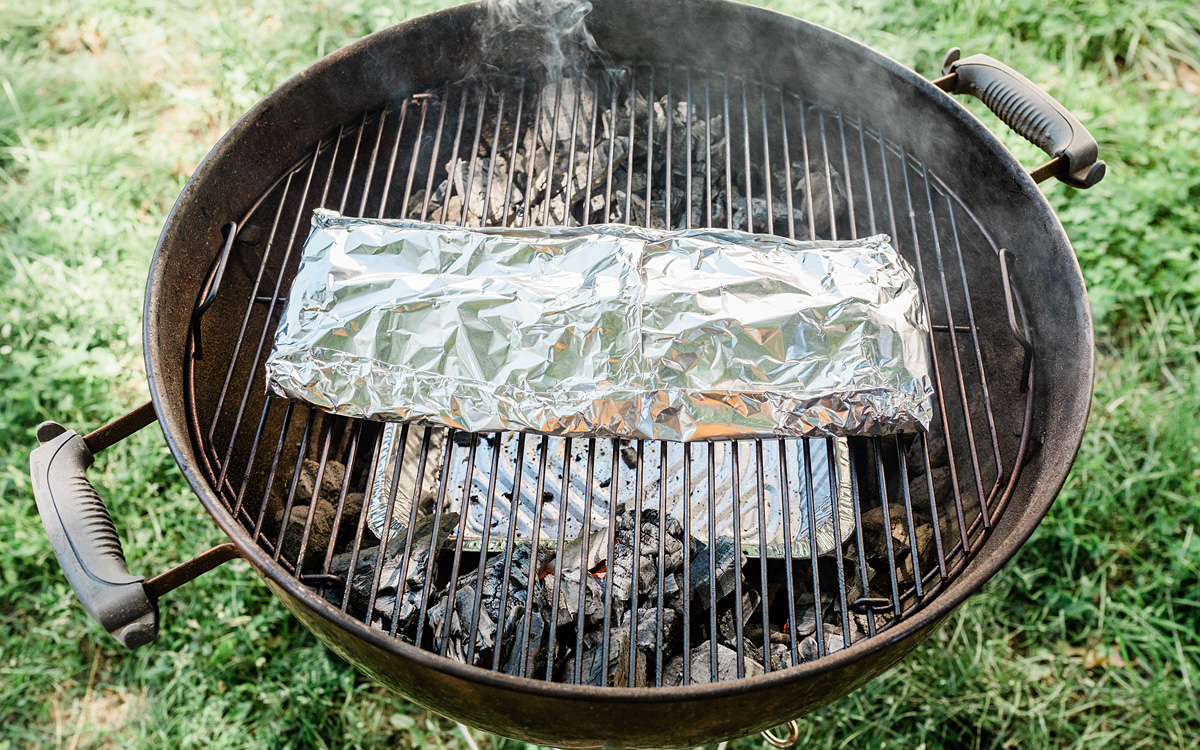
- For each rack of ribs, tear off a rectangle of heavy-duty aluminum foil large enough to completely enclose the ribs. Quickly remove the ribs from the smoker or grill and replace the lid to avoid heat loss. Place each rack, meat side down, on a piece of aluminum foil and bring up the sides. If desired, pour 1/4 cup of apple cider, beer, ale, or other flavorful liquid on top of the bones and dot with thin slices of butter. Bring the edges of the foil together and fold to make a tight package. Return to the smoker or grill and cook for 1 hour. (You no longer need to add smoking chips or chunks to the fire.)
- Remove the ribs from the smoker or grill. (Again, work quickly to maintain cooking temperatures.) Carefully open the foil package; wear heatproof food gloves to avoid steam burns. Insert a toothpick between the bones in the thickest part of the meat; it should penetrate fairly easily. Using tongs, lift the ribs from the foil. Discard the foil. Reserve the juices, if desired, and boil down to make a glaze. Don’t bother if you’re only doing 1 or 2 racks.
- If desired, dust the ribs lightly with more rub. Return to the smoker or grill, meat side up, or to the grill rack. Cover and continue to cook for 1 hour. Again, insert a toothpick between the bones to test for doneness. If the toothpick doesn’t penetrate easily, continue to cook until it does, testing at 15-minute intervals. (Another test for doneness requires you to lift the rack of ribs up by one end. If it begins to bend and form a shreddy crack between the middle bones, the ribs are tender.) If you made a glaze, apply it now. I like to serve barbecue sauce on the side. But you can apply it the last 30 minutes of the cook or sizzle it in over a hotter grill for the last 5 minutes. Please note that sweeter sauces burn easily, so watch them carefully.

Bottom line? The success of ribs, like brisket or pork shoulder, still depends on human intuition. Use the above formulas as guidelines, recognizing that a particular rack of ribs might need more or less time on the grill. Be flexible. If the ribs are done before your guests arrive, loosely wrap them in foil and stow in an insulated cooler until serving time. If the ribs need more time, have some interesting grilled appetizers at the ready.
Do you have a fail-safe method for barbecuing ribs? Please share it with us on social media!
Related Reads
Check out our 1000+ Recipes section here on Barbecue Bible.Com
Also, sign up for our Up in Smoke newsletter so you don’t miss any blogs and receive some special offers! PLUS get Raichlen’s Burgers! PDF for free!
Follow Steven on Facebook, Instagram, YouTube, TikTok, Reddit, and Pinterest!
Check out our store powered by BBQGuys!