



Wherever you go in Tuscany, you will find restaurants serving pici pasta. Similar to a thick spaghetti, hand-rolled Tuscan pici is the most well-known and loved of the region’s homemade pasta types. Making this flour and water pasta is much easier than many may think. In fact, pici is the perfect pasta for newbie pastamakers. You can even make it using just your hands and a large wooden board or a clean counter top.
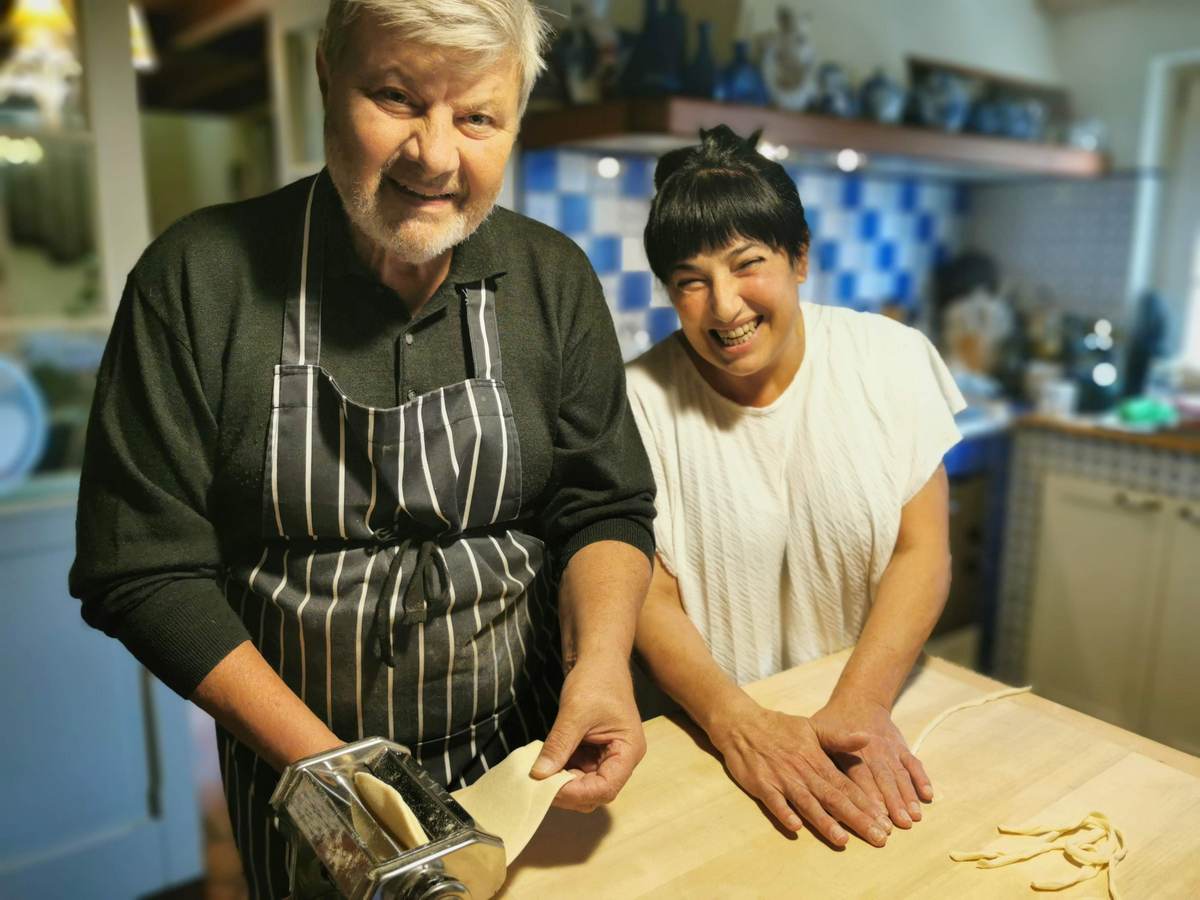
We made hand-rolled Tuscan pici for our recent Sunday pasta project. We included other family members in the endeavor and everyone enjoyed both making and eating the pasta. You should try it too!
What is pici pasta?
Pici is a thick, hand-rolled Tuscan pasta that looks like a fat, irregular spaghetti. Each strand is rolled between the palms or against a wooden board, so no two pieces are exactly the same. A typical strand is about ⅛ to ¼ inch thick (3-6mm) and anywhere from 8 to 12 inches long (20-30 cm), although some people make their homemade pici shorter.
The name pici comes from the verb ‘appiciare’ which in Tuscan culinary jargon refers to the hand movement used to shape the pasta into its charateristic form of long, thick and irregular pasta strands.
Classic pic pasta dough uses only flour, water, and salt, with a splash of olive oil in many homes. Hand rolled pici have a dense, chewy bite and a slightly rough surface that grabs onto sauce. You will also hear this Tuscan pasta called pinci, especially around Montalcino. Same pasta, different local dialect.
History and Origins of Pici.
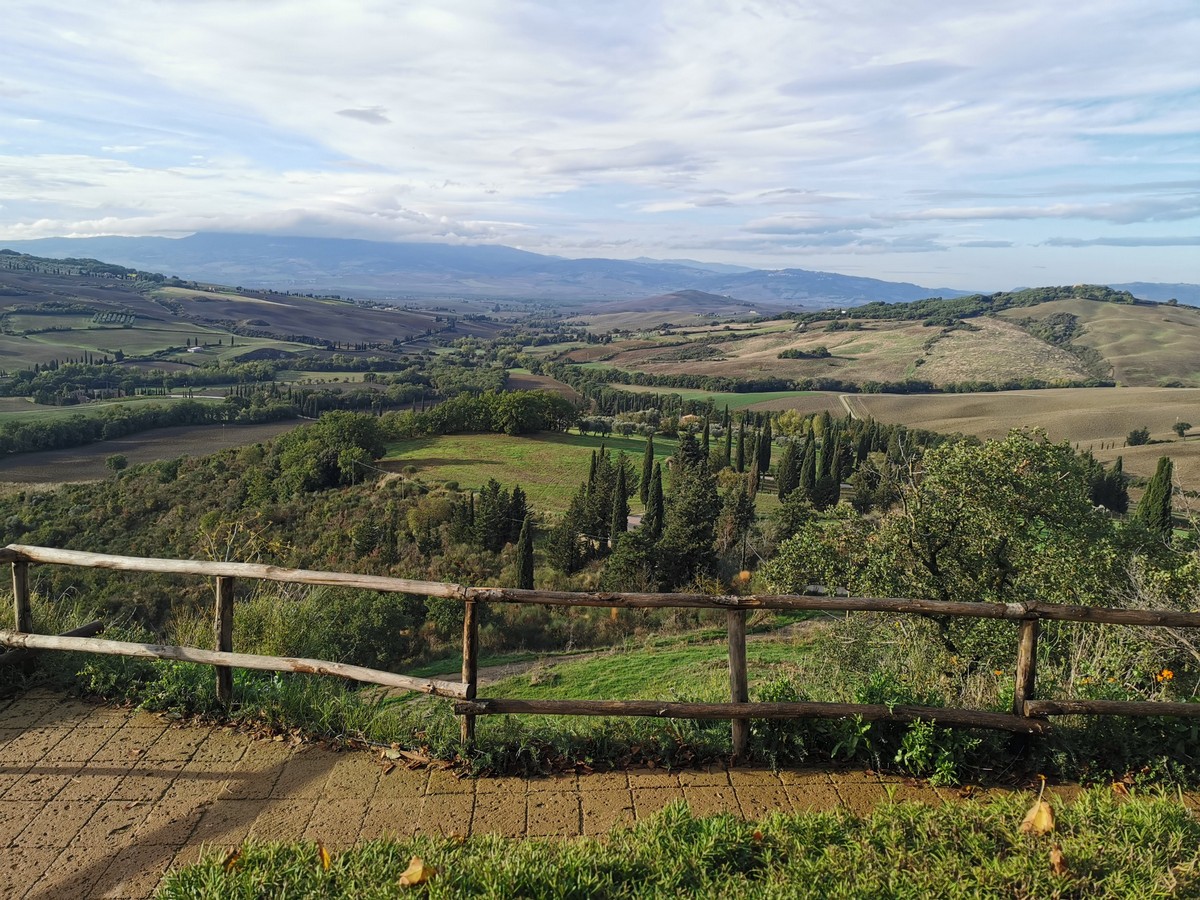
Pici comes from southern Tuscany, mainly the province of Siena. Its heartland covers the rolling hills of the beautiful Val d’Orcia, the Val di Chiana, and towns like Montepulciano, Montalcino, and Pienza.
This pasta belongs to what Italian call la cucina povera, the ‘poor or peasant kitchen’ of rural Italy. Farm families could not always spare eggs for pasta, so they mixed flour and water and rolled it by hand at the kitchen table. Grandmothers often made it on Sundays, and the whole family helped shape the strands.
Local lore ties hand-rolled pasta in this area back to the Etruscans, who lived in central Italy before the Romans. Historians debate the exact link, but the story shows how deeply people in Siena feel about this dish.
In the village of Celle sul Rigo, near the Tuscany and Lazio border, locals have celebrated pici with a yearly spring festival for decades. Volunteers roll the pasta by hand, and visitors come from across Italy to eat it. Definitely a pasta festival I would like to go to.
Which is the best flour to make pici?
The flour you pick shapes the texture of your pici more than any other choice.
Italian ’00’ flour: Finely milled and soft. It makes a silky, smooth dough that rolls easily. Great for beginners.
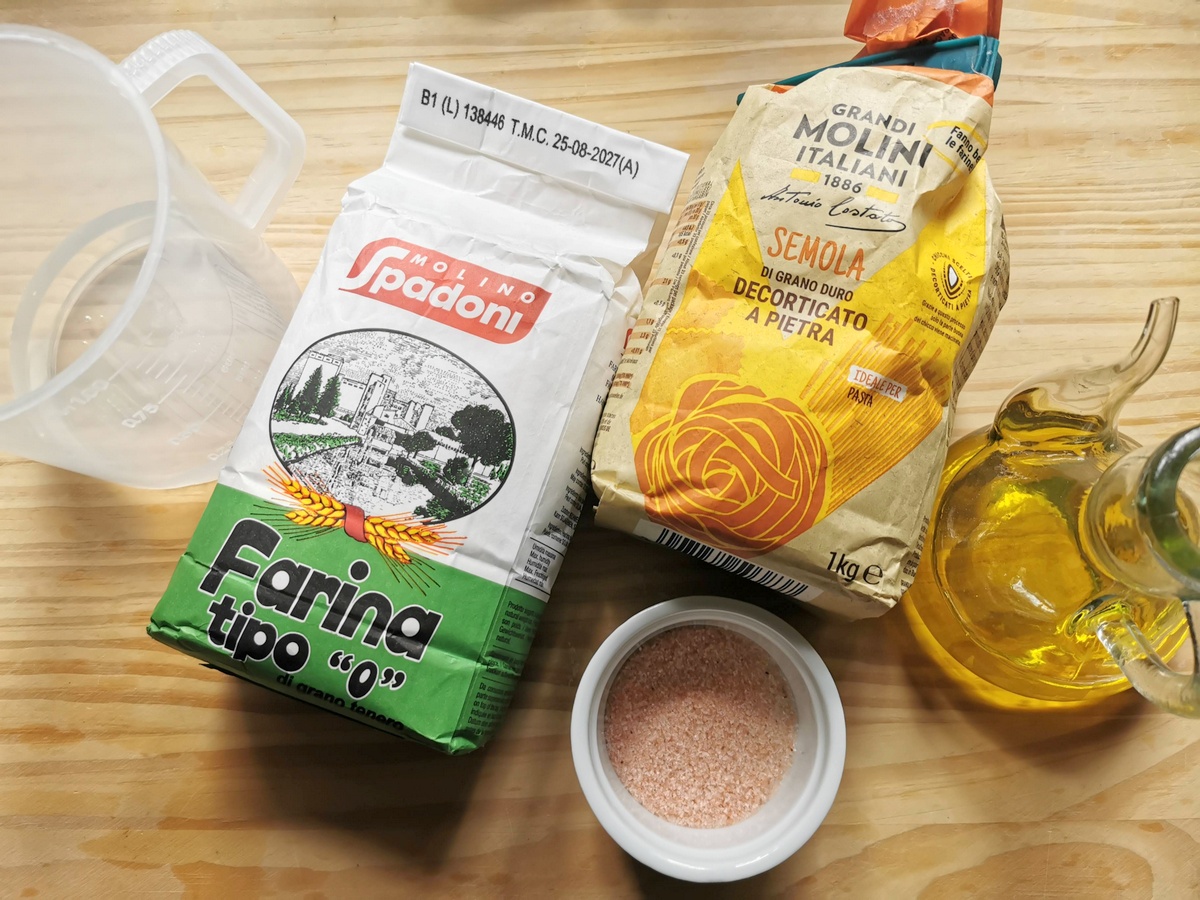
Italian ‘0’ flour: Is slightly less refined and coarser than ’00’ flour. Because it allows a little of the outer grain particles to pass through during sifting, this flour has a slightly less uniform texture. However, it’s higher in protein and minerals and produces a dough that has a bit more bite and structure. This is the flour we used.
All-purpose flour: Works very well and is easy to find in the US. The result is slightly chewier and a touch more rustic than ’00’ flour and closer to Italian ‘0’ flour..
Semola rimacinata (re-milled durum semolina): Adds firm bite and a golden color. Use it for up to half of the flour which is what we did. This semolina flour is also my favorite for dusting our wooden pastry board.
Bread flour: Higher protein means extra chew, but the dough fights back when rolling. Best mixed half and half with “00” or all-purpose.
Whole wheat or farro flour: Nutty and earthy. Swap in up to 30 percent for flavor without making the dough crumbly.
Ingredients for hand-rolled pici.
This recipe makes about 4-6 servings.
7 ounces (200 grams) ’00’ , ‘0’, or all-purpose flour.
7 ounces (200 grams) hard wheat semolina flour plus extra for dusting.
7floz (about 200 milliliters) lukewarm water.
1 tablespoon extra virgin olive oil.
½ teaspoon fine sea salt.
Cook’s tip
Lukewarm water hydrates flour faster than cold water and makes the dough relax sooner. The olive oil is optional, yet it adds a gentle softness that helps beginners roll longer strands without breaks.
Equipment and Tools
Pici needs very few tools. Here is what will help you make your pici.
A large wooden board or clean countertop
A bench scraper or sharp knife
A rolling pin
A clean kitchen towel or plastic wrap
A sheet pan or tray dusted with semolina flour
Cook’s tip
Wood gives the best grip for rolling. Smooth stone or stainless steel lets the dough slide around, so lightly dampen those surfaces if that is all you have.
Step by step how to make pici dough
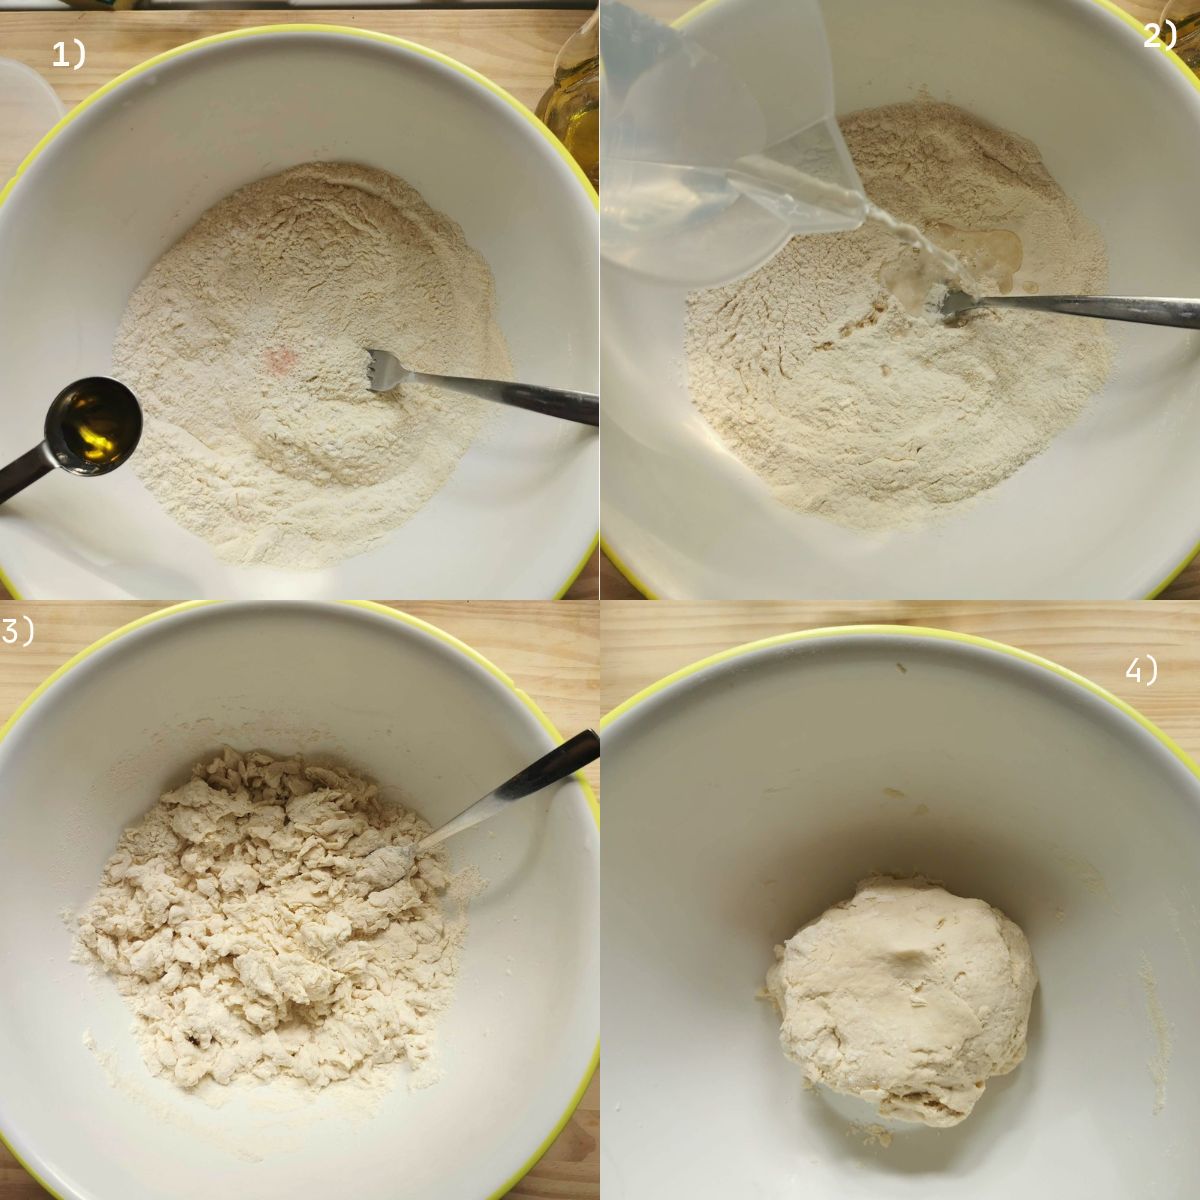
Step 1) Sift both types of the flour into a large mixing bowl and stir in the salt. Make a small well in the center. Pour in the olive oil.
Step 2) Pour in two thirds of the water.
3) Use a fork to pull flour from the outside into the water, little by little. When it turns shaggy, switch to your hands and add the remaining water as needed.
4) Knead the dough inside the bowl until you can form a ball and the dough no longer sticks to the sides of the bowl.
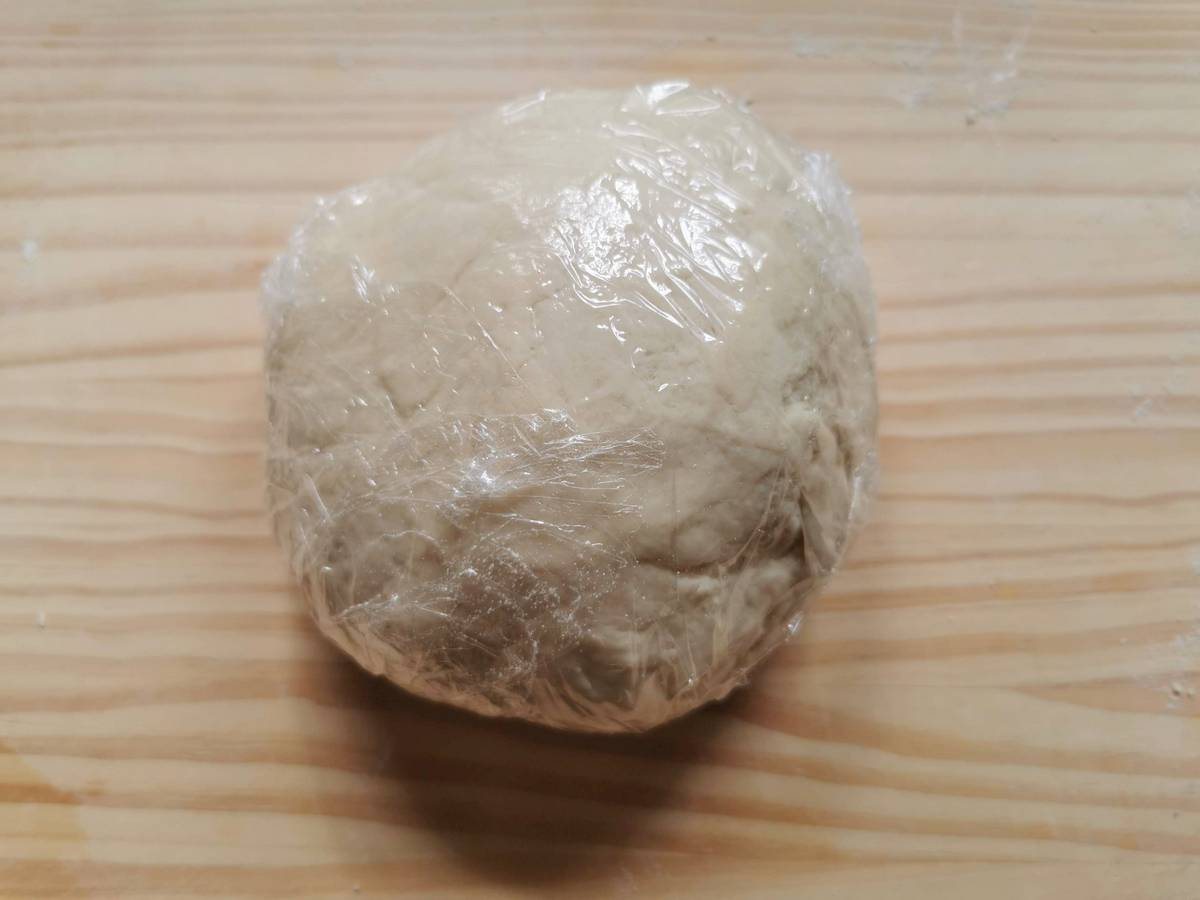
5) Turn the dough out onto your flour dusted work top. Knead until it feels smooth and springy. Roll the dough into a ball.
6) Wrap the dough tightly in plastic wrap or a damp tea towel and leave it at room temperature. Resting relaxes the gluten so the strands stretch without snapping back.
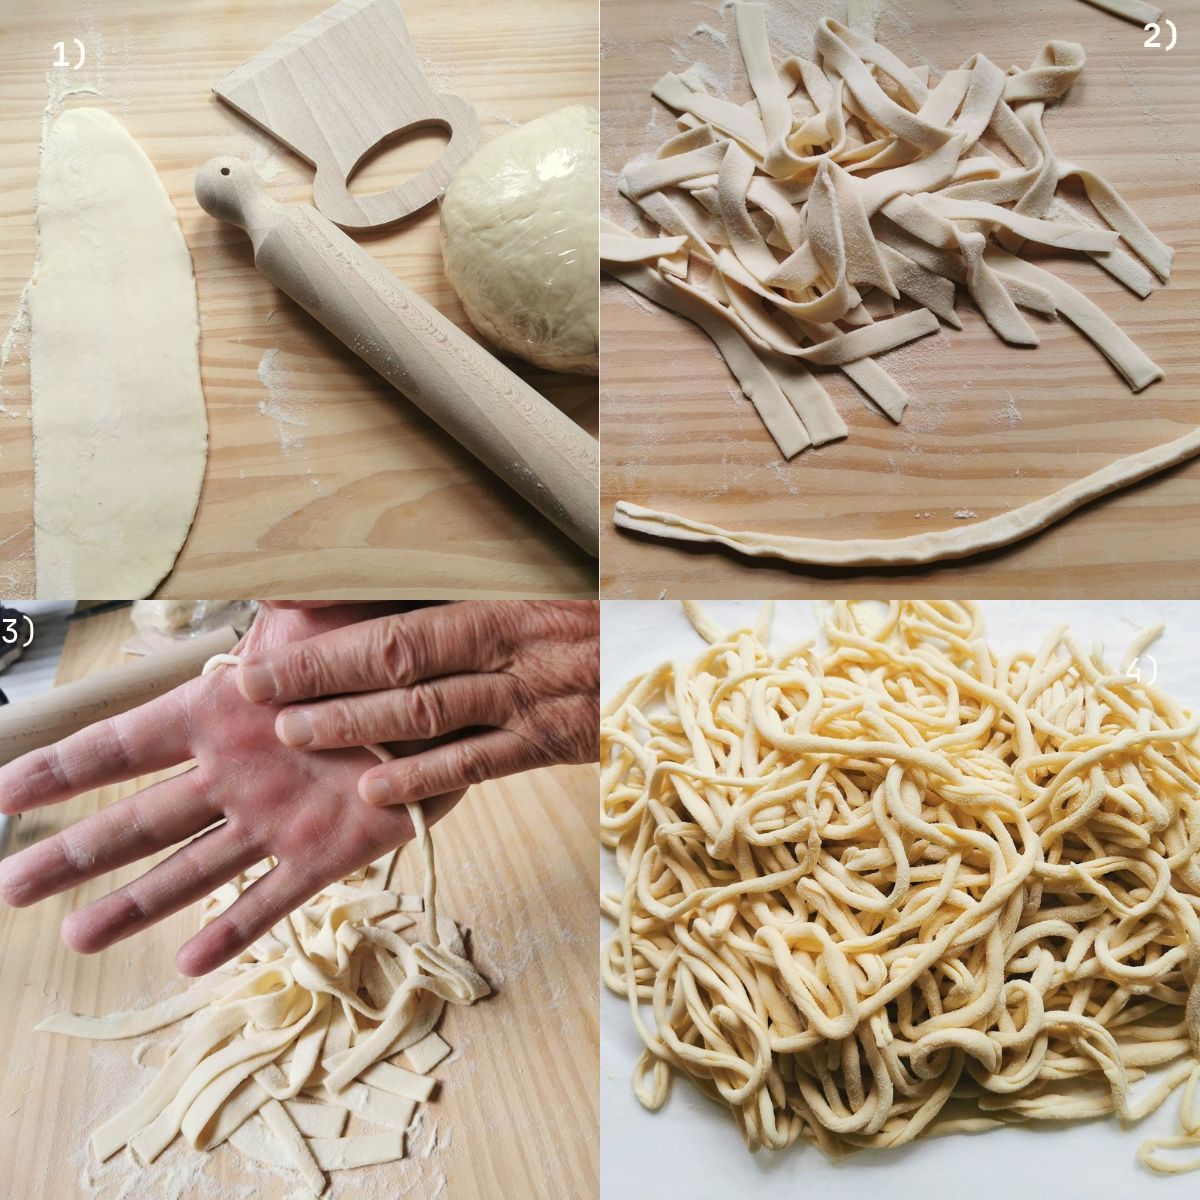
Shaping and Rolling Pici 2 ways
Work with small portions and keep the rest of the dough covered so it stays moist.
First way.
Step 1) Take a portion of the dough and roll it out with a rolling pin or pasta machine to a thickness of about 3-4mm.
Step 2) Cut the dough into strips or smaller pieces. Fold the strips in half so they are slightly rounded.
3) Use the palms of your hands to roll the strips between your hands into thick rustic spaghetti like strands.
4) Lay each finished strand on the semolina-dusted sheet pan. Toss lightly so the fresh pasta pieces do not stick together.
Second way.
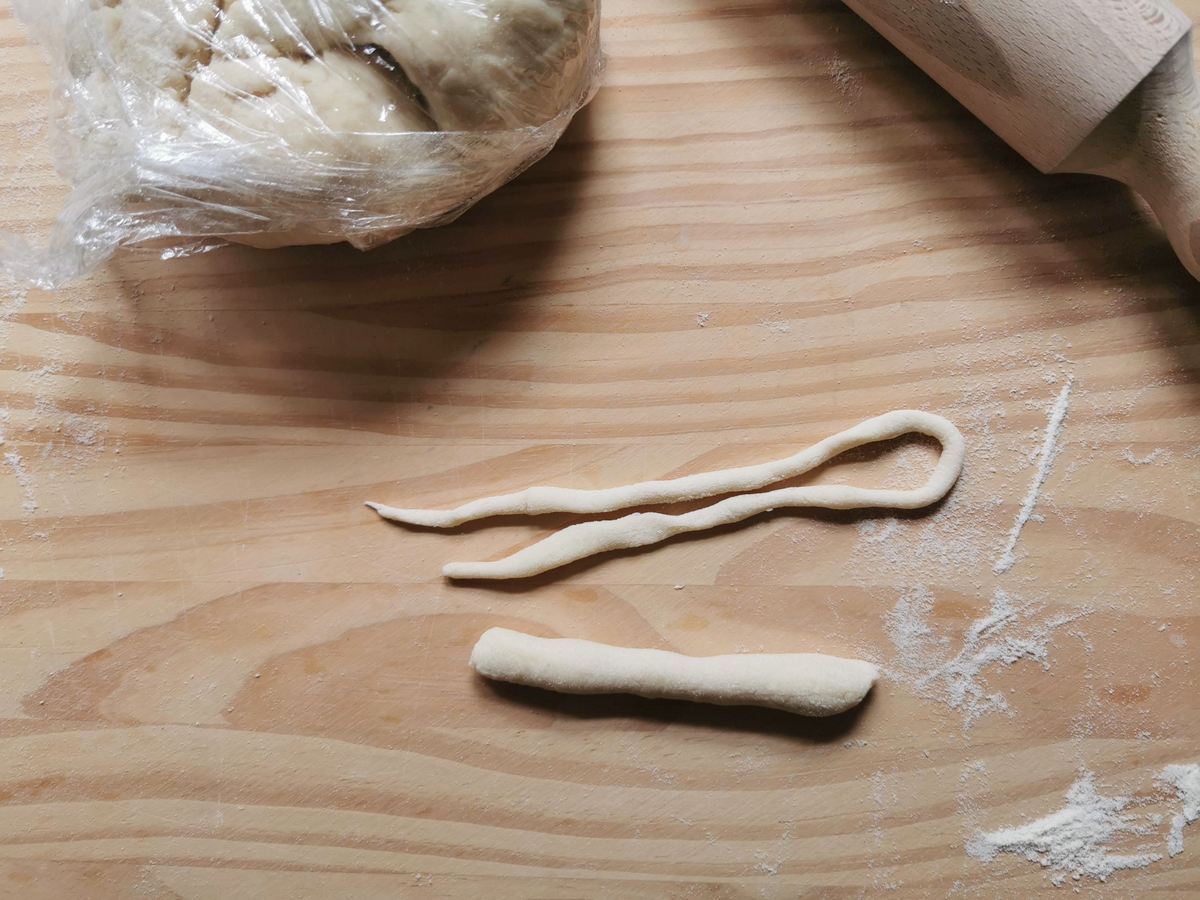
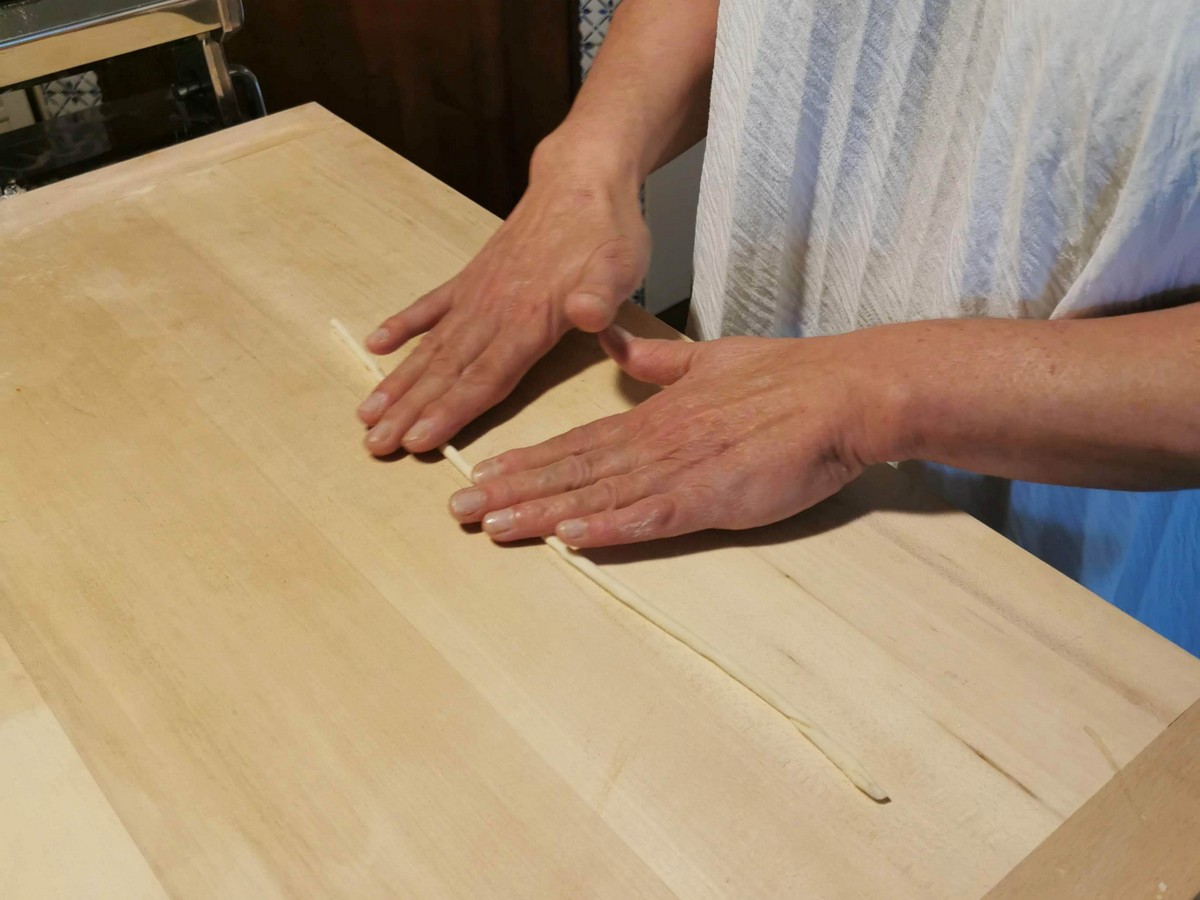
Alternatively, cut or break off small pieces of dough. Roll the piece of dough into a ‘snake’ using your hands on a flour free worktop. As the ‘snake’ starts to lengthen, start each roll in the centre of the strand and slide your hands sideways as you roll up and down. Like rolling ‘snakes’ with clay or play-doh! If the strand gets too long, cut in half and make 2 pici strands with it. No rolling pin or pasta machine needed.
Cook’s tip
It’s best to roll on a bare surface. Flour on the board makes the dough slip instead of stretch. A tiny bit of friction is what turns a stubby strip into a long noodle.
Cooking hand-rolled Tuscan pici
Bring a large pot of water to a rolling boil and salt it until it tastes like mild seawater. Use about 4 to 5 quarts of water (4-5 lts) per pound (500g) of pasta.
Shake off the extra semolina and drop the pici into the boiling salted water. Stir right away so the strands do not clump.
Timing guide
- Freshly rolled pici: 4 to 7 minutes, depending on thickness
- Pici that dried for a few hours: 7 to 10 minutes
- Frozen pici: add 1 to 2 minutes to the fresh time and cook straight from frozen
Cook’s tip
Test taste a strand starting at 4 minutes. It should feel tender with a firm, chewy center. Save a cup of the starchy cooking water before draining. Then finish the pasta in the sauce pan for 1 to 2 minutes so the thick strands soak up flavor.
Pici Sauce Pairings
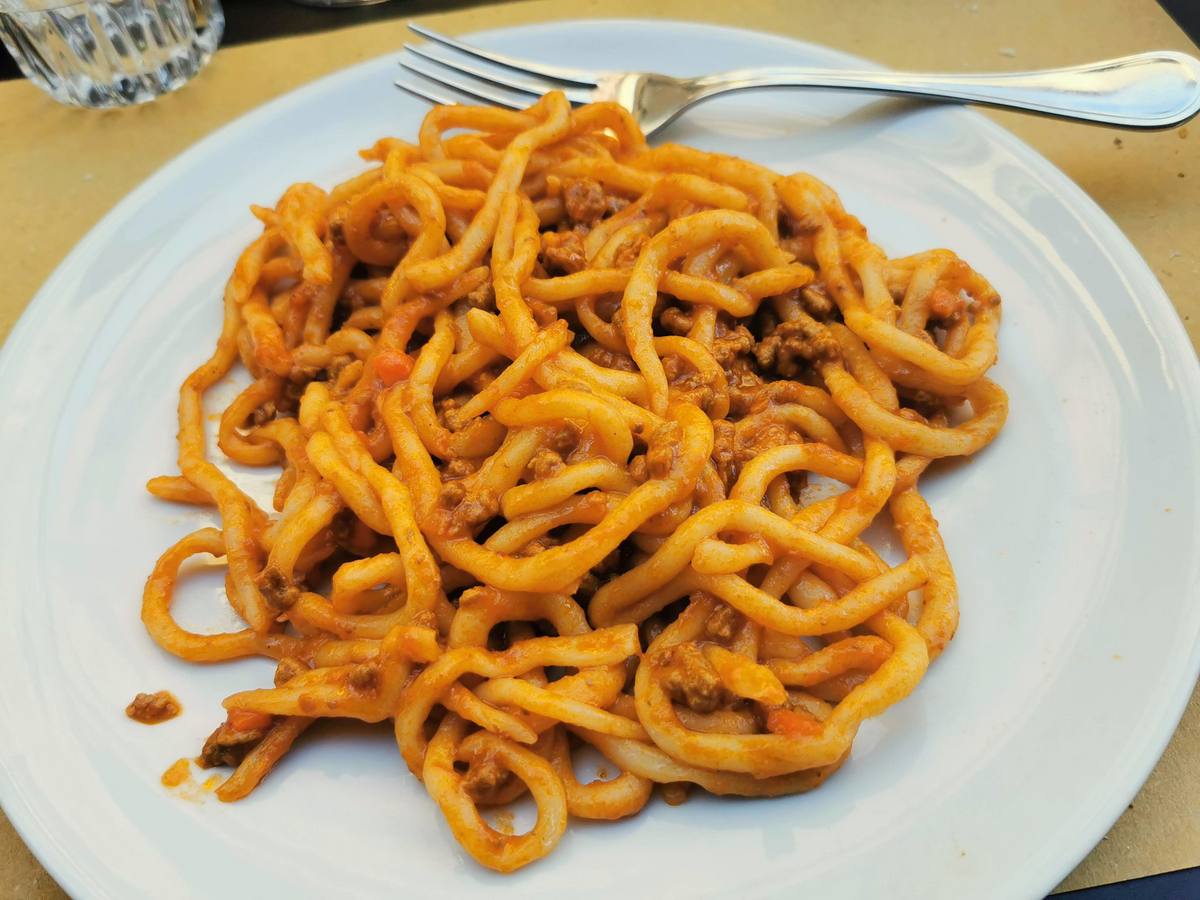
Pici is sturdy enough for bold, hearty sauces. We served our pici with a typical Tuscan meat ragu (Pici al ragù toscano). This typical ragu is made with chopped beef steak and ground pork or pork sausage meat. (recipe published soon)
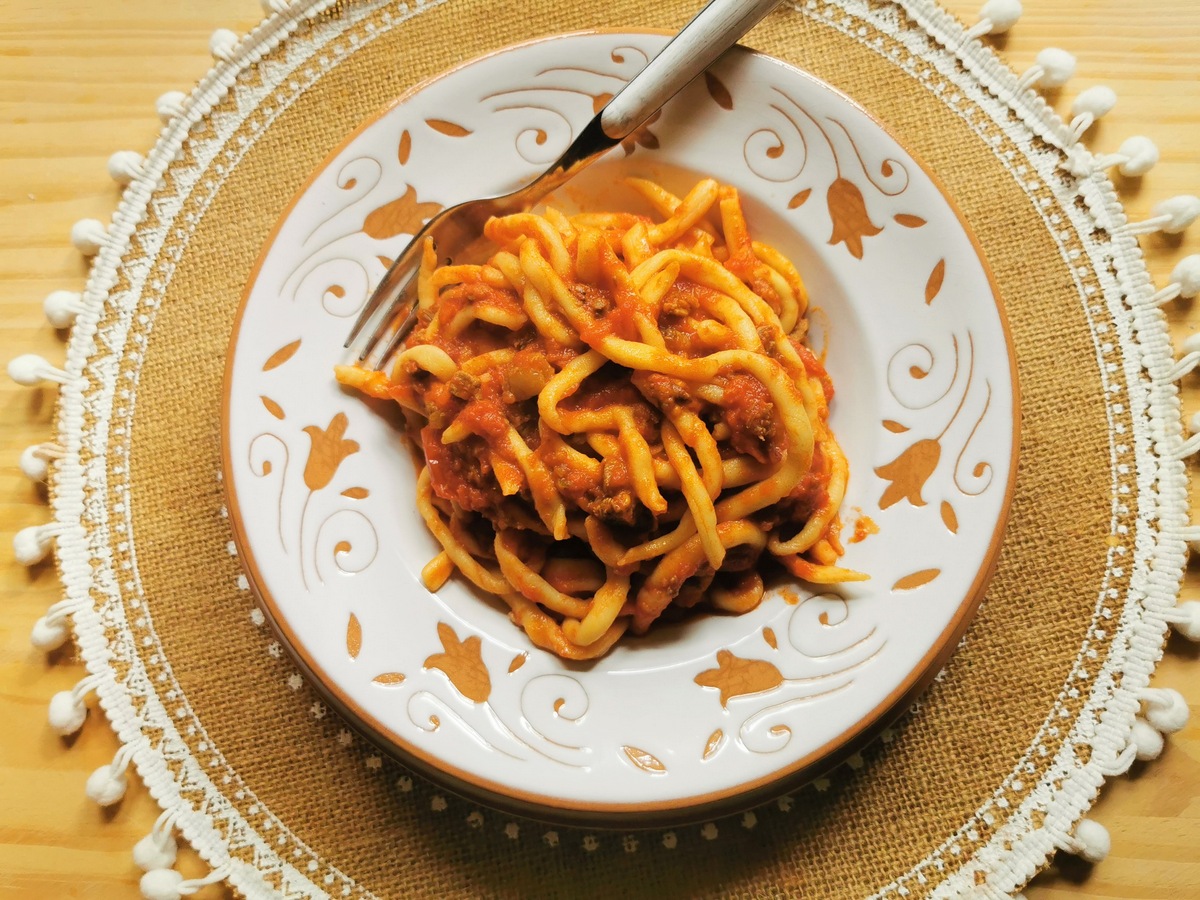
Other Tuscan classics for pici include…
Pici all’aglione. The signature dish of the Val di Chiana. A mild giant garlic (elephant garlic) called aglione is slowly cooked in olive oil with tomatoes and a pinch of chili. Regular garlic works if you use less.
Pici cacio e pepe. Pecorino cheese, black pepper, and pasta water whisked into a creamy coating. Tuscans often use local Pecorino Toscano, which is milder than Pecorino Romano.
Pici con le briciole (breadcrumbs). The original thrifty sauce. Stale breadcrumbs fried in olive oil with garlic until golden and crunchy. Simple and addictive.

Pici al ragù di cinghiale. A slow-braised wild boar ragù with red wine and herbs. Pork shoulder makes a fine substitute. Use your pici in this recipe for Tuscan wild boar ragu.
Pici con funghi porcini. Sautéed porcini mushrooms with garlic, parsley, and butter. Dried porcini soaked in warm water bring the same deep, woodsy flavor. Use my tagliatelle with porcini recipe for the sauce.
Pici al ragù di Chianina. Ragù di chianina is a meat ragù that uses beef obtained from the world-renowned Italian ancient breed of cattle called chianina from the Val Chiana in Tuscany and Umbria.
How to store your homemade pici
Same day: Leave freshly made pici on the semolina-dusted sheet pan or baking sheet, uncovered, for up to 2 hours at room temperature. Toss them now and then so they dry evenly.
Refrigerator: Cover the tray loosely and chill for up to 24 hours. The surface may darken slightly, which does not affect flavor.
Freezer: Freeze the pici in a single layer on the sheet pan until firm, about 30 minutes. Transfer them to a freezer bag and store for up to 3 months. Do not thaw before cooking.
Unrolled dough: Wrap tightly and refrigerate for up to 1 day. Let it sit at room temperature for 20 minutes before rolling.
Cooked leftovers: Store pici and sauce together in an airtight container for up to 3 days. Reheat in a skillet with a splash of water or bake in the oven.
Bring a taste of Tuscany to your table.
Pici started as farmhouse food, born from flour, water, and the need to feed a family well. The strands were never meant to be perfect. They carried the marks of the hands that made them.
When you roll your own, you join that long line of Tuscan home cooks. Your board becomes the kitchen table in a stone farmhouse near Montepulciano and your ragu simmers the way it has in the Valdichiana for generations.
Make a batch with your family like we did this weekend, set the table, and let the slow, simple work of rolling bring a taste of southern Tuscany to your home.
Let me know what you think.
If you decide to make your own hand-rolled Tuscan pici, please let me know how it turned out and if you liked it. You can leave a comment here on the blog or on The Pasta Project Facebook page.
Looking forward to hearing from you!
Buon appetito!
Save this recipe for later.
If you want to save this recipe for later, you can print it, bookmark this page or save it to Pinterest. Or, make your own online recipe box by clicking the ❤️ in the lower right corner of your screen & following the quick and easy instructions!
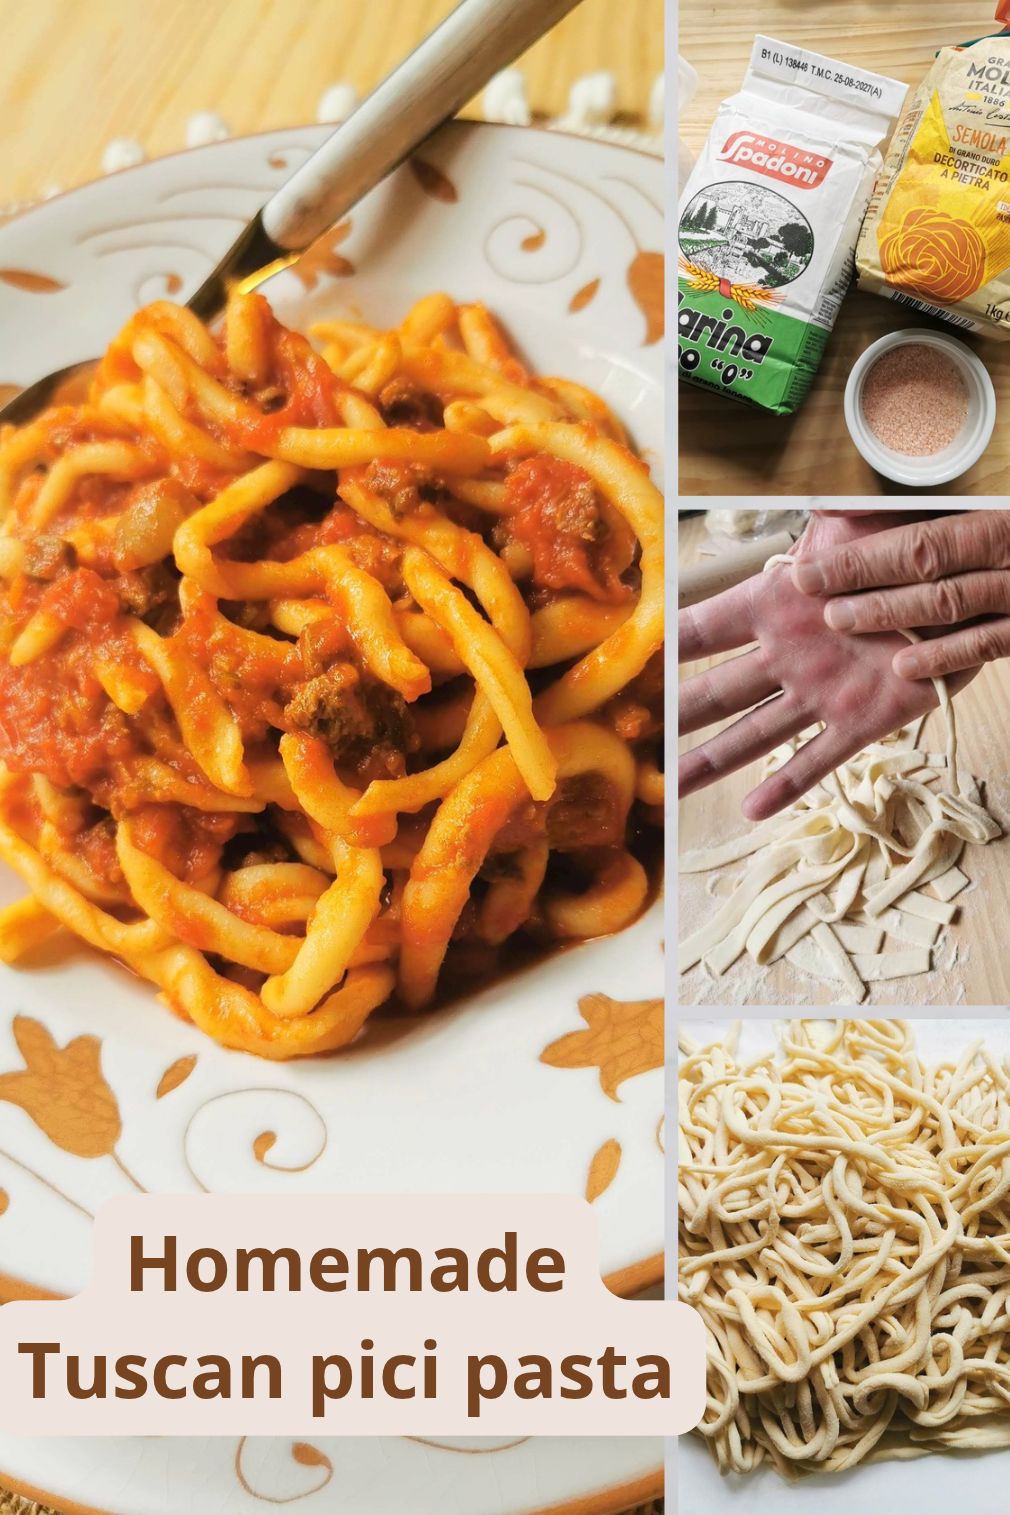
How to make hand-rolled Tuscan pici pasta recipe.

Similar to a thick spaghetti, Tuscan pici is the most well-known and loved of the region’s homemade pasta types. Making this flour and water pasta is much easier than many may think. In fact, pici is the perfect pasta for newbie pastamakers. Plus, it goes so well with many sauces from hearty ragus to a simple garlic tomato sauce.
Equipment
-
1 mixing bowl
-
1 Rolling Pin
-
1 hand operated pasta machine optional
-
1 wood pastry board.
-
1 sharp knife to cut dough into thick strips (optional)
-
A clean kitchen towel or plastic wrap
-
A sheet pan or tray dusted with semolina flour
Ingredients
- 7 ounces Italian soft wheat flour ‘0’ or ’00’ or APFlour
- 7 ounces Italian durum wheat flour semola rimacinata
- 7 fluid ounces tepid water
- 1 tablespoon extra virgin olive oil.
- ½ teaspoon fine sea salt
Instructions
Make the pici dough
-
Sift both types of the flour into a large mixing bowl and stir in the salt. Make a small well in the center and pour in the olive oil and then about three-quarters of the water.
-
Use a fork to pull flour from the outside into the water, little by little. When it turns shaggy, switch to your hands and add the remaining water as needed. Kneadthe dough inside the bowl until you can form a ball and the dough no longer sticks to the sides of the bowl. (about 5 minutes)
-
Turn the dough out onto your flour dusted work top. Knead until it feels smooth and springy. (about 5-10 minutes) Roll the dough into a ball. Wrap the dough tightly in plastic wrap or a damp tea towel and leave it at room temperature for about 30 minutes. Resting relaxes the gluten so the strands stretch without snapping back.
Make the pici pasta strands
-
Take a portion of the dough and roll it out with a rolling pin or pasta machine to a thickness of about 3-4mm. Cut the dough into strips or smaller pieces.
-
Use the palms of your hands to roll the strips between your hands into thick rustic spaghetti like strands. Alternatively, place the strips on a flour free worktop and roll using your hands. Start in the centre of each strand and slide your hands sideways as you roll up and down. Like rolling ‘snakes’ with clay or play-doh! Aim for strands that are about ⅛ to ¼ inch thick (3-6mm) and anywhere from 8 to 12 inches long (20-30 cm).
-
Lay each finished strand on the semolina flour-dusted sheet pan or tray. Toss lightly so the fresh pasta pieces do not stick together.
-
Alternatively, just cut or tear off small pieces of dough and roll as above without making the strips first.
Cook your Tuscan pici
-
Bring a large pot of water to a rolling boil and salt it until it tastes like mild seawater. Use about 4 to 5 quarts of water (4-5 lts) per pound (500g) of pasta. Shake off the extra semolina and drop the pici into the boiling salted water. Stir right away so the strands do not clump.
-
Freshly rolled pici: 4 to 7 minutes, depending on thickness Pici that dried for a few hours: 7 to 10 minutes. Frozen pici: add 1 to 2 minutes to the fresh time and cook straight from frozen.
-
When the pici is al dente, drain and add to your sauce of choice. Serve immediately.
Prevent your screen from going dark
Notes
Keep your hands slightly damp. A quick touch of water on your palms helps dough that keeps sliding instead of stretching.
Roll from the center out. Starting in the middle keeps the thickness more even than rolling from one end.
Make friends with imperfection. Strands that break in half are still delicious. Cook them anyway.
Recruit helpers. Pici is traditionally a group activity. Kids love rolling the strands, and the job goes three times faster.
Cut long strands in half. Very long pici are hard to twirl. Strands about 10 inches (25cms) long are easier to cook and eat.
Test one strand first. Boil a single piece before cooking the whole batch so you can adjust your timing.
Reserve extra pasta cooking water. Thick pasta absorbs liquid quickly, so you may need more water than usual to loosen the sauce.
Nutrition
Calories: 253kcalCarbohydrates: 49gProtein: 8gFat: 3gSaturated Fat: 1gPolyunsaturated Fat: 1gMonounsaturated Fat: 2gSodium: 197mgPotassium: 178mgFiber: 1gSugar: 0.1gCalcium: 17mgIron: 3mg
More Homemade Pasta Recipes
Reader Interactions