



Freezer Meal Prep System
· Guide · Vacuum Sealing
You bought the Souper Cubes; you’re ready to fill your freezer with lego lunches. Here’s the one step to preventing all of that hard work from going to waste. One move separates a perfect seal from a ruined bag, and it has nothing to do with how much you spent on the machine.
The mistake almost everyone makes: sealing food while it’s still soft, warm, or saucy. Give a vacuum sealer anything with give in it, and it either flattens the portion or sucks liquid straight into the seam. The second liquid hits that seam, the seal’s destroyed, and in a week, you’re staring at a gray, frost-crusted brick for dinner. Freeze it rock solid first. Pulse the sealer in short bursts, never full suction.
Rock Solid
Freeze Before You Seal
Pulse
Setting, Not Full Suction
4-6 wks
Zip-Top Bag Window
3 mo
Vacuum Sealed Freezer Life
🧊 What Really Causes Freezer Burn
Freezer burn is not the freezer failing you. It is physics. Ice at the surface of your food sublimates, meaning it skips straight from solid to vapor with no liquid stage in between, and that vapor has to go somewhere. If there is any air pocket touching the food, the moisture escapes into that air and re-forms as frost somewhere else in the freezer, usually on the inside of the bag. What is left behind on your food is a dry, gray, leathery patch where the water used to be.
This is why “loosely covered” loses for anything you plan to keep past a week or two. A loose lid or a bag that is not pressed flat still has air moving around inside it, and that moving air keeps pulling moisture off the surface of the food. Freezer burn is not about how long something sits in the freezer. It is about how much air touches it the whole time it is in there. Cut the air contact, and you cut the burn, full stop.
❄️ Freeze Solid First, Vacuum Seal Second
This is the step people get backward, and it is the one that ruins the most portions. A vacuum sealer pulls air out of the bag and presses the sides down tight against whatever is inside. Run that on something soft, saucy, or still warm, and the machine either crushes the portion flat or pulls liquid straight up into the seam, which stops the seal from bonding. Once liquid hits that seam, you no longer have a vacuum seal. You have a bag with a hole in it that happens to look sealed.
Freeze the portion solid first, on a tray or in its mold, before it ever meets the vacuum sealer. Solid food does not compress, does not leak, and has no moisture near the seam for the machine to pull through. If you portioned a saucy protein like the braised beef tips in gravy into individual molds, that portion needs to come out of the freezer rock hard before it goes anywhere near the sealer. Skip this step, and you will ruin more bags than you save.
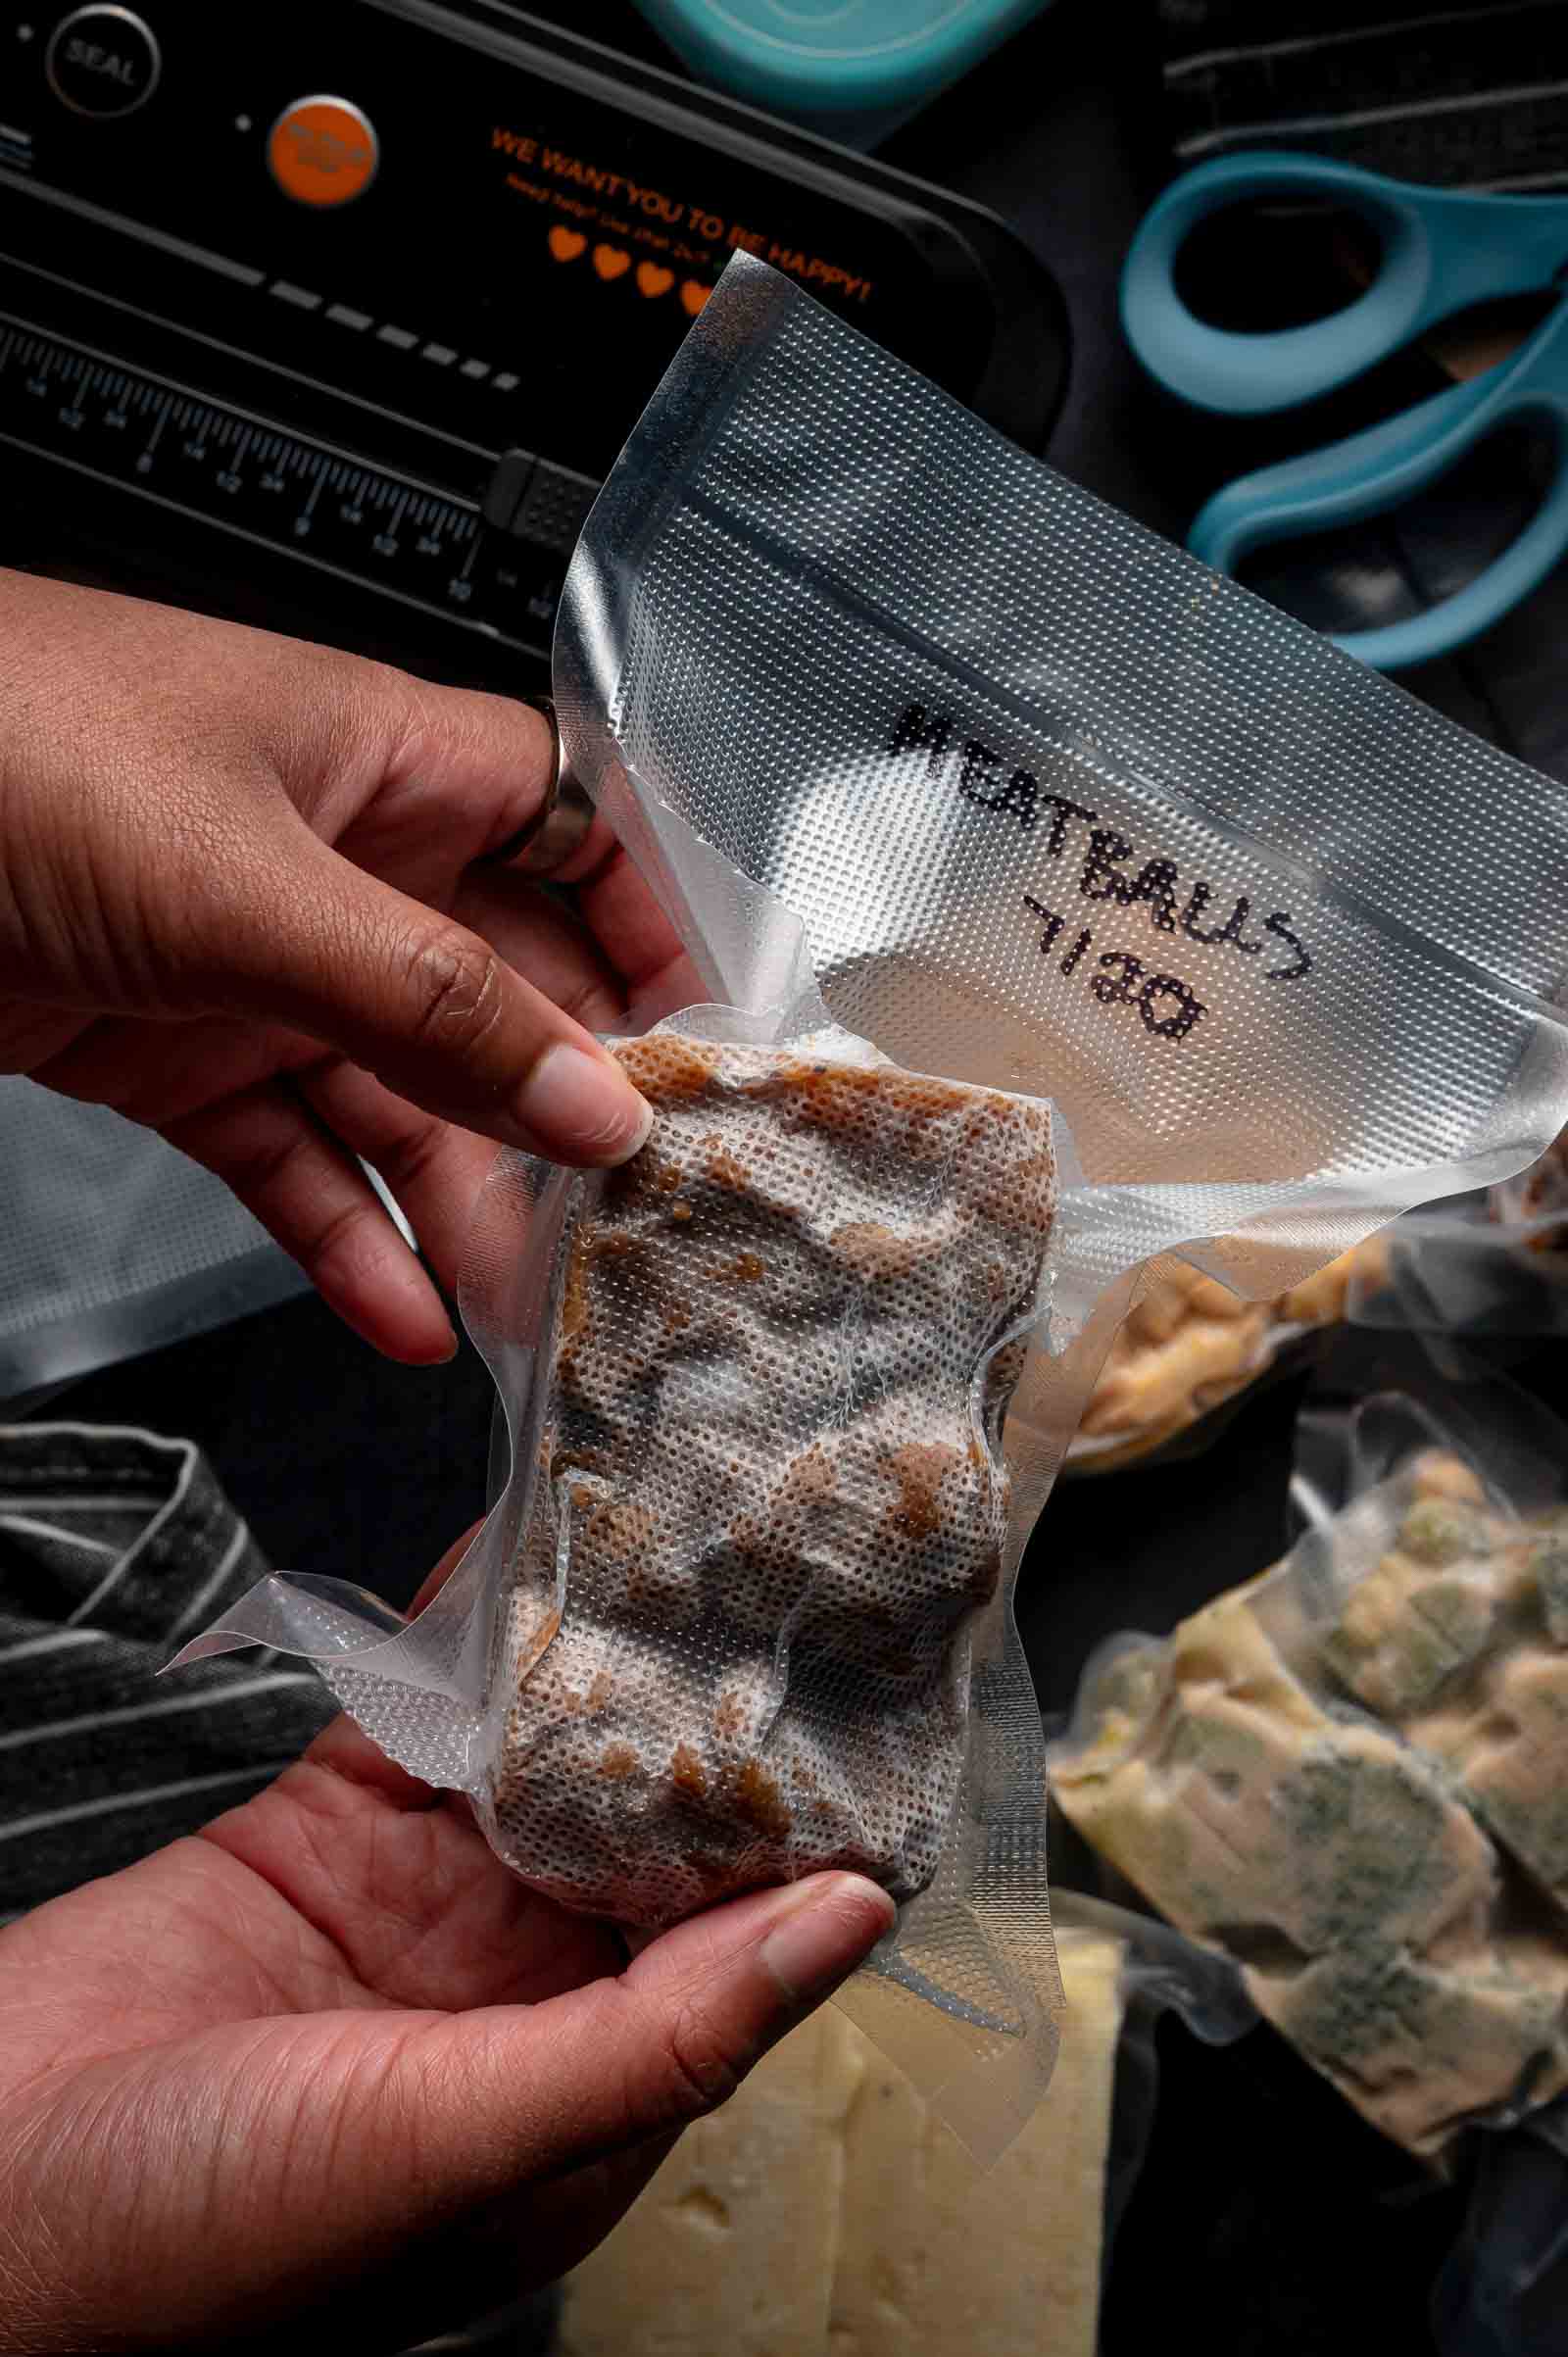
📦 How to Vacuum Seal a Frozen Portion, Step by Step
- Freeze the portion solid in its mold first. Souper Cube, Lego-stack tray, whatever you are running, give it the full freeze time before you touch it. Pop it out early, and it will stick or deform.
- Pop it out of the mold. Run the bottom under warm water for a few seconds if it is stubborn, then twist and release.
- Drop it into a freezer bag or straight into the vacuum bag. If you are using a chamber or external sealer, size the bag close to the portion so you are not sealing a lot of dead air space.
- Use the gentle or pulse setting, not full suction, on anything with give to it. Rice, mashed potatoes, and sauced proteins can still deform under full suction even when frozen solid. Pulse in short bursts and stop the second the bag goes tight against the food.
- Label before you seal, not after. Once the bag is vacuum sealed, it is harder to write on and easy to lose track of. Recipe name and date, every time.
- Back in the freezer immediately. Do not let a sealed portion sit on the counter while you finish the batch. Seal and stack.
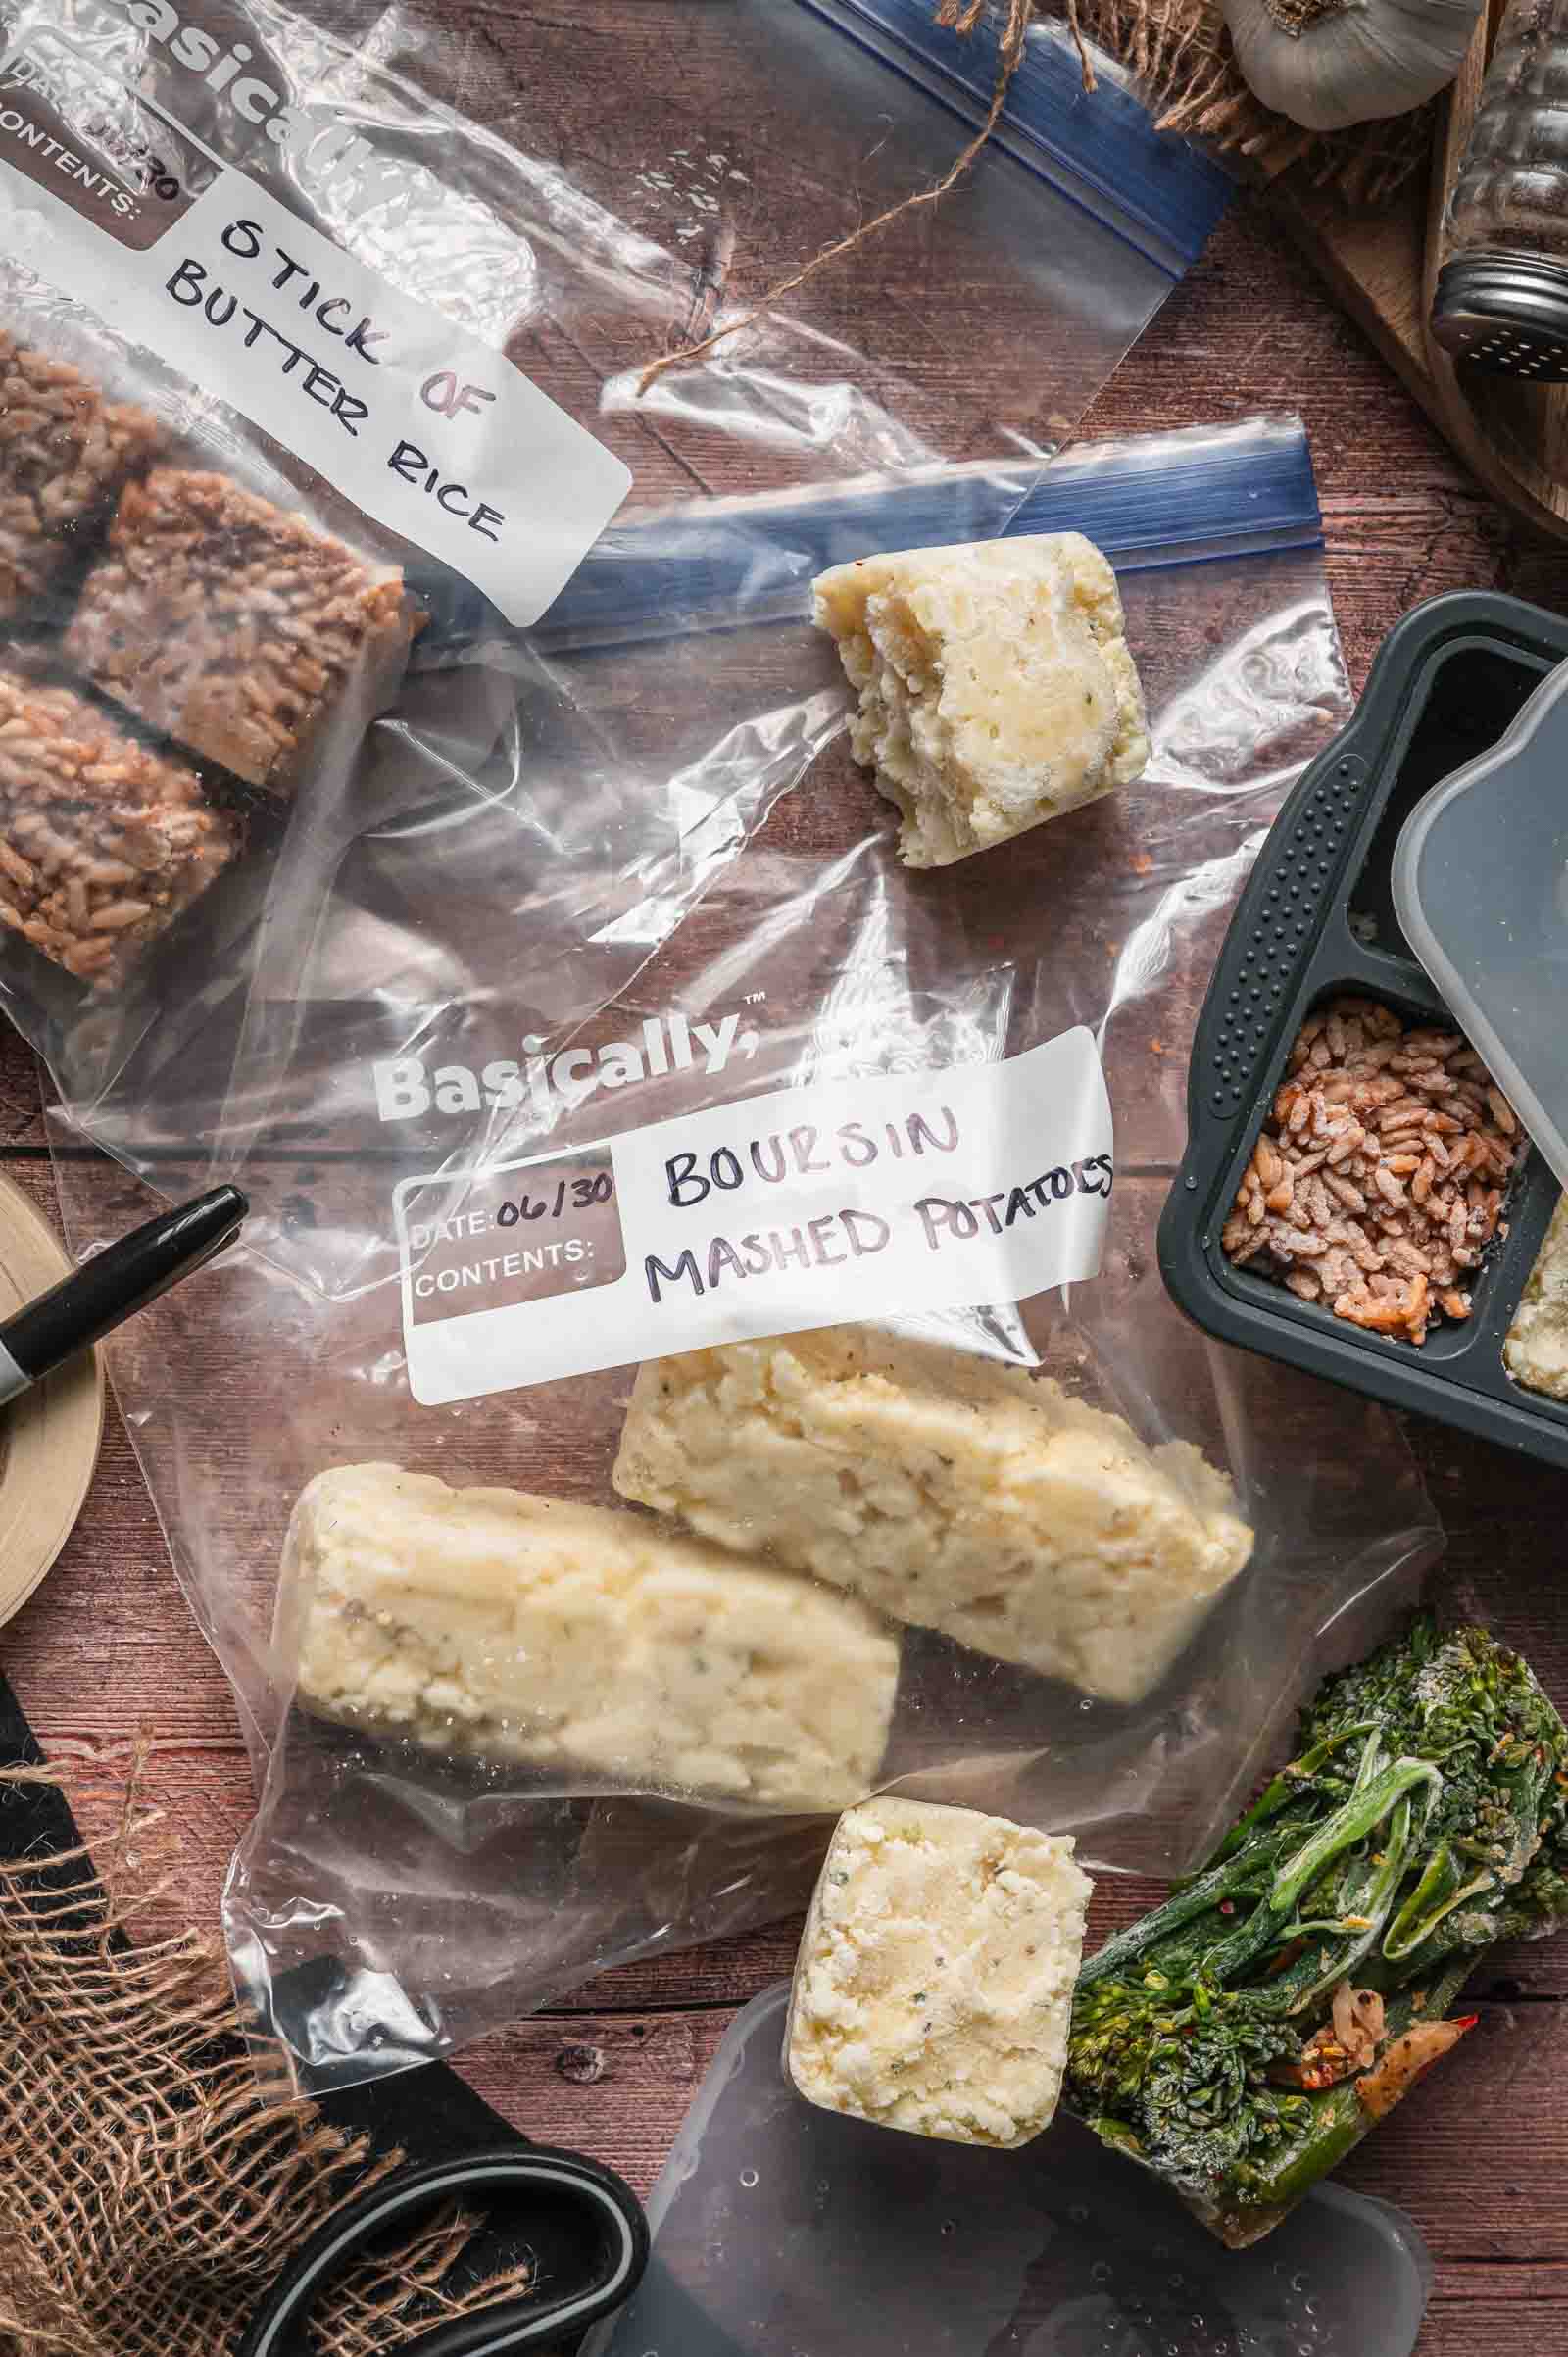
⚖️ Vacuum Sealer vs. a Regular Zip-Top Freezer Bag
A vacuum sealer earns its keep once you are freezing more than a few weeks out, stacking portions tight in a chest freezer, or dealing with anything high in fat, like a rice or potato side loaded with butter. Fat picks up off flavors from freezer air faster than almost anything else you will portion, and a true vacuum seal is the only method that gets air contact close to zero. Run a real batch system, five recipes deep and stacked for three months, and a vacuum sealer is what keeps that whole stash tasting like day one.
A well-pressed zip-top freezer bag is fine, not a compromise, if you are eating through portions inside four to six weeks. Press the bag flat against the food, roll from the closed end to force the air out before you seal the last inch, and lay it flat in the freezer. That gets you most of the way to a vacuum seal without buying a machine. Where the zip-top bag falls short is anything long-term or already prone to drying out, like lean chicken breast portions. For those, spend the extra thirty seconds and use the sealer.
The Gear Behind our Lego Lunch Recipes
Every step above assumes you have got the right sealer and the right molds. See the exact FoodSaver sealer and Souper Cubes mold set GC runs this whole system on, plus the budget-friendly swap, in one place.
See the Full Equipment Guide →
🚫 Common Mistakes
| Problem | Fix |
|---|---|
| Sealing while the food is still warm or soft | This crushes the portion and pulls liquid into the seam, which breaks the seal before it sets. Freeze solid first, always. |
| Using full suction on food with any texture | Full power flattens rice and mashed potatoes into a brick and can crack thin protein portions. Use pulse or gentle and stop as soon as the bag goes tight. |
| Leaving air pockets in a zip-top bag | Even a small pocket gives moisture somewhere to migrate, and that is where freezer burn starts. Press flat and roll the air out from the closed end before sealing. |
| Skipping the label | A sealed bag with no name or date turns into a mystery portion in three weeks. Label before you seal, every single portion, no exceptions. |
Unlock the Full System
Sign up and get every new Cook Set the moment it drops, plus the full Freezer Meal Prep System, tested recipes portioned to mix and match. All FREE.
📋 Shopping Lists
📅 Sunday Cook Order
🔄 Mix & Match Cheat Sheet
Guides Worth Bookmarking
Quick Summary
Freezer burn comes from air contact, not time in the freezer, so the fix is sealing that air out, not freezing food faster or checking on it more. Freeze every portion solid first, then vacuum seal on a gentle or pulse setting so you get a clean seal instead of a crushed one. Get that order right and every portion in your stack comes out tasting the way it went in. For the rest of the system, from portioning to labeling to the actual reheat, see the Freezer Meal Prep System hub. For the exact sealer and mold picks, see the Freezer Meal Prep Equipment Guide.
❓ FAQs
Not while it is liquid. Freeze soup or sauce solid in a container or a flat-lay bag first, then vacuum seal the frozen block. Sealing it while it is still liquid pulls it straight through the seam and floods the machine.
No. A well pressed zip-top freezer bag holds up fine for four to six weeks. A vacuum sealer earns its cost once you are freezing longer than that, stacking a lot of portions at once, or working with high-fat sides that pick up off flavors fast. See the freezer meals beginners guide for how to start without buying extra gear.
That is moisture that sublimated off the surface of your food and re-froze as frost, either on the food itself or on the inside of the bag. It is the visible sign of freezer burn in progress. The dry, leathery texture underneath it is the real damage.
Yes, it is safe. It is a texture and flavor problem, not a food safety one. Trim the dry, discolored patch off before cooking and the rest of the portion is usable, though it will not reheat with the texture it had before it burned.
Most portions hold their quality for up to three months vacuum sealed, the window this whole system is built around. For a full breakdown by protein, starch, and vegetable, see how long freezer meals last. Keep the freezer organized so nothing gets lost behind newer portions: freezer organization and labeling.