
This homemade chocolate pie dough is made with Dutch processed cocoa powder and cold butter for a rich crust that bakes up flaky and tender. Perfect for both classic and modern desserts!
This chocolate pie dough is a cocoa-rich version of my classic homemade pie dough, made with the same simple ingredients and dependable method. Adding unsweetened cocoa powder gives the dough a deep chocolate flavor while keeping it easy to roll and bake into a tender yet sturdy crust.
This chocolate pastry crust works beautifully for sweet pies with creamy fillings, custards, or baked chocolate and fruit fillings, holding its shape without becoming soft or fragile. It is different from my Italian chocolate pie dough, which is a pasta frolla style crust, and is meant for dessert pies that benefit from a bit more structure and clean slices.
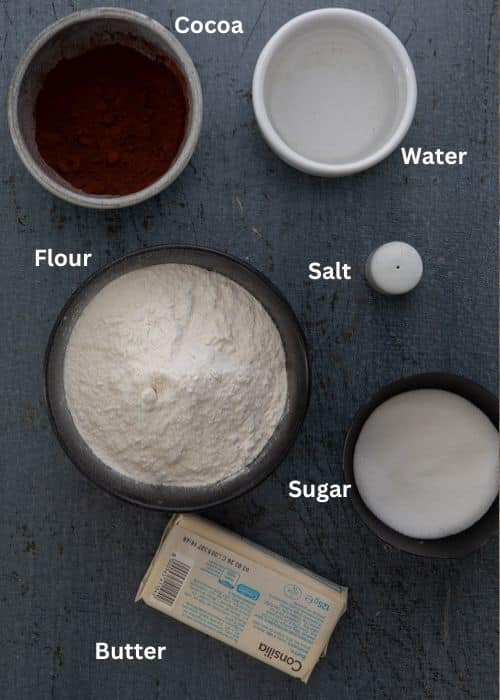
Chocolate Pie Crust Ingredients
- All-purpose flour: This is the base of the dough and gives the crust the structure it needs to hold fillings while still baking up tender.
- Unsweetened Dutch-processed cocoa powder: Adds rich chocolate flavor and a deep color. I like Dutch-processed cocoa here because it blends smoothly into the dough and keeps the chocolate taste balanced, not bitter.
- Granulated sugar: Just enough to lightly sweeten the crust and round out the cocoa without competing with the filling.
- Salt: A small amount of salt brings all the flavors together. If you are using unsalted butter, be sure to add it.
- Cold butter: Cold butter is key for a good pie crust. As it melts in the oven, it creates a tender texture and helps the crust bake properly.
- Very cold water: Cold water brings the dough together while keeping the butter cold, which helps prevent a tough crust.
How to Make Chocolate Pie Dough
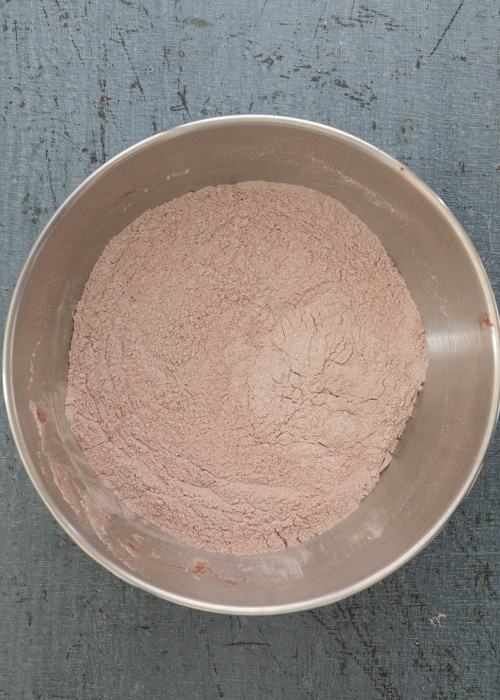
In a large bowl or food processor, whisk together the flour, cocoa powder, sugar, and salt until well combined. This helps evenly distribute the cocoa so the dough bakes with a consistent chocolate flavor.
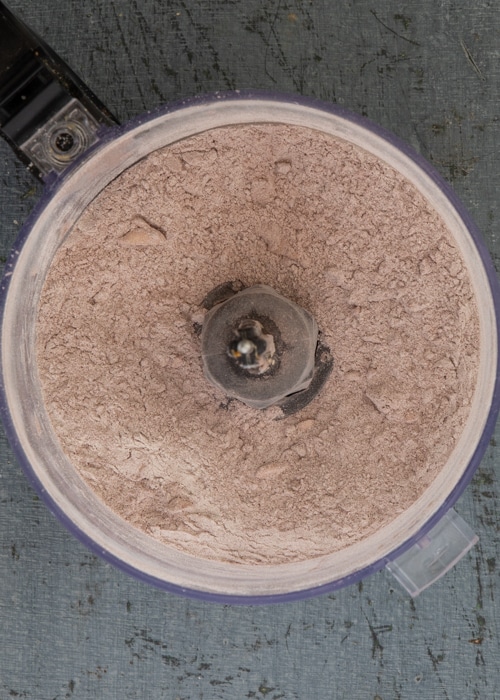
Add the cold, cubed butter and work it into the dry ingredients using a pastry cutter or short pulses in a food processor. The mixture should look like coarse crumbs with some larger pieces of butter still visible.
Add the cold water one tablespoon at a time, mixing gently just until the dough starts to come together.
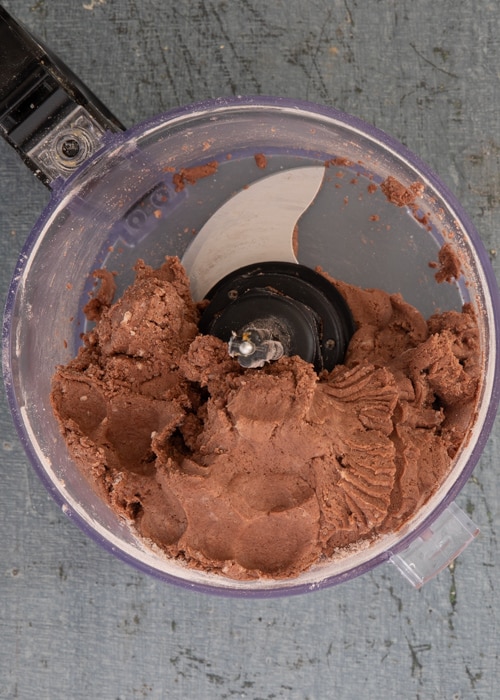
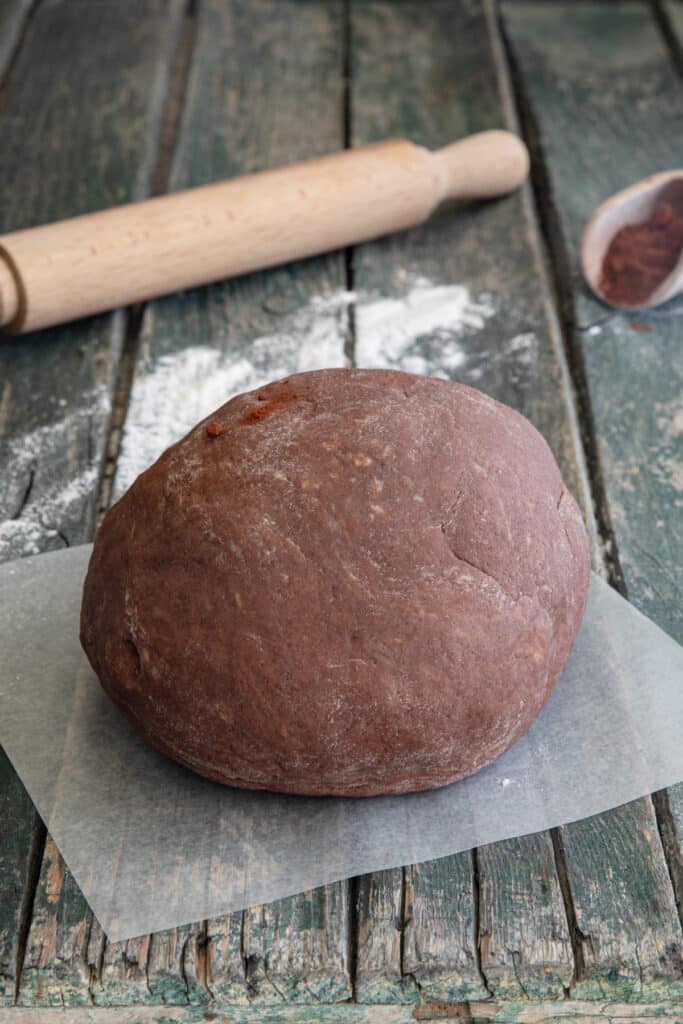
Transfer the dough to a lightly floured surface and gently bring it together into a smooth ball. Flatten slightly, wrap in plastic, and refrigerate for at least one hour before rolling.
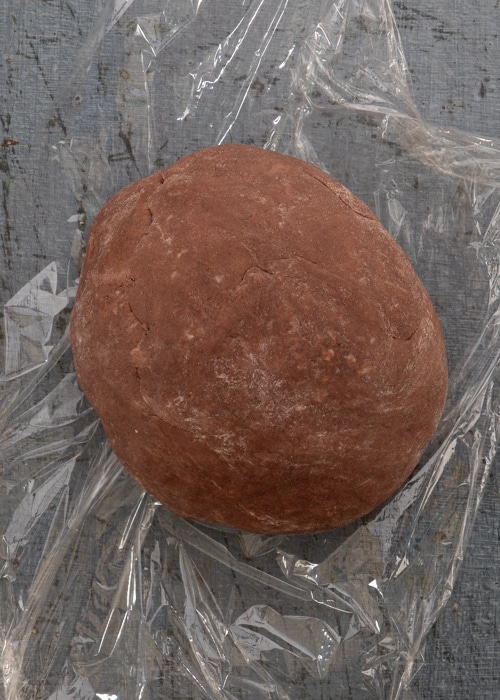
Once chilled, the dough is ready to roll, form and use in your favorite sweet pie recipes.
Rolling Out the Chocolate Pie Dough
Once the dough has chilled and feels firm but pliable, it is ready to roll. Lightly dust a clean work surface with a thin layer of flour mixed with a small amount of cocoa powder. This helps prevent sticking without leaving white patches on the dough.
Flatten the dough slightly with your hands, then roll from the center outward until it forms an even circle. If the dough cracks at the edges or feels stiff, let it rest for a few minutes so it can relax before continuing.
Roll the dough into a circle about 2 to 3 inches wider than your pie plate. To transfer it, gently drape the dough over the rolling pin, then ease it into the pan. Press it into the bottom and sides without stretching the dough, which can cause shrinkage during baking.
Trim any excess dough, leaving about a half-inch overhang. Fold the edge under itself to create a clean rim, then crimp or shape as desired. If the dough becomes soft at any point, return it to the refrigerator briefly before filling or baking.
Par Baking vs. Blind Baking Chocolate Pie Crust
Par baking means partially baking the crust before adding the filling. This is a good option for pies that will finish baking in the oven, such as a custard or chocolate pie, because it helps prevent a soggy bottom while still allowing the crust to bake fully with the filling.
Blind baking means baking the crust completely on its own, usually weighted with pie weights or dried beans. This method works best for no-bake or chilled fillings, like my creamy frozen chocolate pie and Italian chocolate pie or mousse pies like my chocolate chip peanut butter pie, where the filling does not go back into the oven.
For this chocolate pie crust, both methods work well. Which one you choose depends on the type of filling you plan to use.
Recipe Tips
- Keep the butter cold: Cold butter is essential for a good pie crust. If the butter softens too much, the dough can lose its structure.
- Avoid using your fingertips:: While fingertips are often used in pastry, they can warm the butter too quickly. A pastry cutter or food processor helps keep the butter cold and the texture consistent.
- Add the water slowly: You may not need all of the water. Add it one tablespoon at a time and stop as soon as the dough comes together. Too much liquid will result in a heavy crust.
- Do not overmix: Once the dough starts to come together, stop mixing. Overworking the dough can make the crust tough instead of tender.
- Chill before rolling: Resting the dough in the refrigerator allows the gluten to relax and firms up the butter, making the dough easier to roll and helping the crust hold its shape in the oven.

This chocolate pie dough is rich, tender, and easy to work with, making it the perfect base for both classic and creative fillings. Once baked, it adds a deep chocolate flavour that turns any pie into something truly special.
- 2 cups all purpose flour
- ¼ cup unsweetened dutch processed cocoa
- ¼ cup granulated sugar
- 1 pinch salt (if using unsalted butter then add ¼ teaspoon salt)
- ¾ cup butter (cold and cubed)
- 5-7 tablespoons very cold water
-
In a large bowl or food processor sift in the flour and cocoa powder, add the sugar and salt and whisk to combine. Add the butter and combine or pulse to form coarse crumbs. Add the water one tablespoon at a time and combine or pulse to bring the dough together.
-
Move the dough to a lightly floured flat surface and gently knead to form a compact dough ball. Wrap in plastic and chill one hour before using. Enjoy!
Wrap the dough well and freeze for up to 2 months. Thaw it overnight in the refrigerator, then let it rest briefly at room temperature before rolling.
Roll the dough out and gently fit it into the pie plate, then freeze it uncovered until firm. Once frozen, wrap the pie plate tightly with plastic wrap or foil and return it to the freezer for up to 2 months. When ready to use, bake directly from frozen, adding a few extra minutes to the baking time.
Calories: 1186kcal | Carbohydrates: 127g | Protein: 16g | Fat: 72g | Saturated Fat: 45g | Polyunsaturated Fat: 3g | Monounsaturated Fat: 18g | Trans Fat: 3g | Cholesterol: 183mg | Sodium: 574mg | Potassium: 318mg | Fiber: 7g | Sugar: 26g | Vitamin A: 2127IU | Calcium: 54mg | Iron: 7mg | Phosphorus: 234mg
recipe FAQs
A baked chocolate pie crust should look set and dry, not glossy or wet. The edges will feel firm to the touch, and the bottom should be fully baked rather than soft. If blind baking, the crust should release easily from the pie weights and hold its shape.
Yes. Chocolate pie dough can be made ahead and stored wrapped tightly in the refrigerator for up to 2 days. Let it sit at room temperature for a few minutes before rolling so it softens slightly.
Absolutely. Wrap the dough well and freeze for up to 2 months. Thaw it overnight in the refrigerator, then let it rest briefly at room temperature before rolling.
Yes. Roll the dough out and gently fit it into the pie plate, then freeze it uncovered until firm. Once frozen, wrap the pie plate tightly with plastic wrap or foil and return it to the freezer for up to 2 months. When ready to use, bake directly from frozen, adding a few extra minutes to the baking time.
Related
It’s All About Pasta
Amazing pasta recipes to make your mouth water!

Authentic Italian Desserts
75 Traditional Desserts Made Easy